How to Complete Deep-Cleaning Tasks around the House
 |
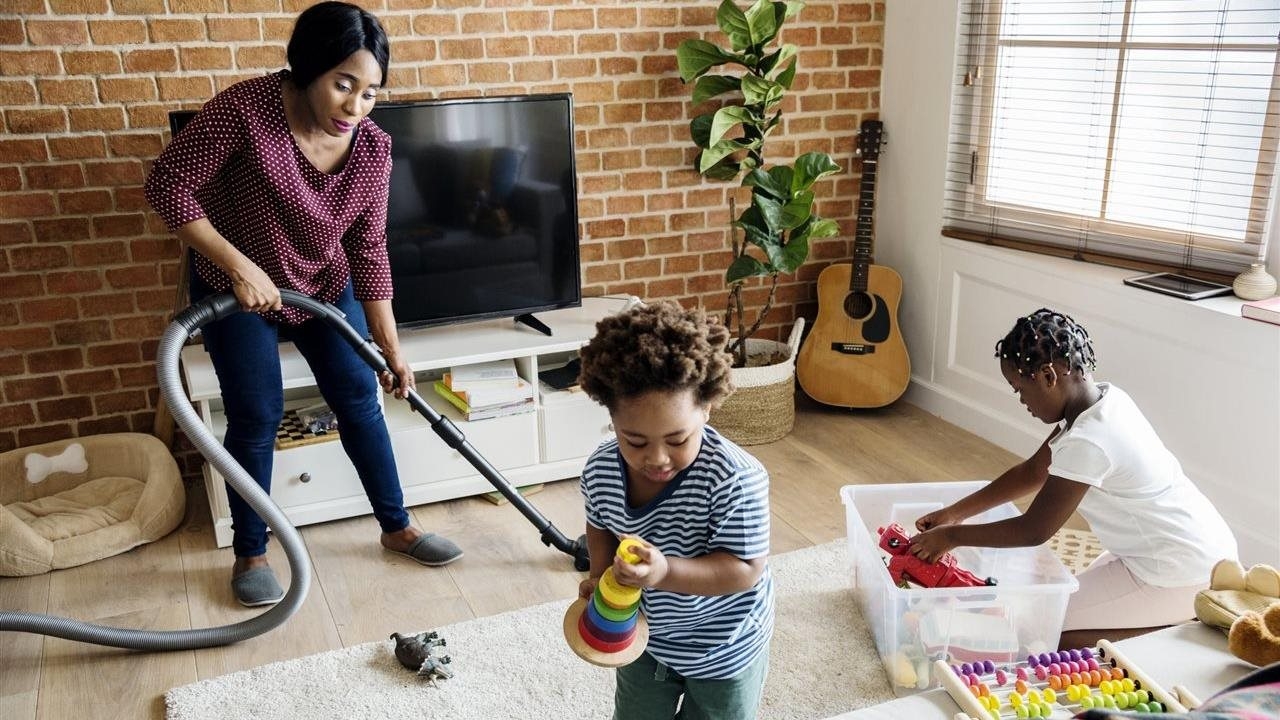
| Deep-cleaning House. Photo: Brandpoint Content |
How often should you deep clean?
There are a few different ways you can begin to integrate deep cleaning into your home upkeep routine. If you’ve done any spring cleaning in the past, that’s great! Spring is the perfect time to declutter, clean, and organize, but you should also deep clean more frequently than one season a year. One schedule you can choose to follow is seasonal, or about one weekend deep clean every 3 months. Another option is to break down your deep cleaning checklist into smaller monthly or weekly tasks, tackling one room per month, or 1-2 tasks per week, so that you chip away on an ongoing basis.
The more people who share a living space, the more often it should be deep cleaned. If you live with roommates, divide up the cleaning tasks—both deep cleaning and more ongoing upkeep—equally among everyone. Consider assigning an area of the home (except for the bedrooms, of course) to a different person, according to Bungalow.
Tips for conquering a mess nemesis
Whether it’s soap scum, mildew, rust, stinks, stains or spills, it’s time to show your mess nemesis you mean business. Follow these tips to get the job done right:
Set a date t’s easy to keep avoiding tasks you loathe, so set a time for when you plan to focus on cleaning and be specific. For example, at 10 a.m. Saturday you’re finally giving the boot to that lime and calcium buildup on the shower door. Put on some cleaning clothes, play some motivational music and focus on getting the job done once and for all.
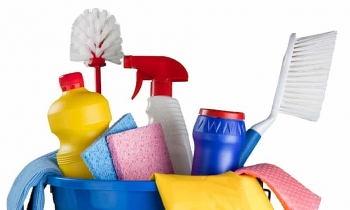
Stock ample supplies tock necessities, such as sponges, scrubbers and rags, before diving into any cleaning mission. Having the right supplies for the specific job makes tasks simpler. Use proper cleaning formulations for your task, such as the CLR line that has products designed to get rid of the grime in areas of the home, from the kitchen and bathroom to the patio, garage and beyond.
Follow directions and use safer products lways follow the directions on any product to ensure you get the results you want without making the mess worse or damaging the items. Use products that clean effectively without unnecessary use of harsh chemicals. Look for products approved by the EPA Safer Choice Program, meaning they’re recognized as a safer alternative to traditional cleaning options that rely on the use of harsh chemicals to be effective, such as bleach.
Rally the troops hether it’s a big mess that requires multiple sets of hands or a tough mess that requires a few people strategizing, help can make a big difference. Even if you need to focus on the mess nemesis while other people handle regular household chores, this can keep things moving forward thanks to teamwork. Get your partner, spouse, kids or roommates in on the action. (BPT). as reported by Signalscv.
How to Deep Clean Your House
 |
| Photo: The Spruce |
Declutter Before Deep Cleaning
Find a new place for (or better yet, get rid of) any visible clutter that does not belong in the room. Save the stuff behind closed doors for another day to help simplify your deep cleaning checklist. Clearing clutter makes deep cleaning easier and seeing those tidy surfaces can help boost your motivation to keep going.
Start High, Go Low
Tackle large, hard-to-reach surfaces in this order: ceiling, ceiling trim, ceiling light fixtures (including bulbs), walls, the rest of the trim, and baseboards. The best tool for these surfaces is a clean microfiber mop ($12, The Home Depot) or a duster with a telescoping handle ($16, Bed Bath & Beyond). Bonus: These tools are typically thin enough to get behind the sofa without moving it. Above eye-level, a spritz of water is all you need on the mop. Surfaces closer to the floor tend to build up dirt and dust, so use warm water mixed with a drop of dish soap. In bathrooms, add a splash of white vinegar to the mixture to stop mold and mildew. For spots where using a mop is awkward or inconvenient, use a microfiber cloth ($3, Target). Rinse often and wring thoroughly.
Deep Clean Windows
Clean windows let in more natural light! First, be sure to remove any dirt and debris from your window panes before finishing with a glass cleaner. Place a rolled towel in the window sill and use warm soapy water and a sponge to clean away dirt. Squeegee the windows dry and the towel will catch the dirty water. Then use glass cleaner and a microfiber cloth to shine.
If your window sills are wood, it’s important not to saturate them with cleaning products or water. To clean, simply wipe with a damp microfiber cloth sprayed with a gentle all purpose cleaner or wood cleaner.
To clean metal window or sliding door tracks, start by vacuuming the tracks with the crevice attachment of your vacuum cleaner. Then spray soapy water or all purpose cleaner into the tracks. Let soak for a few minutes and wipe up with cleaning cloths or paper towels.
Window Treatments
It’s better to refresh often-delicate window treatments in the dryer rather than to launder them. Spray with vinegar spray and dry on the delicate cycle, or air dry, to freshen.
If your windows have blinds, dampen a retired sock with water and all purpose cleaner, place over your hand like a mitten, and run your hand along each blind to clean.
Remove Dust from Surfaces
Wipe all remaining hard surfaces (wood furniture, shelves, built-ins, etc.) using furniture cleaner and polish ($6, The Home Depot) and a soft cloth. For an extra-quick clean, put a clean cotton tube sock on your dominant hand to dust surfaces, moving objects out of the way with the other hand. Finally, take a lint roller to the lampshades.
Deep Clean the Floors
Sweeping, vacuuming, and mopping the floors in your home should be part of regular cleaning. For deep cleaning, focus on removing stains, addressing especially high traffic areas with stubborn dirt, and cleaning grout if your floors are tiled.
Start by doing a basic clean of your hardwood floors or laminate floors.
To remove stains on carpeted floors, soak the area with a one to one mixture of white vinegar and water with a few drops of dish soap. Blot with a towel so that you are lifting the stain rather than rubbing it back in. If you decide to use a carpet cleaning product, always test an area of the carpet that is not visible to make sure it does not discolor or cause any damage to the carpet.
For a complete deep clean of your carpet, consider renting a steam cleaner.
Make a paste of baking soda and white vinegar to address areas with stubborn dirt and grime and also to clean and brighten your grout. Apply the paste and let stand for 15 minutes, then scrub with a stiff-bristled scrub brush.
Room-by-Room Deep Cleaning House Checklist
 |
| Photo: House Beautiful |
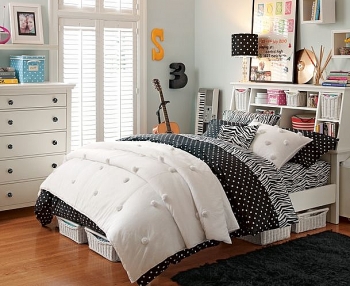
Bedroom
Launder Bedding: Wash the bed skirt, duvet cover, shams, and pillows, even down-filled items. Give them an extra spin cycle to make drying faster, and dry down pillows on low with clean tennis balls to prevent clumping. The best way to dry synthetic pillows is by air-drying them outdoors. For bulky comforters, hit the laundromat and use one of the extra-large front-loaders.
Freshen Mattress: While your bed is disassembled, clean your mattress. Sprinkle baking soda on the mattress, let it sit for an hour, then vacuum it up using the hose attachment. Flip or rotate the mattress per the manufacturer's advice and repeat the process.
Declutter Closet: Pull out the clothes you didn't wear this past season and bag them for consigning or donating. Then treat your wardrobe to matching hangers. If your closet looks nice, you'll try harder to keep it under control.
Bathroom
Bathtub, fixtures, and grout: If soap and water haven’t been doing the trick for getting your bathtub and fixtures sparkling clean and free of soap scum, make a paste of baking soda and water and scrub with a brush. Use a detail brush, or an old toothbrush, to clean in and around your fixtures—finishing with the microfiber cloth will help them shine. Clean your shower head by soaking it overnight in vinegar and water. You can do this by either removing it, or filling a bag with cleaning solution and fastening it around the shower head. The same technique can also be used to clean grout. If baking soda alone isn’t getting your grout clean, spray with a one to one white vinegar and water mixture. The baking soda will begin to bubble as it reacts with the vinegar and that reaction will help lift the stains. Scrub again and rinse with warm water once clean.
Shower curtains: If your shower curtain is fabric, wash and dry according to the directions. If your shower curtain liner is past the point of cleaning, toss and replace as needed.
Kitchen
Polish Cabinets: Wipe the exposed tops first, then cut newspaper or shelf liners ($10, Bed Bath & Beyond) to fit inside. The lining collects the dust, so next time all you'll have to do is replace the paper. Next, wipe the cabinet doors front and back with wood cleaner (for painted or laminate surfaces, use warm water with a squirt of dish soap). You can also try the tube sock trick here: Put one on each hand, spritz with cleaner, and wipe in circular motions.
Deep Clean In and Around Appliances: Wait until the fridge is nearly empty, then wipe it down, inside and out. Do the same for the stove and dishwasher. If possible, pull appliances out from the wall to get at the surrounding walls and the floor.
Tidy Countertops: Move everything off the counters, then clean and dry them thoroughly, along with the backsplash. Once the surfaces are dry, return only what you use daily. Find hidden spots for everything else.
Bonus Deep Cleaning Task: Take everything off your pantry shelves and wipe them down. Consider using a large roasting pan as a crumb catcher while you clean. You can also rent an air compressor and blow the dust bunnies off your refrigerator coils to boost its efficiency.
Living Room
Freshen Furniture: Remove cushions and vacuum every upholstered surface, including the backs, with the brush attachment.
Dust Frames: Take all framed artwork and photos down and dust them front and back using a damp microfiber cloth. Be careful not to spray anything directly on the glass. It could seep into the corners of the frame and potentially ruin the picture and mat.
Dust Under Electronics: You don't need to unhook and move everything to clean around your electronics. Just use an ultra-thin dusting wand ($14, Bed Bath & Beyond) and run it under the components, as reported by BHG.
Bonus Deep Cleaning Task: Launder all the throws and throw pillow covers. Also, take a good look at the DVDs, CDs, video games, and other media tucked behind closed doors. Is there anything you can get rid of, maybe even sell for a little cash?
Time to dive into the deep cleanTempting as it may be to tackle one room at a time from top to bottom, this isn’t the best way to use your time most efficiently. According to the experts at The Good Housekeeping Institute, in their Household Encyclopedia, there are some tasks that are best to complete in one shot throughout the entire house, such as dusting, vacuuming and mopping. That way you’re only carrying the supplies for one task throughout the house at a time, rather than hauling all of your cleaning tools to each room at once. Don’t try to knock out the big whole-house jobs first though! As you take on the smaller cleaning jobs in each room, chances are you’ll kick up dust and dislodge dirt as you clean. If you vacuum and dust the whole house first, you’ll have to do it again once you’ve thoroughly cleaned each room. |
For more interesting news of KnowInsiders, check out below!
 15 Lavish Cleaning Items For People Who Love To Clean your House 15 Lavish Cleaning Items For People Who Love To Clean your House This article provides you a list of essential cleaning supplies to learn about the variety of cleaning supplies we recommend for each room in your ... |
 Home Cleaning Tips: Healthy, Safe, and Affordable Home Cleaning Tips: Healthy, Safe, and Affordable After all the cooking, dinner parties, guests, and relatives most of us have to deal with stains, dirt, and mess to put our homes in ... |
 How to Clean Your Room in a Fast and Fun Way: Cleaning Tips for Bedrooms How to Clean Your Room in a Fast and Fun Way: Cleaning Tips for Bedrooms Cleaning your room can seem like a tedious process, but there are ways to make this chore go faster and more fun. Check out this ... |


