How To Take A Scrolling Screenshot on iPhone
 |
| How To Take A Scrolling Screenshot On IPhone |
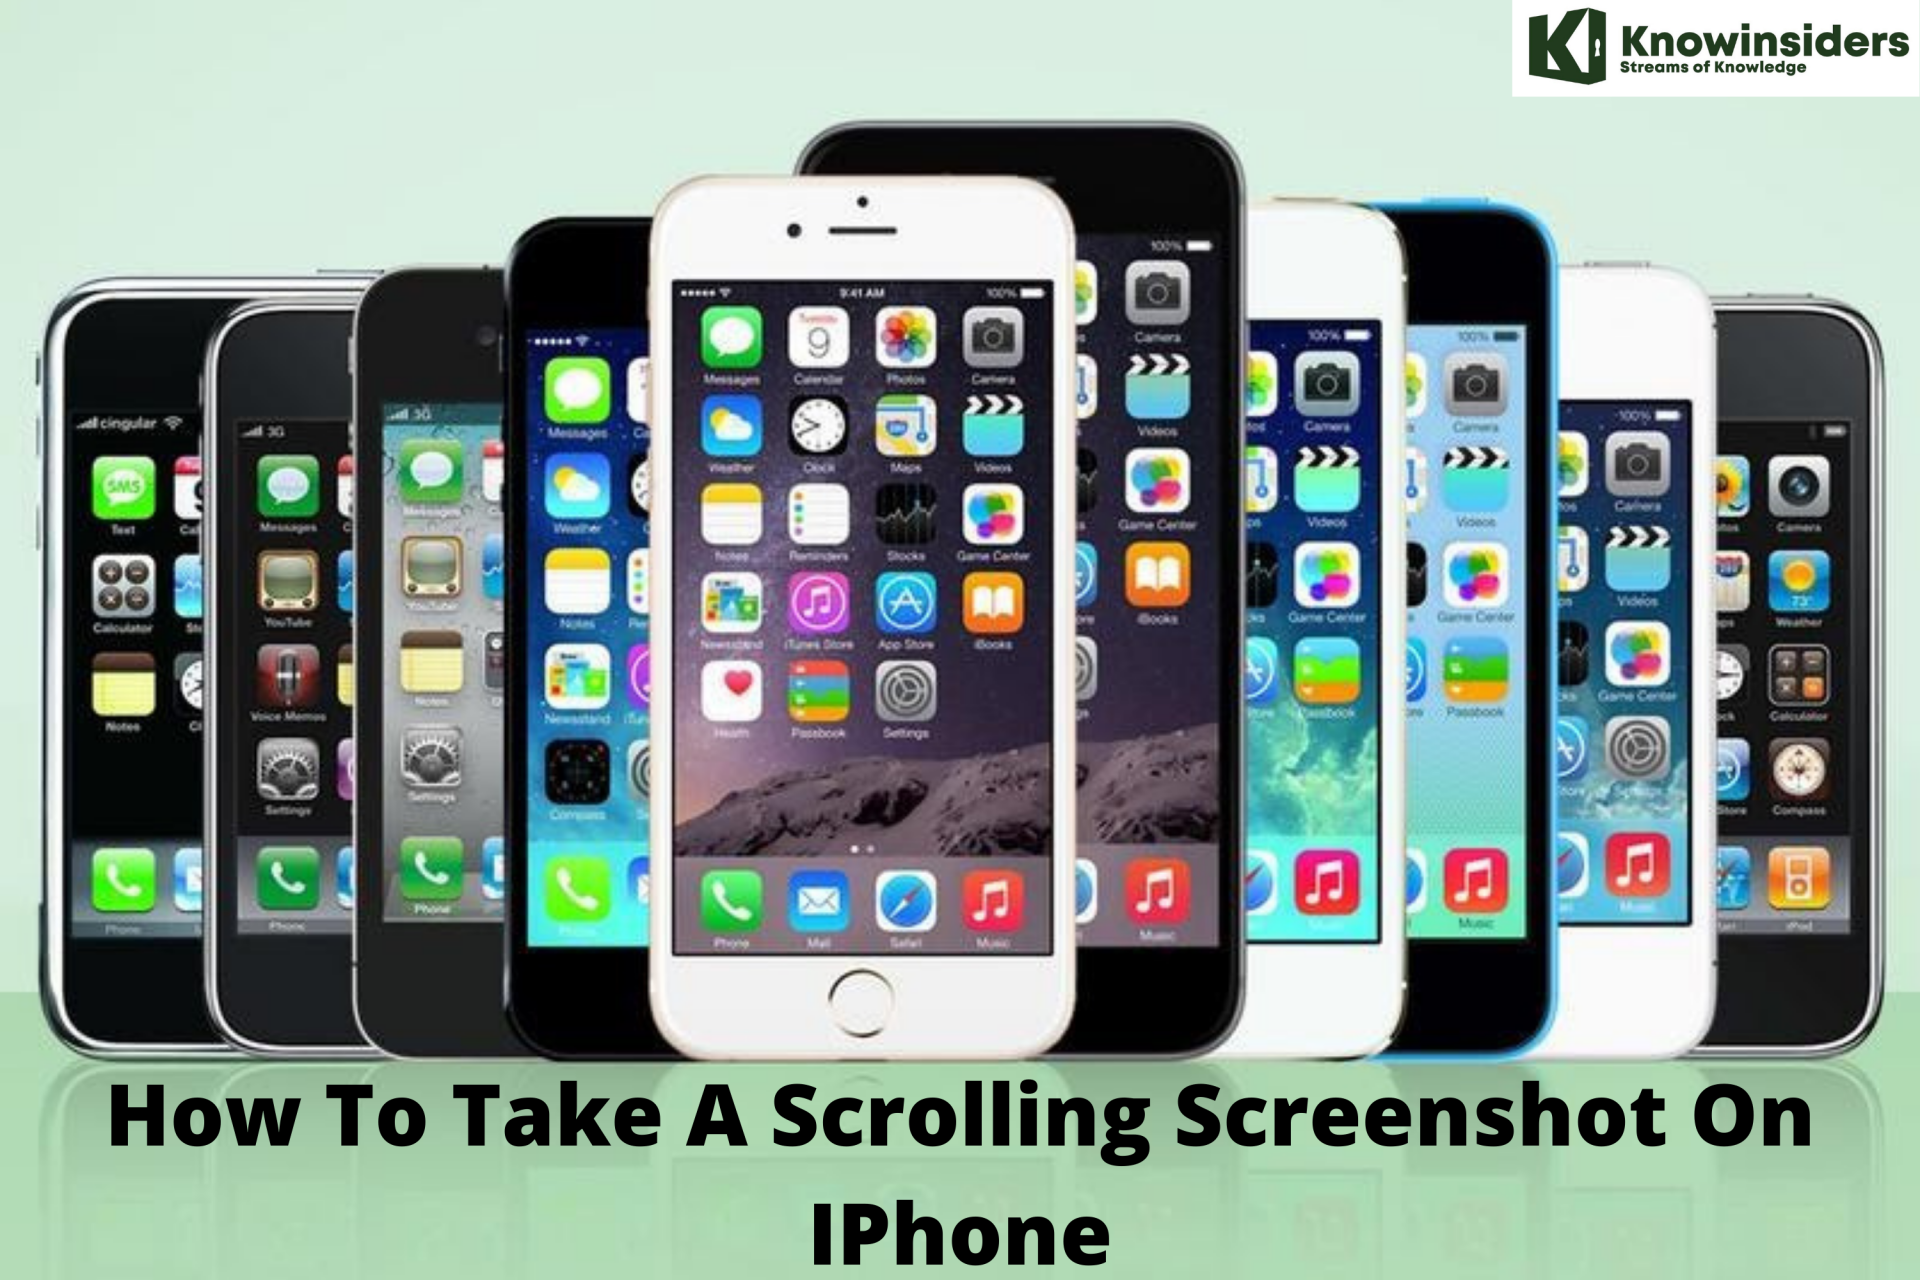
Taking a screenshot on your iPhone is probably second nature but what about a screenshot to capture everything on a website, PDF, email, note, or stitching together multiple screenshots? Whether it's the new iPhone 13, last year's iPhone 12, the iPhone 11, iPhone SE or even the iPhone 6, taking a screenshot is a simple process.
It used to be you needed a third-party app to take a scrolling screenshot on your iPhone. But with iOS now, you can natively do that with webpages, PDFs, the Notes app, emails, and more in Apple’s first-party apps. Further down we’ll also look at how to do this with content in third-party apps.
How to take a scrolling screenshot on every iPhone
1. Use Side + Volume Up
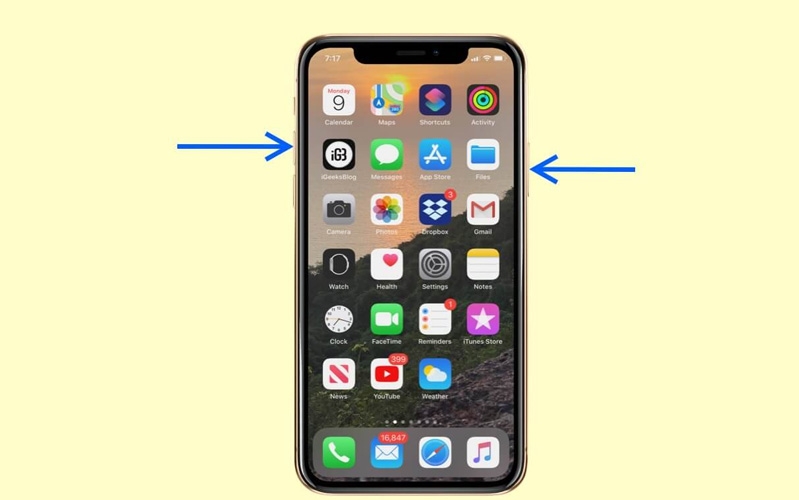
On any of the iPhone 12 variants, the default way to take a screenshot is to quickly push down the Volume Up button on the left side of the device and the Side button on the right side together at the same time. It should be a quick press (or squeeze). Otherwise, you may end up activating the screen that displays the switches for powering down, Medical ID, and Emergency SOS.
2. Use Siri
 |
| Photo: ithinkdiff |
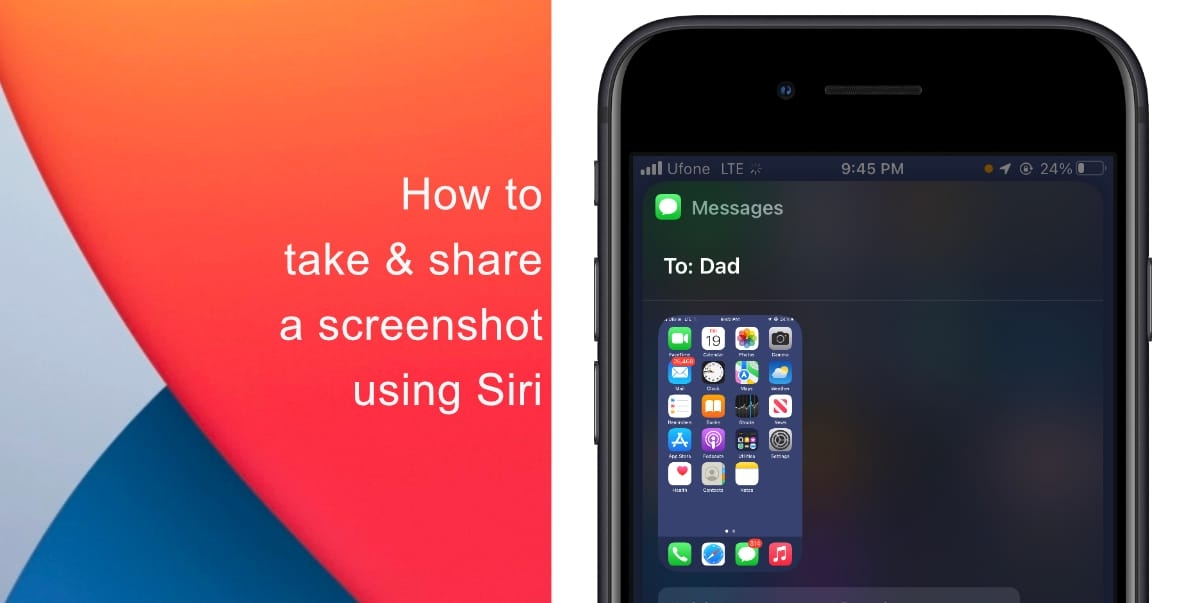
If you're looking for more of a hands-off approach, just turn to Siri. Simply say "Hey Siri, screenshot" or "Hey Siri, take a screenshot," and Siri will take one for you. You can also long-press the Side button on your iPhone's right side to activate Siri and verbally give it the command. If you use Type to Siri with the Side button shortcut, just type "screenshot" and hit "done" on the keyboard.
3. Use Back Tap
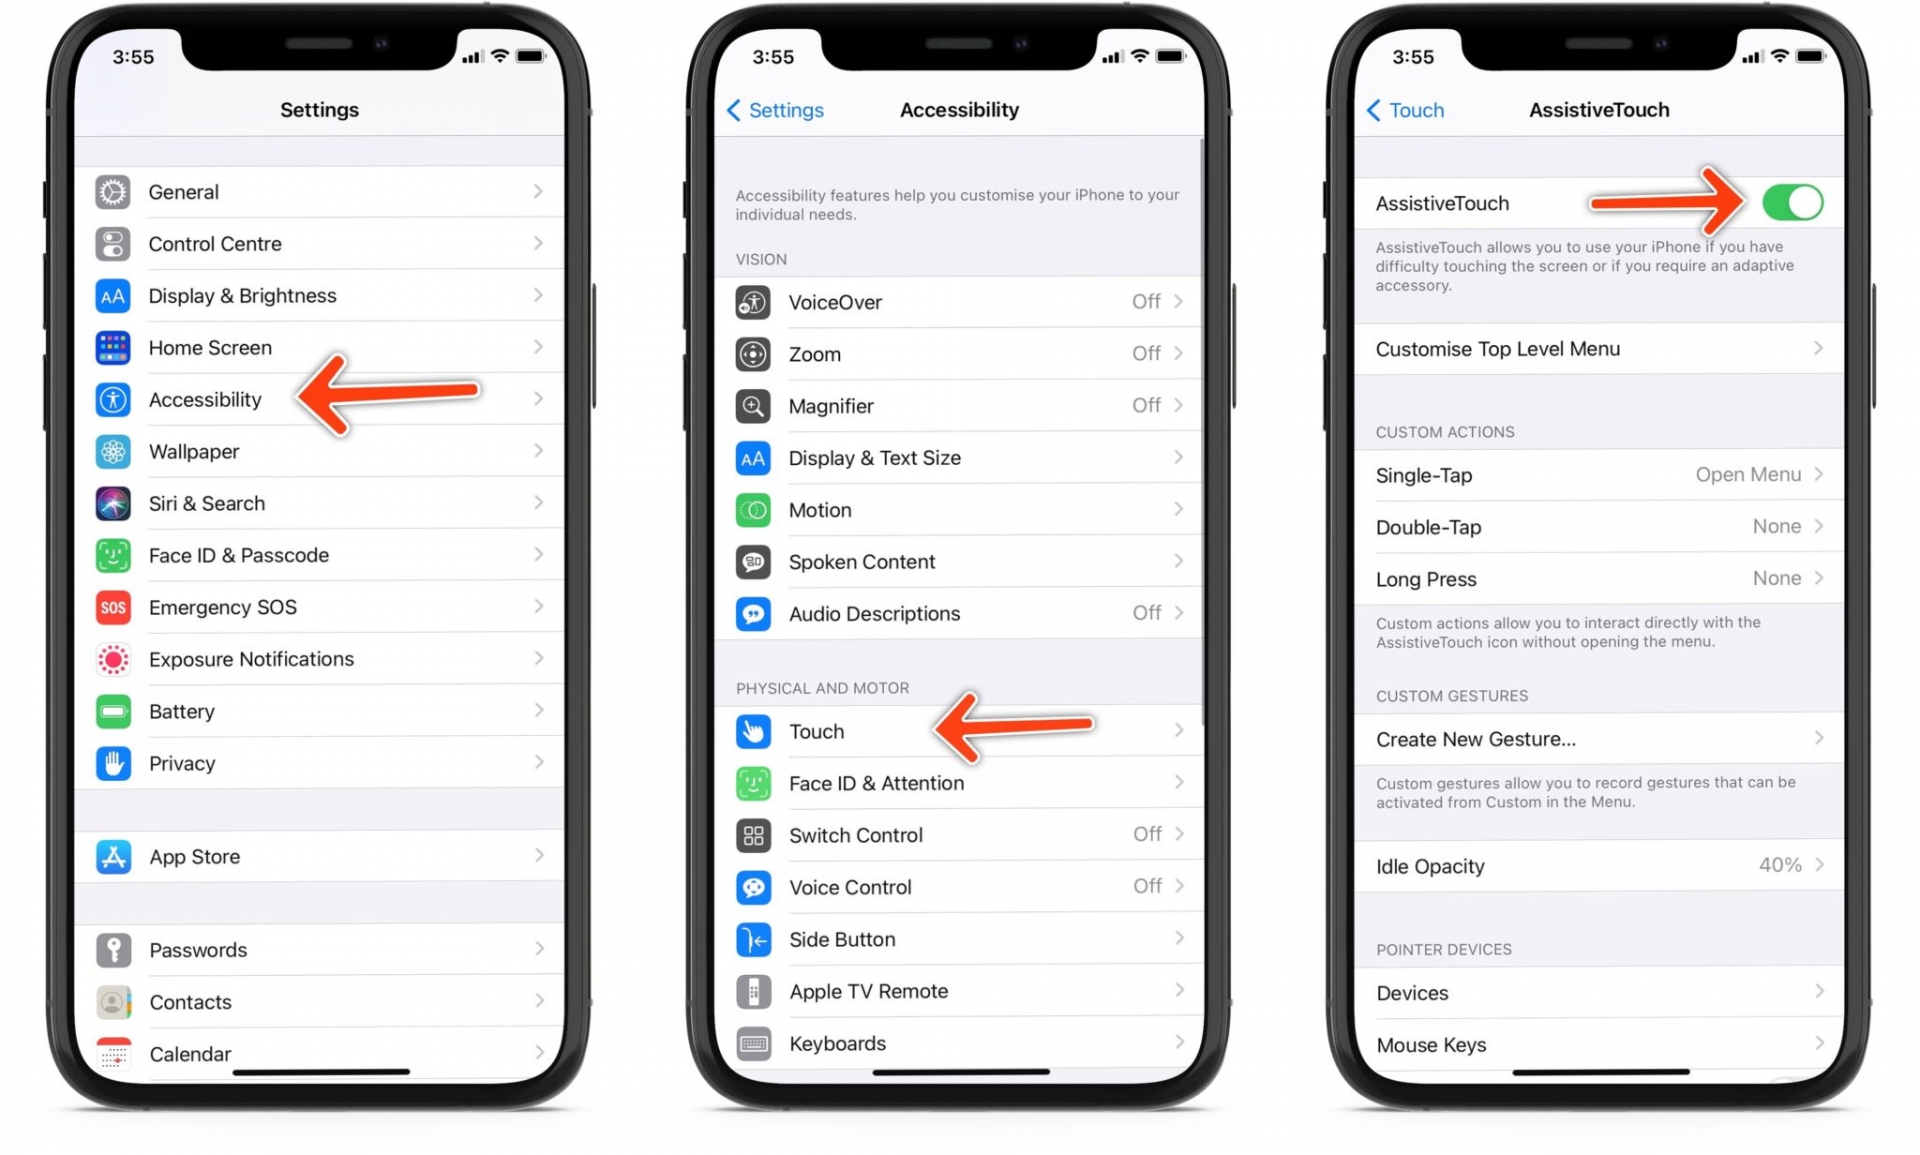
New to iOS 14 is Back Tap, an accessibility feature that lets you perform actions just by double- or triple-tapping the back of your iPhone. To set it up for screenshots, go to Settings –> Accessibility –> Touch –> Back Tap. Choose either "Double Tap" or "Triple Tap," then put a check next to "Screenshot." Then, test it out by either double-tapping or triple-tapping the back of your iPhone with one or two fingers.
4. Use Voice Control
Apple gave us a new way to interact with the iPhone starting in iOS 13, and it's called Voice Control. There was a Voice Control setting before that, but it hilariously bad in comparison.
With the newer Voice Control, whenever you want to use your iPhone using nothing but your voice, you just activate Voice Control and then tell your iPhone what to do, like navigating around an app. With Voice Control active, you can also just say "Take screenshot," and a screenshot will capture the current screen. There are many ways to turn on Voice Control; see our Voice Control roundup to see them.
5. Use AssistiveTouch
 |
| Photo: ifon |
If you prefer only dealing with one hardware button instead of two, which would make it easier to take screenshots one-handed, you can utilize AssistiveTouch, an accessibility feature on your iPhone. Alternatively, you could bring up AssistiveTouch from the Control Center and bypass all hardware buttons, but it's a much slower process.
Both methods use the Accessibility Shortcut on your iPhone, so let's set that up first.
Go to Settings –> Accessibility –> Accessibility Shortcut, then make sure "AssistiveTouch" is checked. It's better if it's the only thing checked. Otherwise, you'll see a selection menu appear when activating the shortcut, where you would then choose which checked item you want to use. If "AssistiveTouch" is the only checked item, that menu won't appear, and you'll save you some time and energy.
Now, to activate the Accessibility Shortcut, triple-click the Side button on your iPhone. Alternatively, you can go to Settings –> Control Center and add the "Accessibility Shortcuts" control. To use the control, swipe down Control Center from the top right of the screen, tap the control you just added, choose "AssistiveTouch," and exit Control Center.
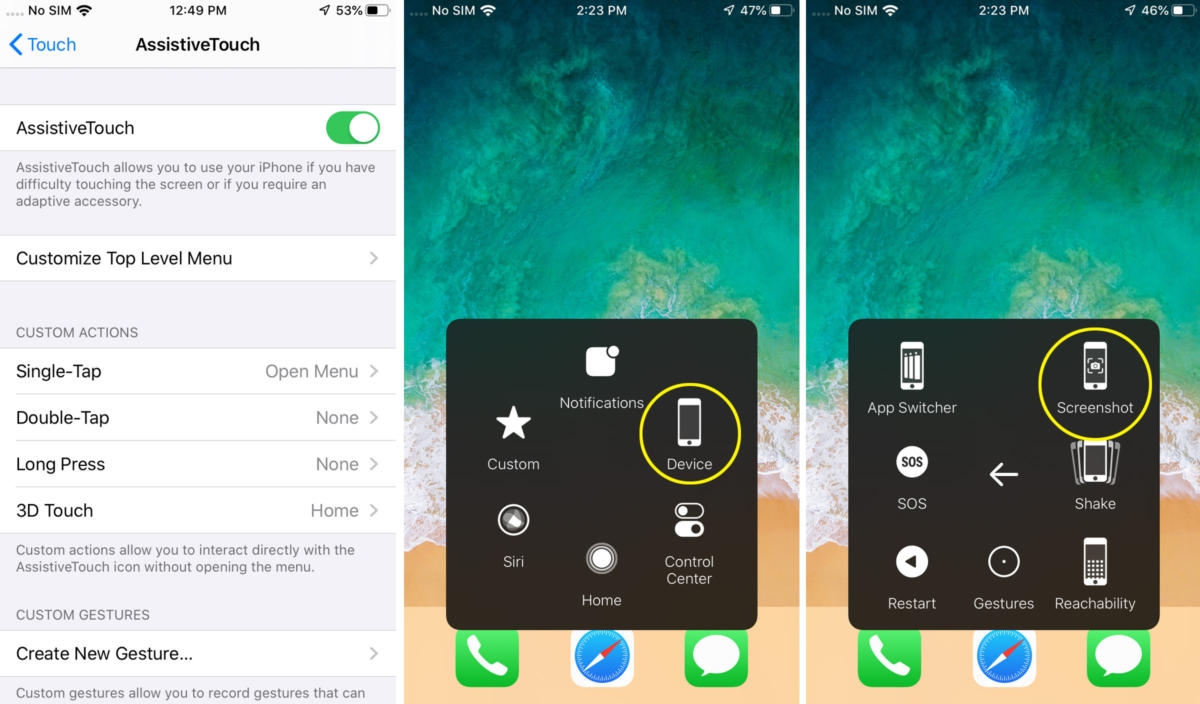
There's one last thing to set up before you can start using it. Well, you could start using it right away by activating the Accessibility Shortcut, tapping the on-screen AssistiveTouch circle, choosing "Device," then "More," then "Screenshot," but that's too much work. Instead, you'll want to assign the screenshot tool to a gesture, such as tapping the AssistiveTouch circle once.
Go to Settings –> Accessibility –> Touch –> AssistiveTouch, then choose "Single-Tap," "Double-Tap," or "Long Press," depending on how you want to take the screenshot after tripping the Accessibility Shortcut. If you want to use "Single-Tap," which is the quickest, tap that and change it from "Open Menu" to "Screenshot," then exit the settings.
Now, triple-click the Side button or touch the Accessibility Shortcuts control in Control Center and choose "AssistiveTouch," and you'll see the AssistiveTouch on-screen circle appear. Tap that once (if you chose the single-tap action), and your iPhone will take a screenshot.
The gray circle for AssistiveTouch will temporarily disappear during each screenshot, so you won't see that in any of your images captured. When you're done taking screenshots, you can exit AssistiveTouch just like you activated it.
6. Use QuickTime on a Mac
 |
| Photo: support.apple |
Normally, QuickTime Player on macOS is a good option for screen recording your iPhone whenever you don't want the red bubble to appear that the built-in iOS screen recorded shows on many screens. However, it can also be used to take screenshots of your iPhone's screen.
This comes in handy whenever the regular screenshot tool won't capture an element on the screen, such as a screenshot's thumbnail or the AssistiveTouch gray circle.
To do so, connect your iPhone 12, 12 Pro, 12 Pro Max, or 12 mini to your Mac via a Lightning to USB or Lightning to USB-C cable, depending on your Mac model and available ports. If you see the "Unlock iPhone to Use Accessories" message appear on your iPhone, unlock your iPhone with Face ID, Touch ID, or your passcode. Then, you may have to "Trust" the computer before a data connection will work, which involves hitting "Trust" on your iPhone and entering your passcode.
Now that that's all out of the way, open QuickTime Player on macOS. When it opens, click on "File" in the menu bar, then "New Movie Recording."
Likely, your Mac's camera will turn on, so you'll need to switch the input to your iPhone. In the video feed that opens, click the drop-down icon next to the record button, then choose your iPhone model as the "camera."
The recording window should change to your iPhone's screen. You can adjust the window's size just like any other window on macOS, and it will adjust the resolution of the screenshot accordingly (it won't be the same resolution as a screenshot taken directly on iOS).
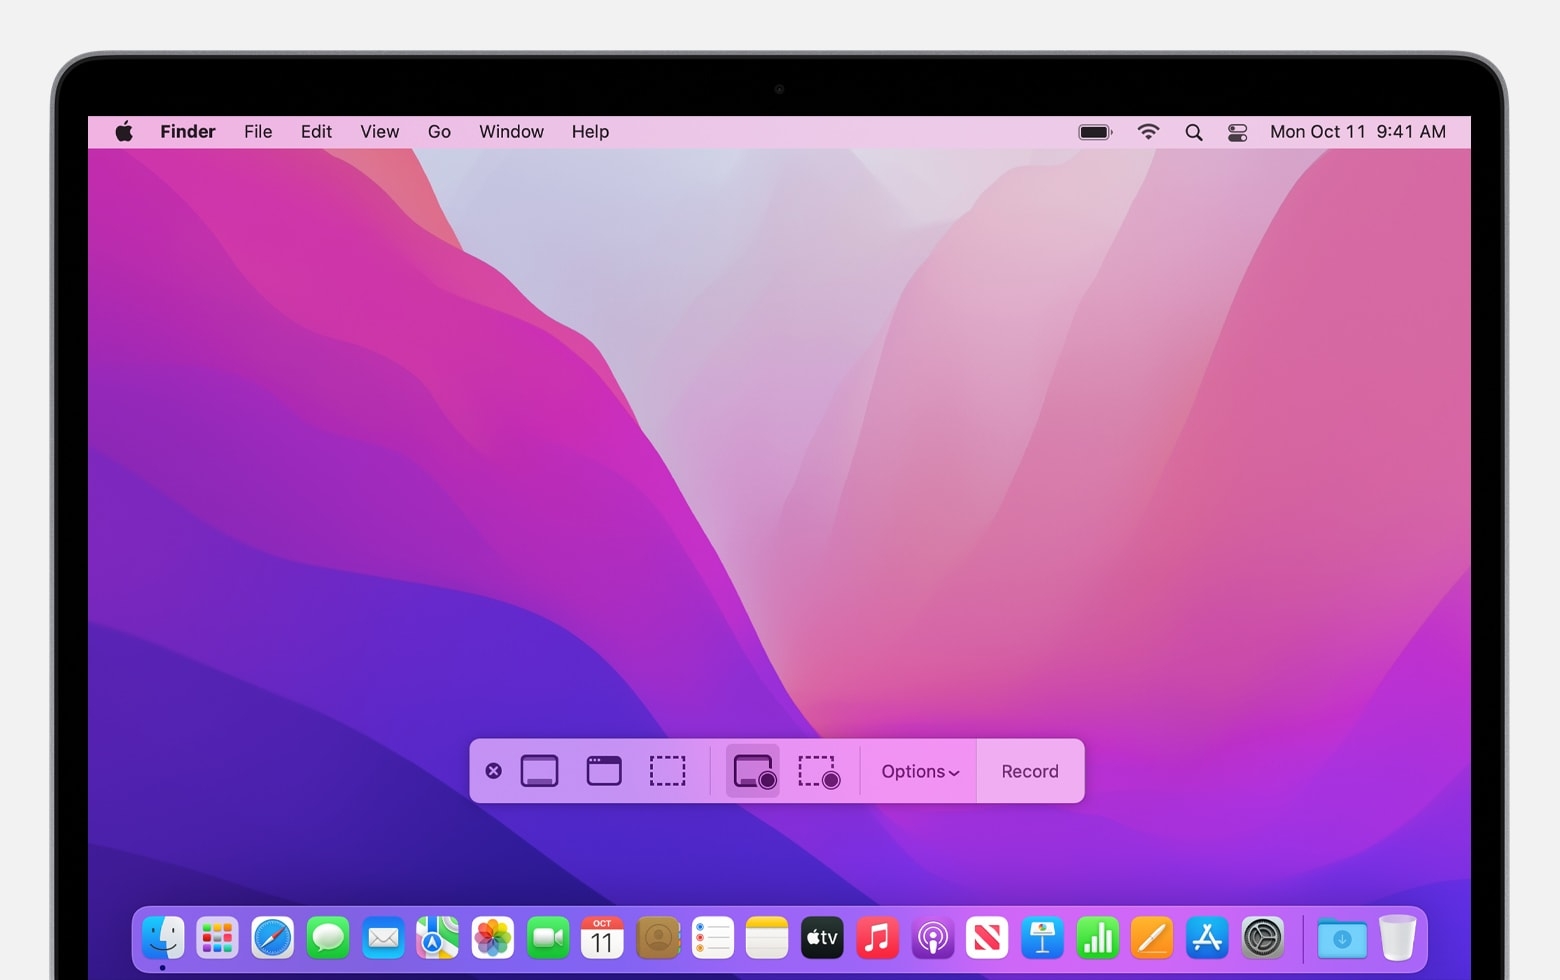
To take a screenshot, make sure your mouse is not on the window (so you don't capture the player controls), then use Command-Shift-5 to open the screenshot tool for macOS right to window capture mode.
Now, hover your mouse, which should now be a camera icon, over the window. Whenever you're ready, left-click to take the image. However, it will take the image with a drop-shadow. To avoid that and get a drop-shadow-less screenshot more like one you would take on the iPhone directly, hold down the Option key while left-clicking the window.
After taking a screenshot, you'll see a floating thumbnail similar to on iOS; click on that to open up a Preview window to edit or share the screenshot right away.
Screenshots are saved to your Desktop by default, but you can change that after using Command-Shift-5. Click on "Options" in the menu that appears, then choose another location to save screenshots. From here, you can also disable the floating thumbnail and enable a timer. Below, you can see the difference between the two types of window screenshots macOS will take.
How to Take an iPhone Screenshot without ButtonsWith Back Tap in iOS 14, a quick double or triple tap on the back of your iPhone can open Control Center, take a screenshot, trigger accessibility-specific actions, and more. Turn on Back Tap
You can even set a double or triple tap to trigger an Accessibility Shortcut to quickly access features like AssistiveTouch, Siri Shortcuts, Magnifier, Reachability, and VoiceOver. |
How to take a screenshot on iPhone 12 mini, 12, and 12 Pro
 |
| Photo: iphonehacks |
- From any screen, click in the volume up and the side button (lock button) at the same time. You should see an animation for the screenshot taken.
- In the bottom left corner you’ll see a preview — tap it to make edits or tap-and-hold to immediately share the screenshot to an app, AirDrop, or another share.
- If you decide to edit or markup your screenshot, you’ll see the below screens. Tap “Done” in the top-right corner and you’ll be given the option to either “Save to Photos” or delete the screenshot(s).
Where Are Screenshots Saved on the iPhone 12?
No matter what method you used to capture a screenshot on your iPhone 12, you can find the screenshot you just took by opening the Photos App and navigating to Album > Screenshots. You’ll also see the screenshot in the “Recents” section of the app. The iPhone captures screenshots as PNG files.
While viewing your screenshot in the Photos app, you can edit it or share it just like you’d share any photo on your iPhone. You can also delete your screenshots by choosing “Select,” tapping the photos that you want to delete, and then tapping the trash can icon in the corner.
 How To Delete Music From iPhone via App, Setting How To Delete Music From iPhone via App, Setting Check out the seay ways to delete music from iPhone via music app and setting. |
Third-party apps for scrolling screenshots on iPhone
 |
| Photo: gizmochina |
Another option for taking scrolling screenshots of content inside third-party apps or for more manual control is using an app like Picsew or Tailor.
Picsew does have a higher average rating but both have been optimized for iPhone 12/13 as well as older iPhones. You can try out both for free before deciding to buy the full versions via in-app purchase.
Tailor
One of the reasons we like Tailor is because it is automated. It seems to be able to intuitively know which screenshots you want to stitch together, but you will need to make sure that your screenshots have “clues” of the previous image so that the app knows that they’re related, but otherwise it’s a pretty quick and easy process.
- Take the screenshots you want first
- Launch Tailor
- If your screenshots were taken correctly, the app will find them and stitch them together right away
- Take a look at the final result and if you’re happy, tap the Share button and save it to your device
Picsew
Picsew is a third-party app that allows you to stitch multiple normal screenshots into a single long screenshot, similar to what a scrolling screenshot would look like. It is free, simple to use, and gets the job done perfectly well. Also, it saves the screenshot as an image and not a PDF which is a lot more convenient.
There are no restrictions to using Picsew and it works for screenshots taken across the device, and in all apps, so if you’re not using a first-party app, this is the only way to capture a scrolling screenshot on an iPhone.
- Take your screenshots
- Launch Picsew
- Select the photos you want to stitch together and tap Scrollshot
- Tap the Share button at the top right corner to save it
Long Screenshot Shortcut
You can also use a shortcut to take long screenshots on your iPhone. The Long Screenshot shortcut lets you merge multiple screenshots into one. It also offers the option to select the header and footer of the final screenshot. This is a shortcut that you use after taking multiple screenshots.
How to Take an iPhone 13 Screenshot
 |
| Photo: 24hstore |
The easiest way to take a screenshot on an iPhone 13 is by using two buttons on either side of the phone. To do so, briefly press the Volume Up button (on the left side of the iPhone) and the Side button (on the right side) at the same time.
It can be kind of tricky, but if you hit them both at exactly the same time, you’ll hear a shutter sound effect (unless your volume is muted). A thumbnail of the screenshot you just took will appear in the lower-left corner of the screen.
If you ignore the thumbnail in the corner, it will disappear after a moment. Or you can swipe it away to the left to get rid of it.
When the thumbnail disappears, your iPhone 13 automatically saves the image to your Photos app. As of December 2021, there is no way to disable the thumbnail preview, but that might change in a future version of iOS.
How to Edit an iPhone Screenshot Just After Taking It
Remember the thumbnail that appears in the corner of the screen after you take a screenshot? If you tap it, you’ll see a special editing mode where you can crop, rotate, or annotate the image before saving it.
You can also delete the screenshot if you don’t like it at this point: Just tap the trash icon in the upper-right corner. When you’re done in edit mode, tap “Done” in the corner of the screen, then select “Save to Photos.” Your edited screenshot will be saved to your Photos app.
How to Create a Long Screenshot on iPhone?You can create scrolling screenshots on your iPhone easily, as you know how to take a simple screenshot on your iPhone. Make sure your iPhone running on iOS 13 or newer (iOS 14), then there’s no need to sideload any third-party app. Follow the below mention step and you can create a scrolling screenshot smoothly.
|
 How To Transfer Music, Photo From Computer to iPhone How To Transfer Music, Photo From Computer to iPhone The best tips to transfer music or photo from your computer to iPhone and from iPhone to computer. |
 How To Delete Music From iPhone via App, Setting How To Delete Music From iPhone via App, Setting Check out the seay ways to delete music from iPhone via music app and setting. |
 How To Convert Images To PDFs On iPhone and iPad How To Convert Images To PDFs On iPhone and iPad What should we do if we want to convert images into PDF files on iPhone or iPad? Don't worry. This article will show you the ... |


