Top 4 Keyboard Shortcuts to Take a Screenshot Like a Pro on Windows 11
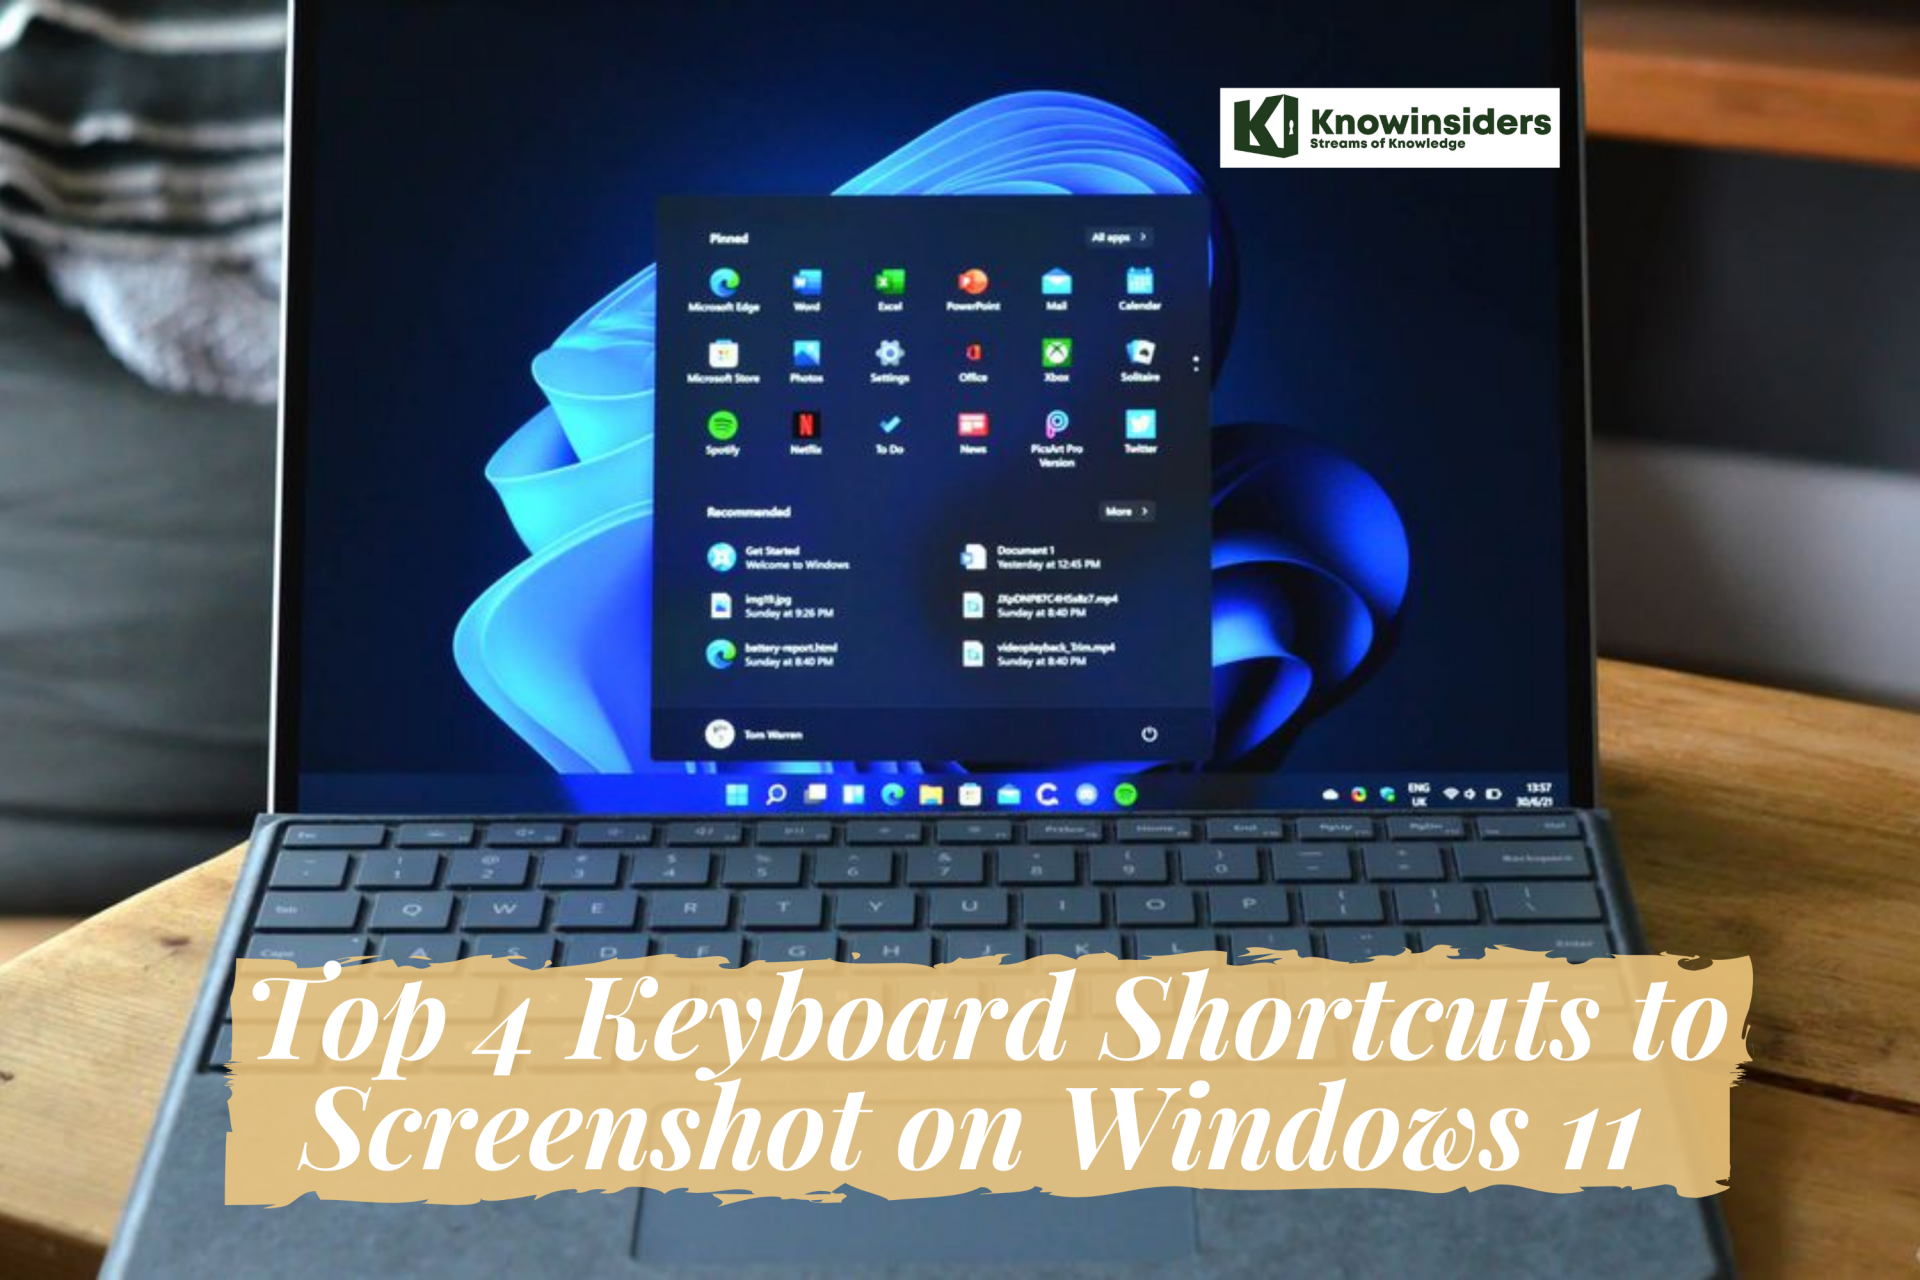 |
| Windows 11 - How to screenshot. Photo: KnowInsiders |
And when you quickly want to take and share screenshots, the best way to do so is through keyboard shortcuts. Keyboard shortcuts add a lot to your productivity, but only if you know which ones to use to do what.
Why Take Screenshots?
Why should you care about taking high-quality screenshots? Because now, more than ever, we speak through pictures.
Photography used to be a time-consuming, expensive endeavor. You'd try hard to make each picture count. No one ever took photos of their parking spot to keep from losing their car, or of a price tag in a store just to comparison shop.
Smartphones changed that. Now everyone carries a camera, and pictures are for more than special occasions. Sure, we take pictures of sunsets and babies, but also of receipts, our refrigerators, street signs, and ourselves (lots of pictures of ourselves).
Top 4 Keyboard Shortcuts to Take a Screenshot
Method 1: Print Screen Key: Copy Screenshot to Clipboard
The easiest way to take a screenshot on your Windows 11 PC is by pressing the “Print Screen” key (often labeled as PrtScr or PrtScn). You can find the Print Screen key at the top-right section of your keyboard (usually next to the F12 key).
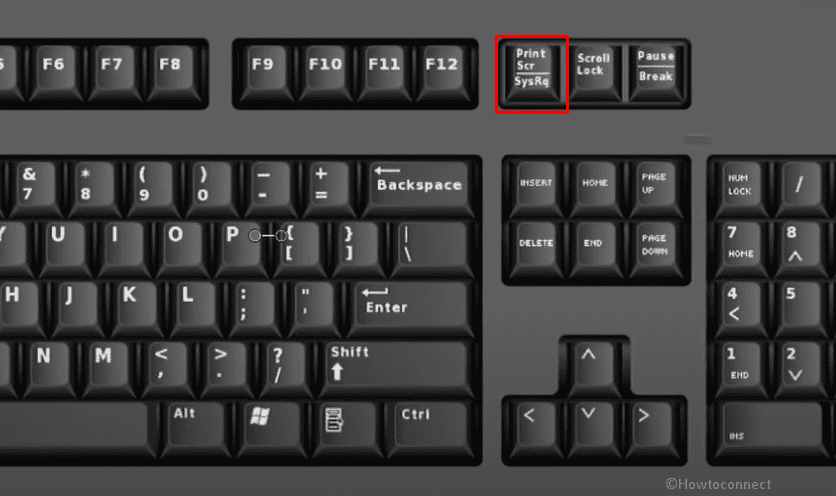 |
| Photo: howto-connect |
Now, pressing the Print Screen key will take a screenshot of the entire screen, and the image file will be saved to the Windows clipboard. You can then paste it in Paint, Paint 3D, or any other image editor of your choice before you can save it.
Method 2: Windows + Print Screen Shortcut: Auto-save Screenshot
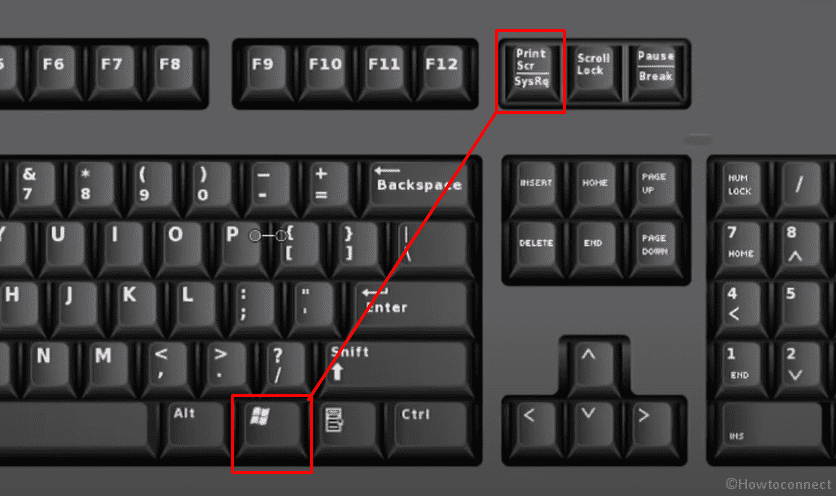
Another easy way to take screenshots on your Windows 11 computer is by using the Windows shortcut “Windows + Print Screen“.
 |
| Photo: howto-connect |
To do that, press the Windows key and Print Screen key on your keyboard at the same time. You will see the screen dim momentarily and brighten back up, which signifies a successful screen capture. This will automatically save the image in the “Screenshots” folder inside the “Pictures” folder on your computer.
Method 3: Alt + Print Screen Shortcut: Take a Screenshot of Active Windows
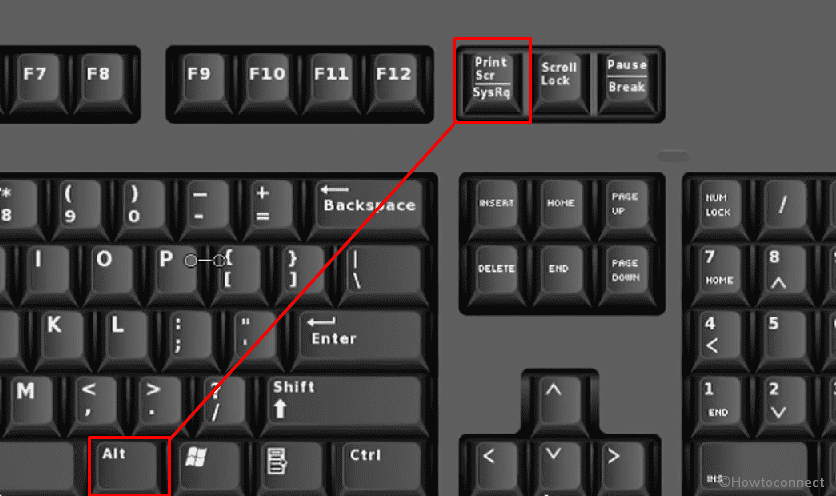
While the two previous methods see you take screenshots of the entire desktop, you can also capture just the active window instead of the entire desktop in Windows 11.
 |
| Photo: howto-connect |
To do that, you can make use of the “Alt + Print Screen” keyboard shortcut. Like the first method, this also copies the screenshot to the Windows clipboard. That means you need to then paste it into an image editor like Paint or Paint 3D before saving it in a format of your choice.
Method 4: Windows + Shift + S: copy a specific portion of the Windows 11 desktop to the clipboard
This keyboard shortcut will unlock a tool that has been around Windows since Vista. The Snipping Tool is a tool that first appeared in Windows Vista in 2002 as a PowerToys tool.
Microsoft is deprecating Snipping Tool in favor of Snip and Sketch, and it’s easy to see why. The latter is a more refined version of the Snipping Tool and comes with a feature-rich image editor.
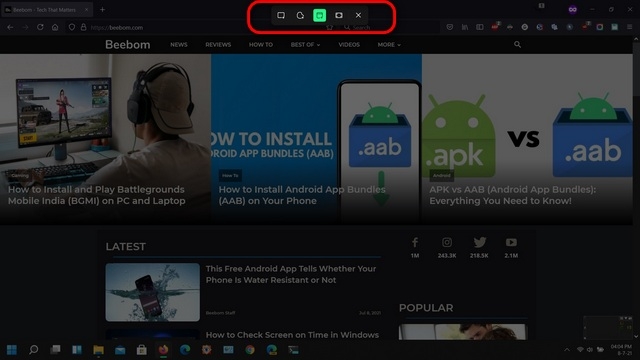
* Once you use the said shortcut, the screen will immediately dim, and the Snip and Sketch ribbon with all the screenshot options will open up on your desktop. Using the ribbon at the top, you can now choose from four options
- A full-screen screenshot,
- A rectangular snip,
- A free-form snip, or
- A screenshot of the active window.
 |
| Photo: beebom |
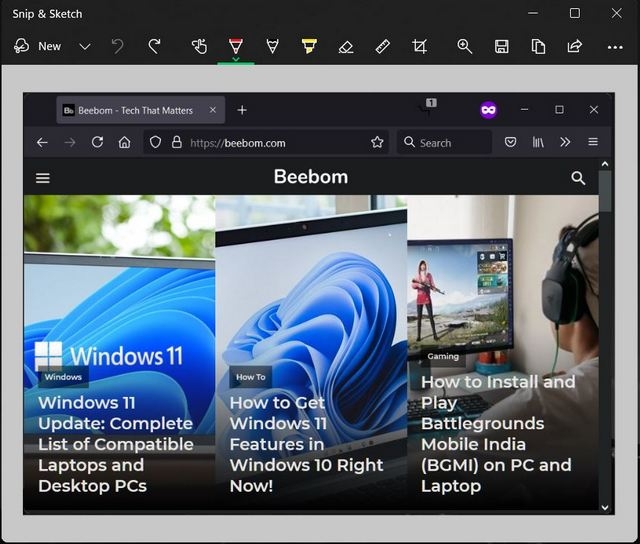
* Once you take a screenshot, it will immediately be copied to the clipboard. You can now paste it into an image editor and save it in any format at a location of your choice. You also have the option to directly edit and annotate the screenshot within the Snip and Sketch app. To do that, you can tap on the notification from Snip and Sketch in the Notification Center after capturing a screenshot.
 |
| Photo: beebom |
* You can now edit and annotate your screenshot using Snip and Sketch’s built-in image editor. Windows 11 offers a myriad of editing tools, including the option to flip or crop the screenshot, highlight content, add text, and more.
 |
| Photo: beebom |
| Note: Unlike the Action Center in Windows 10, the Notification Center in Windows 11 does not have a dedicated button. Instead, to access Notification Center in Windows 11, you will need to click on the Date & Time widget from the System Tray at the bottom-right corner. |
How to Take High-Quality Screenshots
Screenshots are more than just pictures of software—they're pictures of your workspace, with all the info you might see right now. That's why you shouldn't just snap a random screenshot.
Think carefully about what's on your screen and why you're shooting it, to make sure your screenshots are perfect for their intended purpose. Here are a few pointers:
* Consider what the screenshot is for. Making a software tutorial? You'll want to show the entire app, and perhaps add an arrow to point out features and guide your readers. Bug reports might need to show the broken part of the app. And just-for-fun screenshots should be double-checked to make sure they only have the info you want to share.
* Never share private info. Our devices brim with private info, from phone numbers and email addresses to more sensitive data including ID and credit card numbers. They're usually secure on your device, but if you take a screenshot and share it, anyone can see whatever was on your device when you took the screenshot. Be sure the app you're screen capturing doesn't show private data—and if it does, either crop or blur that part out.
* Be careful with auto-upload. Some third-party screenshot tools like Droplr can automatically upload screenshots. That's handy to share a Google Analytics graph with team members quickly, but be careful about sharing sensitive items. When it comes to your privacy, the convenience might not be worth the risk.
* Don't show too much. Trying to point out a bug in an app? Don't share a full-screen screenshot. Instead, crop the screenshot to show just the app—then perhaps add an arrow to point out the problem.
* Don't show too little, either. A screenshot of only the bug might not give enough context, though. Typically, it's best to share a screenshot of the full app or at least the main parts of the app.
For more interesting news of KnowInsiders, check out right below!
 Easy Ways To Take Screenshots On Laptop/PC For Windows, MacOS Easy Ways To Take Screenshots On Laptop/PC For Windows, MacOS Check out this guide on easy ways to take screenshots on laptop/ PC on Windows and MacOs in the article below. |
 How To Take Screenshot on Windows or Laptop: Best Methods How To Take Screenshot on Windows or Laptop: Best Methods Check out the article below as a detailed guide on how to take screenshot on Windows or laptop with different methods. |
 How To Take and Send A Screenshot on WhatsApp Web With Simplest Steps How To Take and Send A Screenshot on WhatsApp Web With Simplest Steps To learn how to send a screenshot on WhatsApp Web with best ways, keep reading the article below. |

