How To Take Screenshot on Windows or Laptop: Best Methods
 |
| How to take a screenshot on Windows or laptop |
Everybody knows how to take a screenshot on their phones, but what about when using a laptop or computer?
It's not the most complicated thing to do, but how to actually take a screenshot isn't always that obvious or apparent. Given how useful they can be for work reasons, or for showing friends something that they really ought to see online, taking screenshots is something that everybody should know how to do.
But, using a Windows PC or laptop, there are several ways to do it, and the options go beyond the classic Print Screen key.
The Basic Windows Method: Print Screen Key
This method works on any version of Windows, including Windows XP and 95.
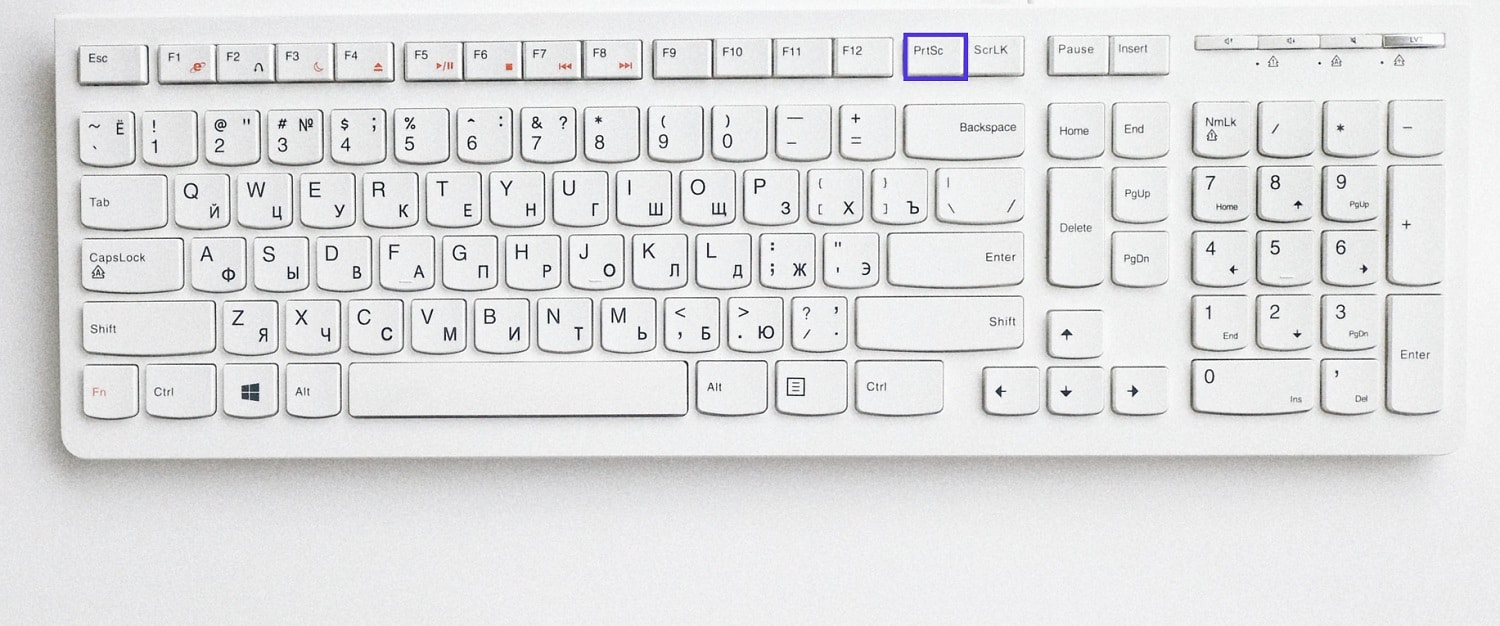
Standard keyboards for Windows computers include a dedicated key to capture your screen. It looks something like this:
 |
| Photo: Kinsta |
The print screen key says “Print Screen,” “PrtSc,” or “PrtScn,” depending on your keyboard and country. It’s typically in the top right corner beside the final F12 key.
Note: On some newer keyboards, especially on laptops, you need to hold down the “Fn” or “Function” key while pressing “PrtSc” to capture the screen.
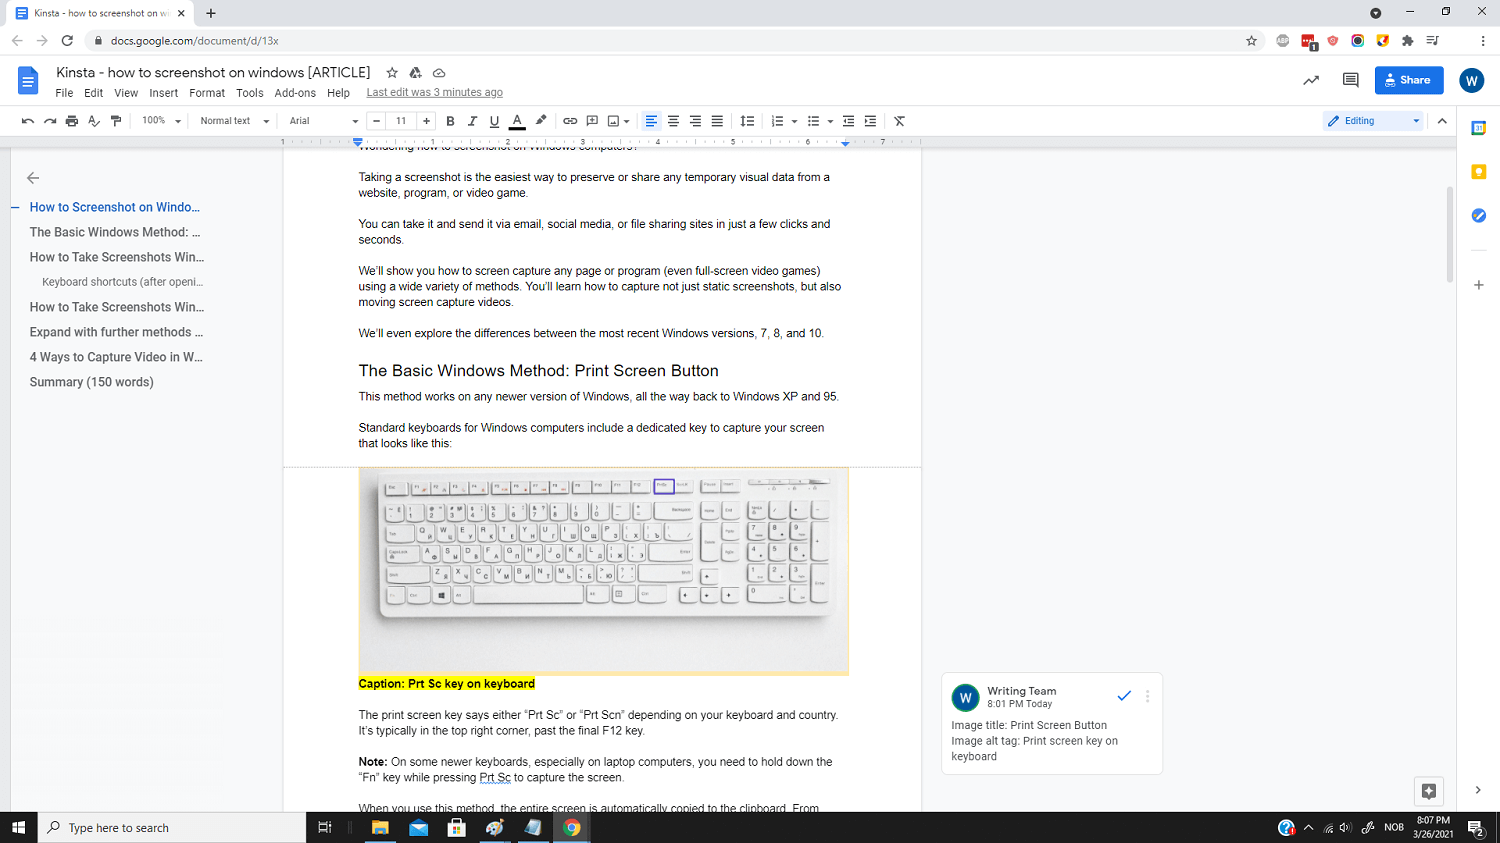
When you use this method, the OS copies the entire screen automatically to the clipboard. From there, you can directly paste it into an email, social media platform, or messaging app. You can even start editing it in an image editing software like Photoshop or even MS Paint.
 |
| Photo: Kinsta |
| Note: One disadvantage of using this method is that it automatically captures the entire screen, including the toolbar and tab bar of your screen. Manually cropping can lead to inconsistent screenshot sizes. |
Method 2: How to take screenshot on Windows with Snip & Sketch
The Snip & Sketch tool is easier to access, share and annotate screenshots than the old Snipping Tool. And it can now capture a screenshot of a window on your desktop, a surprising omission when the app was first introduced that kept us on Team Snipping Tool until recently.
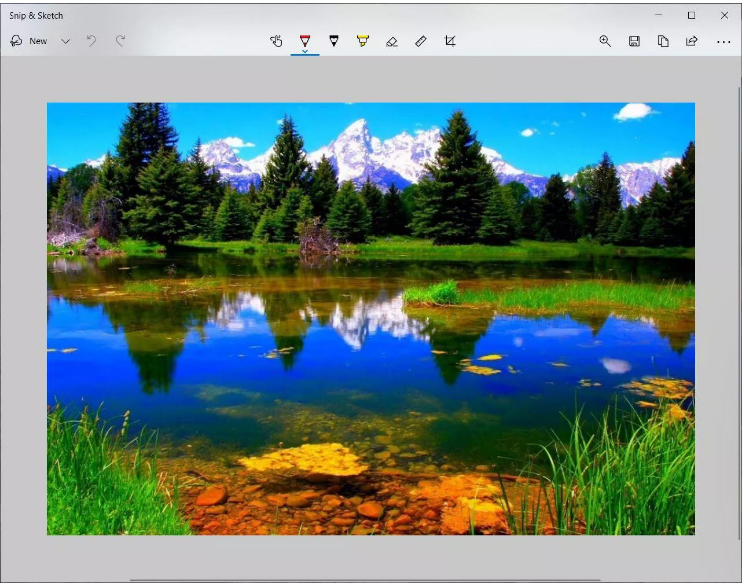
The easiest way to call up Snip & Sketch is with the keyboard shortcut Windows key + Shift + S. You can also find the Snip & Sketch tool listed in in the alphabetical list of apps accessed from the Start button as well as in the notification panel where it listed as Screen snip. Or you can just search for it if you don't commit the keyboard shortcut to memory.
 |
| Photo: CNET |
Either the keyboard shortcut or the notification button will dim your screen and open a tiny menu at the top of your screen that lets you choose which type of screenshot you want to take -- rectangular, free-form, window or full-screen. Once you take your screenshot, it will be saved to your clipboard and show up momentarily as a notification in the lower-right corner of your screen. Click the notification to open the screenshot in the Snip & Sketch app to annotate, save or share it.
If you open Snip & Sketch from the Start menu or by searching for it, it will open the Snip & Sketch window instead of the small panel at the top of the screen. From here, you need to click the New button in the upper-left to initiate a screen capture and open the small panel. It's an extra step to proceed this way, but it also lets you delay a screenshot. Click the down-arrow button next to the New button to delay a snip for 3 or 10 seconds.
Method 3: How to Take Screenshots in Windows 7, 8, 10 with the Snipping Tool
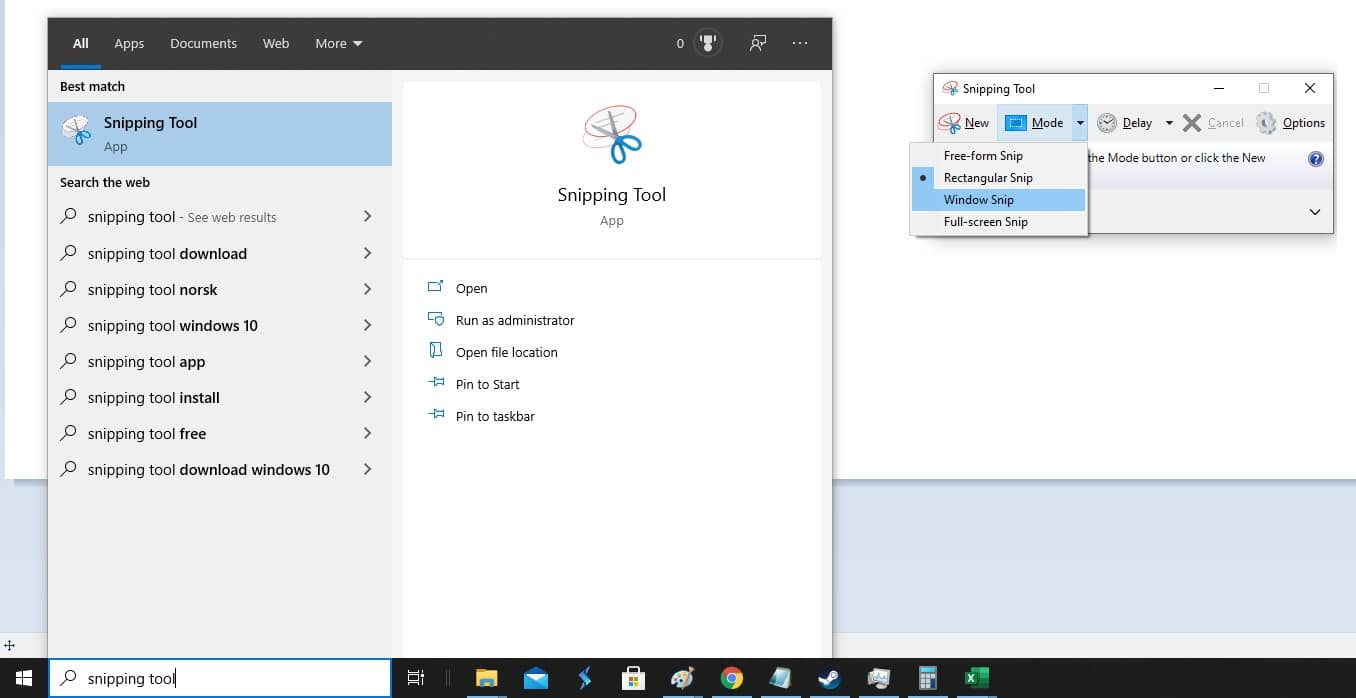
All recent versions of Windows, including 7, 8, and 10, include the Snipping Tool. You can easily open it by searching for it in the toolbar search.
Press the Windows key to open the toolbar and jump to Windows search. Alternately, you can also use the Windows + S shortcut to summon Windows search. However, note that in Windows 7, you must manually select the search field before you can type out the keyword. Type in “Snipping Tool” and press Enter.
| Note: There’s no keyboard shortcut to open the Snipping Tool. It would be best if you did that manually. In Windows 10, the updated version of this app can be opened with a shortcut—more on that later. |
 |
| Photo: Kinsta |
Pressing the Enter key after typing the correct phrase will open the program automatically.
It has various modes, including free-form screenshots, but the basic form is a rectangular screenshot shape. But at least it gives you more flexibility than just pressing the print screen key.
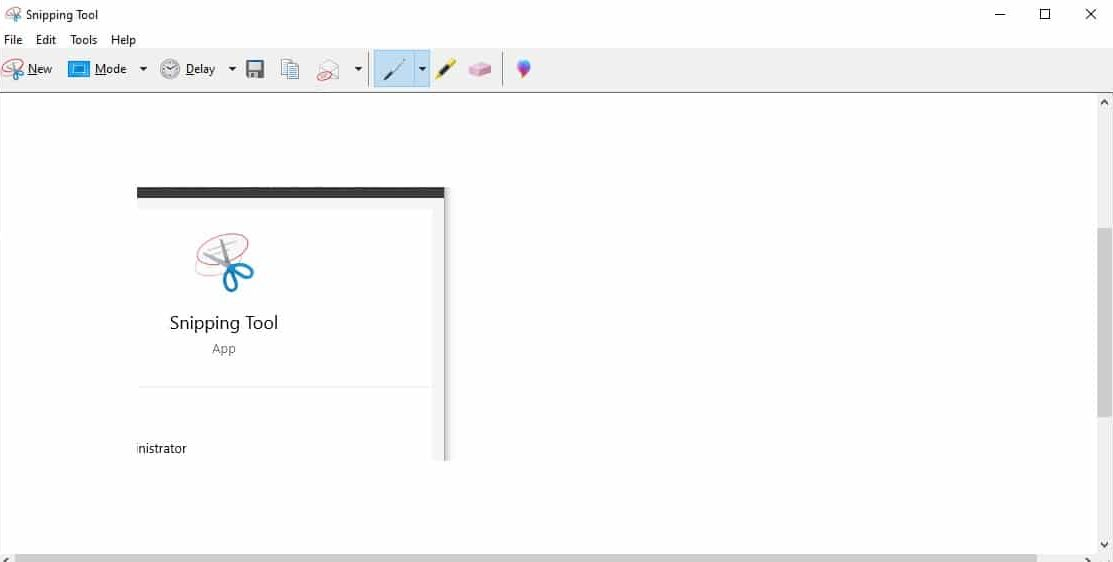
Once you initiate the “Snipping” by clicking the “New” button, the whole screen goes gray. You can then select the area you want to capture and save.
 |
| Photo: Kinsta |
You can now edit the screenshot with the pen, highlighter, and eraser tools. It also offers a few unique options compared to copying and pasting something into Paint, such as the Delay mode for taking delayed (timed) screenshots. You can also highlight something in the screenshot and email it directly from the Snipping Tool.
Once it’s open, you can also use many shortcuts to work faster.
In the table below, we break down all the keyboard shortcuts (only available after opening the Snipping Tool):
| Keyboard Shortcut | What It Does |
| Ctrl + PrtScn / Alt + N | Takes a new screenshot with the Snipping Tool app (when it’s open). |
| Alt + M | Changes between different modes (free-form, rectangular, window, and full-screen). |
| Alt + D | Sets a delay for the screenshot. |
| CTRL + S | Saves the screenshot. |
| CTRL + C | Copies the screenshot to your clipboard. |
Method 4: How to Screenshot with LightShot
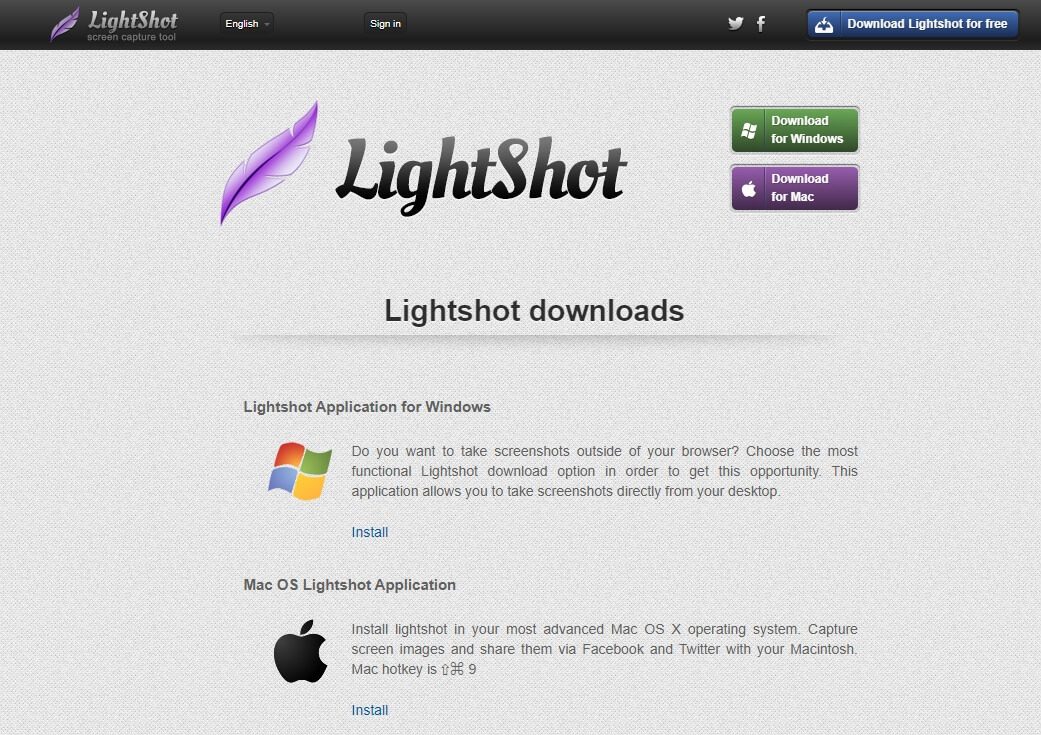
Lightshot is a lightweight—surprise—and easy-to-use screenshotting software. To use third-party software like LightShot, the first thing you need to do is download the program.
Visit the download page on the official website, and download the Windows version using the appropriate button or link.
 |
| Photo: Kinsta |
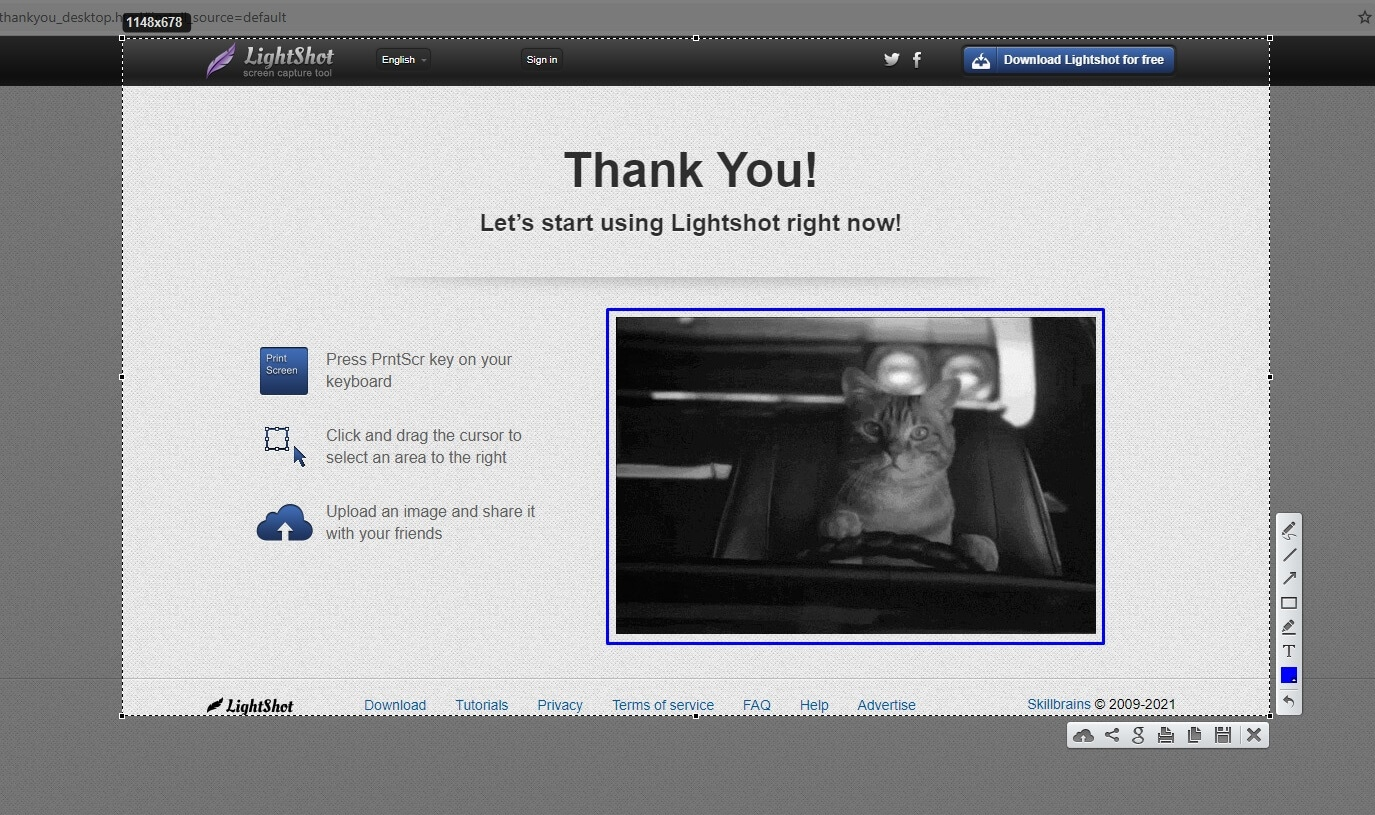
Once installed, it automatically overrides the regular PrtScn key command. Every time you press that key, now you open up the LightShot interface.
You can select an area of the screen to capture and add simple text, rectangles, or arrows. You can edit the thickness of the lines and elements by using your mouse scroll. If you don’t have a mouse plugged in, try swiping two fingers on your touchpad.
 |
| Photo: Kinsta |
To save the files, you can either press the save icon or use the Windows standard Ctrl + S shortcut. It keeps the files in the /Documents/Lightshot/ folder by default. But you can change that folder and easily save files in other locations.
It’s not super powerful, but it’s fast and effortless to use.
Method 5: How to Screenshot with Windows Logo + Volume Down
If you're rocking a Microsoft Surface device, you can use the physical (well, sort of physical) buttons to take a screenshot of your entire screen -- similar to how you would take a screenshot on any other phone or tablet. To do this, hold down the Windows Logo touch button at the bottom of your Surface screen and hit the physical volume-down button on the side of the tablet. The screen will dim briefly and the screenshot will be automatically saved to the Pictures > Screenshots folder.
Method 6: How to Screenshot with Game bar
You can use the Game bar to snap a screenshot, whether you're in the middle of playing a game or not. Hit the Windows key + G key to call up the Game bar. From here, you can click the screenshot button in the Game bar or use the default keyboard shortcut Windows key + Alt + PrtScn to snap a full-screen screenshot. To set your own Game bar screenshot keyboard shortcut, to Settings > Gaming > Game bar. Backing up a bit, you'll also need to enable Game bar from this settings page by making sure you've toggled on Record game clips, screenshots, and broadcast using Game bar.
 How to Calculate and Convert Ounces to Grams: Check The Easiest Ways How to Calculate and Convert Ounces to Grams: Check The Easiest Ways To learn how to convert ounces to grams in weight, and vice versa, keep reading the article below for a detailed guide. |
 How to Calculate and Convert Grams to Milligrams: Check the Simplest Ways How to Calculate and Convert Grams to Milligrams: Check the Simplest Ways To learn more on how to convert grams to milligrams in the best ways, keep reading the article below. |
 How to Calculate and Convert Mph to Kph: Easiest Ways How to Calculate and Convert Mph to Kph: Easiest Ways Check out the guide on how to calculate and convert miles per hour to kilometre per hour in the article below. |
 How to Convert DVD to MP4: Best Methods to Change How to Convert DVD to MP4: Best Methods to Change Since the development of modern technology, DVDs have been a lesser choices in watching movies. Here is a detailed guide on how to convert DVD ... |

