Simple Ways to Convert Video Formats on the Mac Using Movavi - A Complete Guide
 |
| Simple Ways to Convert Video Formats on the Mac Using Movavi |
Movavi Video Editor is quickly gaining attention in the graphic design and editing world. Offering a user-friendly interface with a rich selection of capabilities, Movavi promises to help people from all backgrounds create amazing video experiences.
The Movavi video editor first arrived on the market back in 2004 – the brainchild of a small start-up company full of employees with an eye for video production. As the business grow, the capabilities offered by Movavi increased too. The company even started partnering with brands like NVIDIA and Intel. Plus, they began offering new features alongside video editing too.
We’re going to introduce you to Movavi, and walk you through the video conversion step by step on your Mac.
What Is Movavi Video Editor?
It is a simple video editing program that’s aimed at the casual and enthusiast markets. You definitely wouldn’t want to use it for a professional project, but it’s more than capable of creating movies for sharing on the web or with your friends and family.
It has now reached version 12 (for Windows) and version 4 (for macOS) and packs an impressive range of features, including support for 14 different languages which gives it worldwide appeal.
Who's This for?
Do you love shooting videos with your smartphone or a digital camera but hate showing those videos to others because you made some common mistakes? Those mistakes can include:
- Filming in settings that are too dark or too light
- Cutting the heads off your subjects
- Using the wrong filters or settings
- Making the camera move and shake as you shoot
When you make any of these mistakes, you wind up with videos that are almost impossible to view. Movavi makes a video editing software suite that helps you edit your past work and create new videos that you’ll love showing to others. Not only can you connect multiple sections from the same video together, but you can remove sections from multiple videos and create a brand new file.
While some users with less experience had problems using the software, most found that they could follow the directions and use all the tools with ease. This software is right for anyone who wants to learn basic editing tools and those who want to do advanced editing. While some versions may lack some of the features you want, the full version comes with the most popular editing tools.
What's the best video format?
The answer to this question depends on the purpose of your video. If you want it to be available on the majority of today’s devices, MP4 is undoubtedly the best choice. M2TS is best for Blu-ray players. The Matroska video format lets you insert multiple subtitle tracks, which is great for anyone studying languages. And QuickTime works great for Apple devices.
What is the smallest high-quality video format?
There may be multiple answers to this question since everything depends on the compression method and your experience. Generally, the H.264 video codec is considered one of the best in terms of size and quality. So, if you want the best quality with a small file size, you can choose any container that supports H.264, such as MP4, AVI, or MKV. We recommend using MP4 since it’s widely supported by players, devices, and websites.
Convert between 180+ video file formats
 |
| Photo: comparitech |
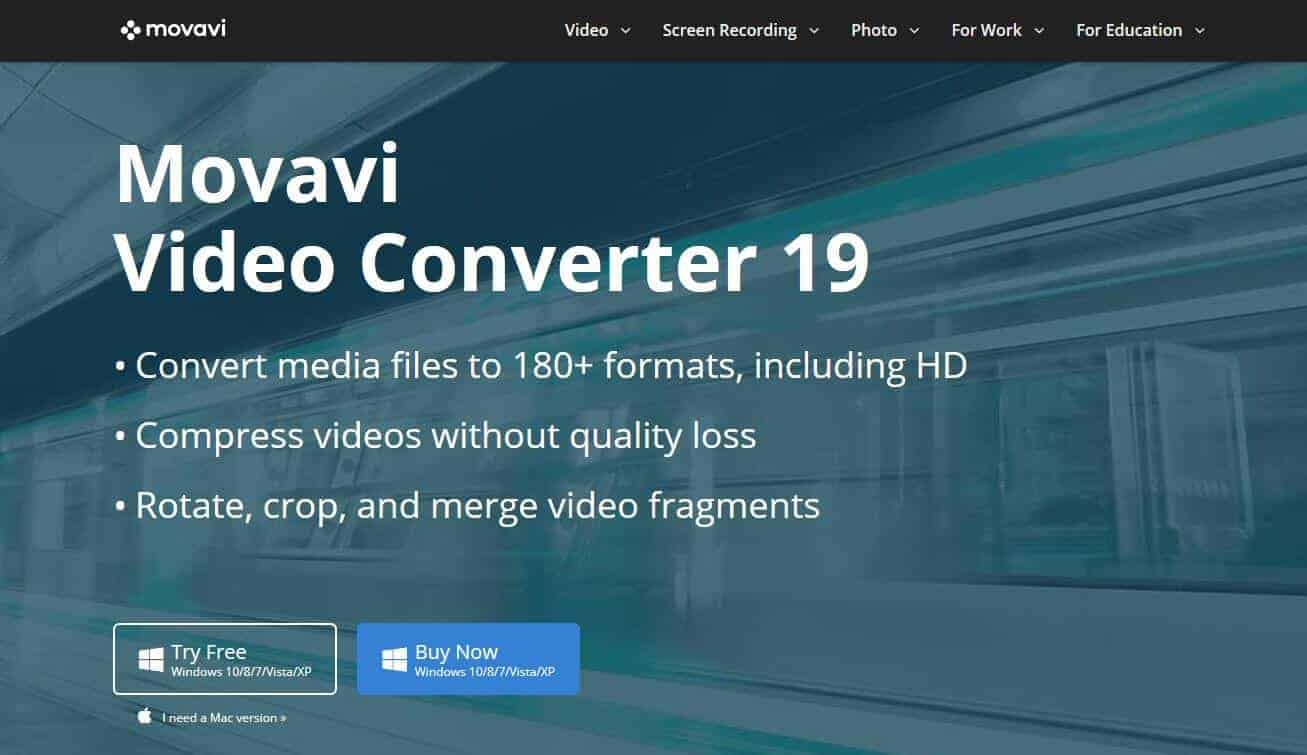
Movavi Video Converter supports more than 180 input and output video file formats and codecs including:
- AVI: H.264, MP4
- MP4: H.263, H.264, H.265, MJPEG, ProRes
- WebM: VP8, VP9
- DivX
- WMV
- … and many more
For example, to convert a MKV file to MP4 to be able to play it directly on your Mac, you’d simply launch Movavi and drag and drop the MKV file into the window. Then, you select MP4 output. Choose a save location and press the Convert button.
The fastest way to convert from MK4 to MP4
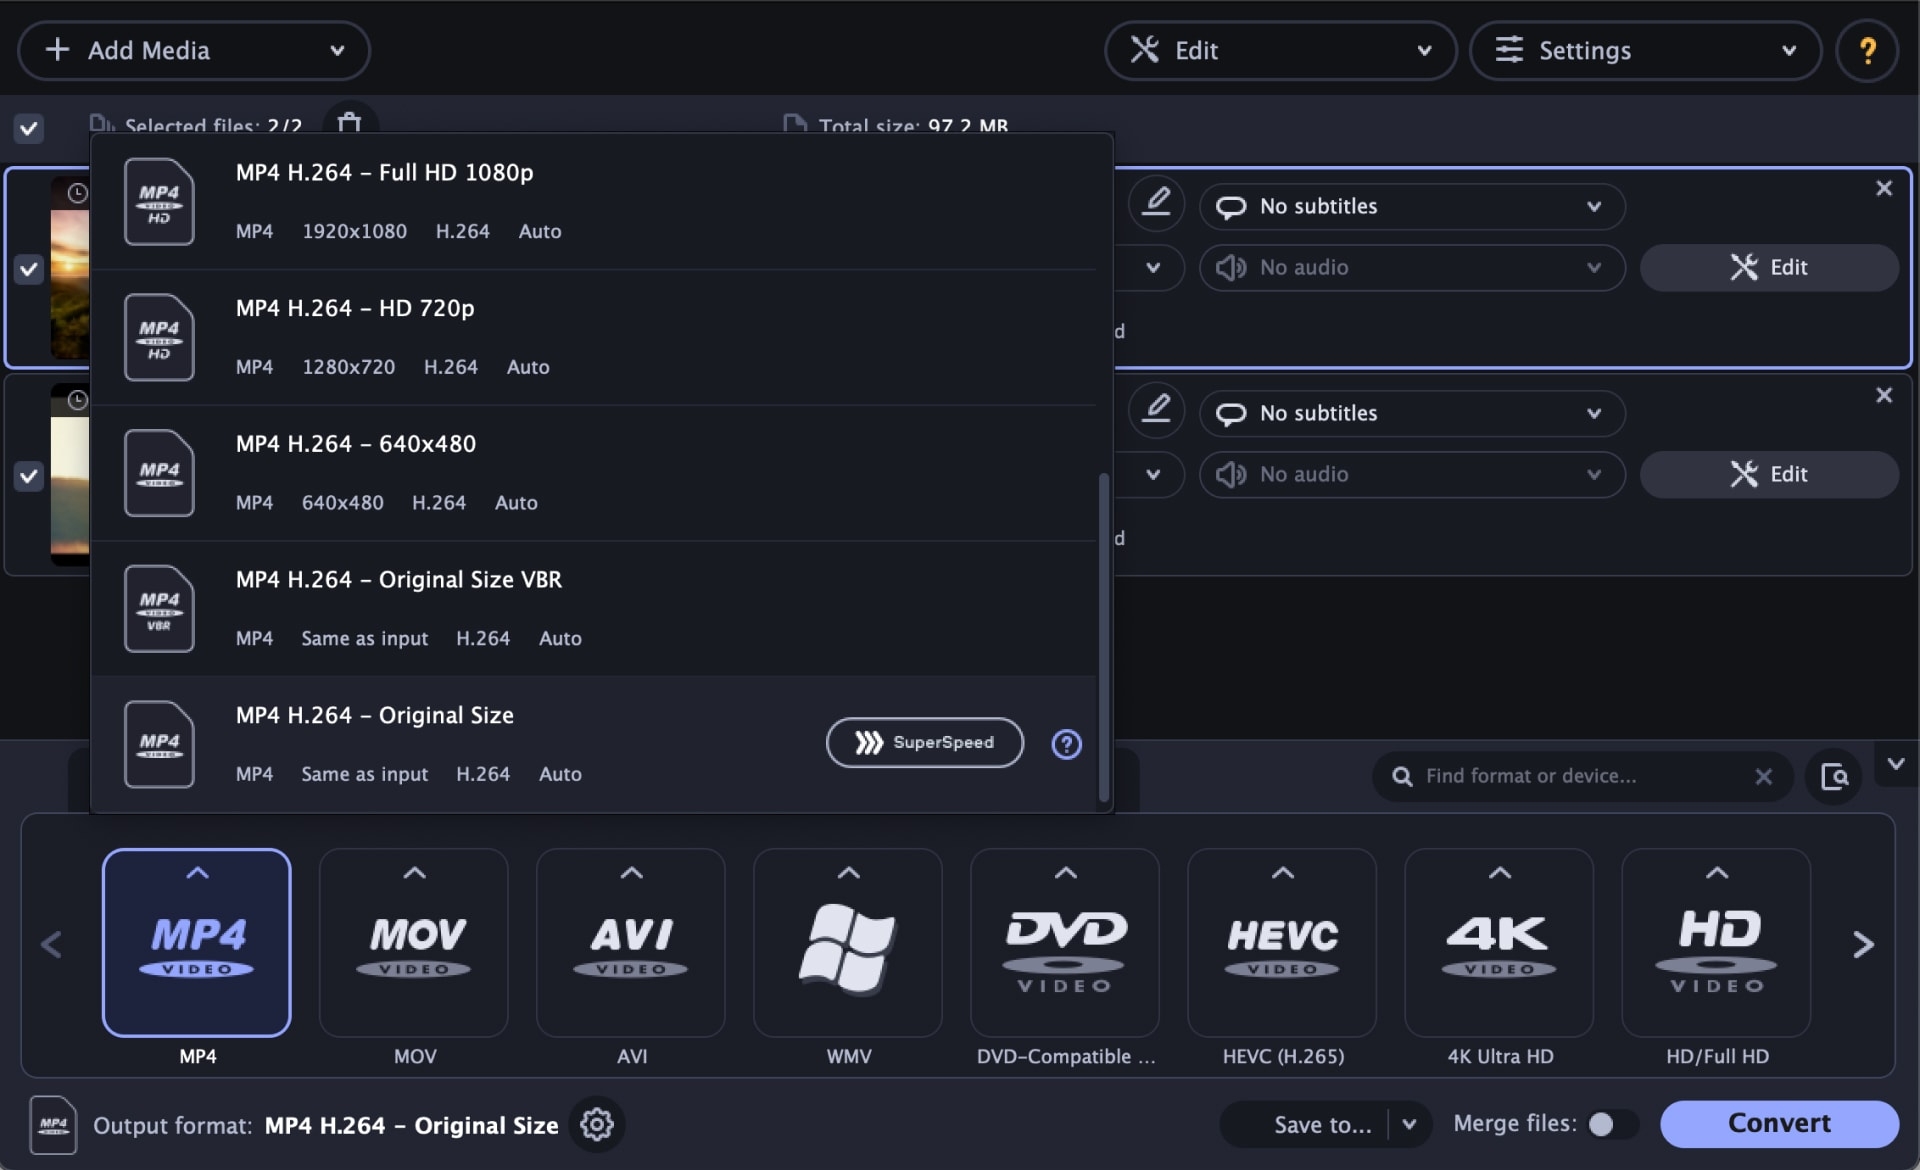
Even better, Movavi has a special SuperSpeed mode, which is the fastest way to convert MKV to MP4. In SuperSpeed mode, the video is transferred to the MP4 container without compression. This means you can quickly change formats without recoding. SuperSpeed mode is not available if resolution or other parameters are customized.
Then download Movavi Video Converter here and get conversion. You can try Movavi for free. In addition to converting between video formats, you can also use Movavi to insert subtitles, edit and trim clips and more.
Movavi has been making software for Mac and PC since 2004, including video editing, photo editing and screen capture tools. They release the package of products in more than 18 languages, available on Mac and PC. Movavi’s software is used by more than 3 million people in 200 countries. Go to Movavi to learn more.
Convert Videos to Any Format in Movavi Video Converter
Converting video clips is useful for so many reasons. You might want to edit the clips, share them without eating up your data limit, or stream them to a TV. In the wrong format, video files can be unsuitable for the intended task.
With Movavi Video Converter, you can convert videos with just three simple steps:
- Select the file(s)
- Choose the output format
- Click Convert
Once converted, a video file might be more suitable for streaming on your home network, or easier to import for editing in Movavi Video Editor Plus.
How to convert videos to and from MP4 on a Mac with Movavi Video Converter
 |
| Photo: cultofmac |
With Movavi Video Converter for macOS, you can easily convert to MP4 on your Mac, optimizing resolution and file size. Thanks to support for all popular formats, you can use the program to convert MOV, MKV, FLV, M4V, MTS, VOB, WebM, WMV, and AVI to MP4, rip unprotected DVDs, or extract sound tracks into MP3 audio files. The software offers a lot of editing options as well. The guide below explains how to change a video format on a Mac in 5 simple steps.
Step 1. Download and install Movavi’s MP4 converter for Mac
Download Movavi Video Converter, open the .dmg file, and install the software according to the instructions in the pop-up window. Then run the program.
Step 2. Open the files for conversion
Click the Add Media button, select Add Video, and add the files you want to convert. Note that the program enables you to convert multiple files in one go.
Step 3. Choose the output format
Go to the Video tab, click on the desired format category, and select the appropriate preset from the list. You can also find ready-made presets for mobile devices in the Devices tab. If you want to change the default parameters for resolution, audio bitrate, etc., you can click the Cogwheel button below the list of formats and make the necessary adjustments there.
Step 4. Trim your video (optional)
You can also trim your video if needed. To do this, click the Edit button and select Trim. Place the cut marker where you want your video to finish and click the Cut button. Now select the fragment you want to cut out and hit Delete. Then hit Save and Close.
Step 5. Convert the video to MP4 on your Mac
Now you can choose the destination folder by clicking the Save to button. Now click the Convert button to process the files and wait until the encoding is finished. The output folder will open automatically unless you've unchecked this option before you started.
How to change the format of a video online?
Here’re some online video file converters you can use: Zamzar, FreeConvert.com, CloudConvert. Simply upload your file and convert it to a video in MP4 or another format. But keep in mind that online converters can process only small files and usually have limitations on the number of conversions per day. Most online converters also don’t support batch conversion.
5 Other Video Converters for Mac
1. Wondershare Free Video Converter for Mac
It is one of the best free video converters for Mac that are compatible with working on OS X 10.6 -10.15 versions. Using this feature-rich program, you can convert both video and audio files in over 1,000 formats like MP4, AVI, MKV, DVD, and others to iOS compatible devices like iPhone, Apple TV, iPad, Apple Generic, and others. The converted files using the Macx video converter are of decent quality, and the conversion speed is also fast. It also allows downloading videos from YouTube and other 10,000 sites to your desired formats. Useful and straightforward editing features like Trim, Crop for personalization are also supported. Meanwhile, you can record your desktop activities with this converter as well.
2. Handbrake for Mac
It is a widely-used open-source video converter Mac that supports an array of input formats, but the output formats are only MP4, M4V, and MKV. This cross-platform program is compatible with Mac, Windows, and Linux systems. In addition to decent quality conversions, Handbrake also supports advanced features like adding subtitles, adding audio tracks, setting and customizing frame rate, changing video codec, adjusting chapters, and others. Presets for quick conversions are also available.
3. Any Video Converter for Mac
This software, with a minimalist interface, is one of the best tools for your video conversion needs. Any Video Converter Free for Mac supports 24 input formats like MP4, MPEG, VOB, WMV, 3GP, 3G2, MKV, and more. The batch processing feature is also present to process multiple files at a time. User-defined video outputs help in quick conversion. The program is also capable of extracting audio files from your videos. YouTube and Google videos can be directly downloaded and converted to desired formats by merely placing their link.
Is Any Video Converter free indeed? Many users concern about this problem, so we have tested it. It is not free but with a trial version. With the free version, you can convert files in the first 3 minutes.
4. Freemake Video Converter
As the name suggests, it is a video converter mac program. But do not be mistaken, Freemake video downloader for Mac is also a powerful video size compressor that delivers high-quality products. It can convert movies and videos between 500+ formats for absolutely nothing.
5. QuickTime
QuickTime is the built-in video player of the Mac system that multitasks and performs an array of other functions as well, including video conversion. While using QuickTime, there is no need to download any software or program as it comes bundled with the system. The process of video conversion is quick and straightforward.
Movavi Video Editor Plus 22.2.1With Movavi Video Editor, you can either enhance your video files with two or three simple steps or turn them into something completely new. Movavi Video Editor Plus is the perfect tool to bring your creative ideas to life and share them with the world. Make your videos rock with special effects, keyframe animation, and ready-made intros. Apply Chroma Key to easily change the background of your clips to anything you like. Try the new, refined user interface – so easy, there’s nothing to learn. Enjoy lightning-fast file processing and rendering. What's new in Movavi Video Editor Plus 22.2.0:
|
 Simple Ways to Convert Keynote File to Video on iPhone, iPad, and Mac - A Complete Guide Simple Ways to Convert Keynote File to Video on iPhone, iPad, and Mac - A Complete Guide Keynote is Apple’s presentation tool that Users can create slideshows including images, text, and charts, and they can select themes, fonts, styles, transitions, and animation ... |
 Simple Ways to Change Safari’s Default Search Engine on iPhone, iPad and Mac Simple Ways to Change Safari’s Default Search Engine on iPhone, iPad and Mac If you want to change the search engine in Safari on your devices, let's you get to read here a complete guide with the simple ... |
 How To Backup iPhone Into Computer With Simpliest Ways? How To Backup iPhone Into Computer With Simpliest Ways? Check out the simple ways to backup your iPhone into your computer. |


