How to Convert MP3 to WAV and WAV to MP3: Simple Ways to Change

 |
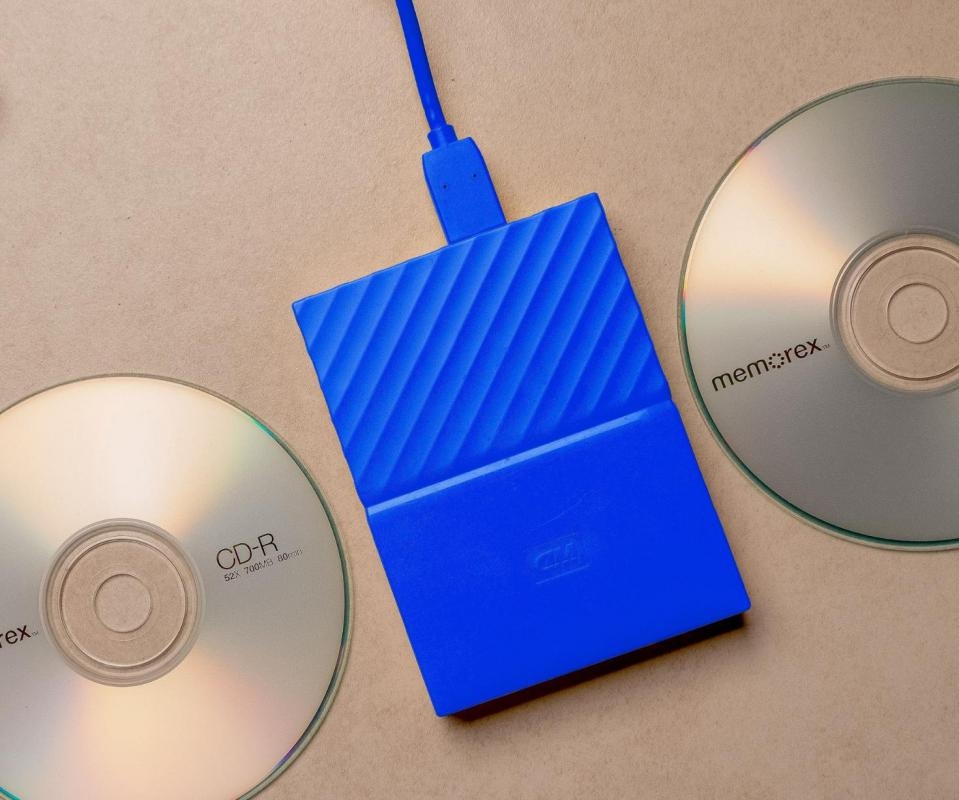
| Photo KnowInsiders |
What Is A MP3 File?
A MP3 file is an audio file that uses a compression algorithm to reduce the overall file size. It’s known as a “lossy” format because that compression is irreversible and some of the source’s original data is lost during the compression. It’s still possible to have fairly high quality MP3 music files, though. Compression is a common technique for all types of files, whether it be audio, video, or images to reduce the amount of storage they take up. While a 3-minute lossless file, such as Waveform Audio file (WAV), can be around 30 MB in size, the same file as a compressed MP3 would only be around 3 MB. That’s a 90% compression that retains near CD quality!
All that compression doesn’t come without some drawbacks, though. While you’re gaining much needed hard drive space, you lose some quality of sound when converting from a lossless file format.
One of the main issues comes in the form of bit rate—basically the amount of actual audio information that gets produced every second. That bit rate is measure in kbps (kilobits per second), and the higher the bit rate, the better quality sound you’re going to hear. MP3 compression removes the parts of the audio file that human ears have a harder time hearing— the highest and lowest ends. For the average music listener, the loss in quality generally isn’t that noticeable.
| How Do I Open An MP3 File? As mentioned earlier, MP3 is the most widely used audio file format and because of this almost all audio playback applications are able to open MP3 files—possibly even your eReader. Windows and macOS users are able to play MP3 files right out of the box without having to install any third-party software. In Windows 10, MP3s are played by default in the Windows Media Player; in macOS, they’re played in iTunes. |
What Does Waveform Audio (.WAV) Mean?
The Waveform Audio File Format (WAV) is an audio file format. It is considered a "first-generation" format with no compression except with some manipulations in order to store the sound digitally, resulting in larger sizes compared to formats like MP3 and WMA. This standard was developed by IBM and Microsoft for storing an audio bitstream on PCs.
The Waveform Audio File Format is also known as WAVE.
Choosing the Right Format for your Project: WAV vs. MP3
Which is better WAV or MP3 for your podcast? Consider the content of your show, your podcast budget, and your audience. While there is no cut and dry answer when comparing WAV vs MP3, if you understand the unique needs of your show, you can make a well-informed decision.
What kind of content are you making?
Think about the content you use in your podcast when choosing between MP3 or WAV audio files. In most cases, you probably won’t notice any loss of audio quality or noise reduction when using compressed MP3 files. If your content mostly involves people having conversations with some sound effects, MP3 will work just fine. WAV formats really make sense for music production.
How much are you willing to pay for file hosting?
Because of their larger size, using WAV files for your podcast can get pricey when it comes to hosting. You may want to invest in WAV if you consider audio quality a top priority, and you have the budget. If you can’t spend much on hosting services, opt for MP3 files instead.
What does your audience want?
You can't have a successful podcast without an audience. Pay attention to your branding and how your listeners consume your show. MP3 files are smaller, which makes them easier to download or stream, and guests can have greater access to your podcast across all of their devices and websites. The size of WAV files can put limitations on how your show is distributed, which in turn affects how many people you can reach.
Advantages of WAV
So when should you opt for .WAV vs MP3?
1. Easy Editing
If you do a lot of post-recording editing at your digital audio workstation, WAV probably better suits your needs. You can easily work with WAV files in any kind of podcast editing software because of the simple format. Most podcast recording software is compatible with WAV files and comes with features to adjust aspects of the raw audio data at your DAW.
2. High Quality of Sound
When it comes to high-quality audio, WAV wins hands down. WAV files aren’t compressed, which retains every last intro and sound effect on your podcast episode. If you use WAV files for your podcast, listeners will hear layers and outro variations in multitrack recording that you just don’t get with compressed MP3 files.
WAV files do not lose anything when it comes to frequencies on the sound spectrum, unlike the lossy compression of MP3s. That’s because the audio signal is not altered in any way.
The frequency range that the human ear can perceive ranges between 20Hz to 20kHz. Using WAV files to record your podcast will capture this entire range. When MP3 files are compressed, you may lose some sound on the lower or higher ends of the frequency spectrum, as MP3 files cut off around 18KHz.
3. Create Quality Recordings at Home
Because of advancements in recording technology, you can easily use a home studio interface and WAV audio to produce high-quality recordings. In fact, many popular home studio audio interfaces on the market provide recording rates up to 192 kHz! If you're recording your podcast at home, this is something that you should consider.
Convert MP3 to WAV with OnlineConvert
 |
| Photo video converter |
1.Open the OnlineConvert page. Go to https://audio.online-convert.com/convert-to-wav in your computer's web browser.
2.Click Choose file. It's a grey button near the top of the page. Doing so opens your computer's File Explorer (Windows) or Finder (Mac).
3.Select your MP3 file. Go to the location of the MP3 file that you want to convert, then click it once.
4.Click Open. It's in the bottom-right corner of the window. Doing so uploads your MP3 file to OnlineConvert.
On a Mac, you may click Choose instead.
5.Scroll down and click Convert file. You'll find this grey button at the bottom of the page. OnlineConvert will begin converting your MP3 file into a WAV file.
6.Click Download. It's a light-green button across from your converted WAV file's name. Doing so prompts the converted file to download onto your computer.
Depending on your browser settings, you may have to confirm the download or select a save location before the file will download.
Your file may automatically download once its conversion is complete.
Convert MP3 to WAV On Audacity
1.Open Audacity. Click or double-click the Audacity app icon, which resembles a pair of blue headphones on top of an orange sound wave. Audacity will open to a blank window.
If you don't have Audacity, first download and install it for your Windows or Mac computer from the following site: https://www.audacityteam.org/download/
If you're on a Mac, consider using iTunes instead.
2.Click File. It's in the upper-left corner of the Audacity window (Windows) or the top-left corner of your Mac's screen (Mac). A drop-down menu will appear.
On Mac, you may instead need to click the Audacity menu item in the top-left corner of the screen.
3.Click Open…. It's in the drop-down menu. Doing so opens a window for your to select music.
4.Select a song. Click a song that you would like to convert from MP3 to WAV format.
You may first have to select your music folder from the left-hand side of the window, or double-click a song's folder in the main part of the window.
5.Click Open. Doing so will begin importing the music file into Audacity. This can take a couple of minutes.
Once the music file is open, you'll see a blue sound wave in the middle of the Audacity window.
6.Click File again. The drop-down menu will re-appear.
7.Select Export. It's in the middle of the drop-down menu. Doing so prompts a pop-out menu.
If your File menu has Export Audio... as an option instead, click it and then skip the next step.
8.Click Export as WAV. This is in the pop-out menu.
9.Select a save location. On the left side of the window, click the folder in which you want to save the WAV copy of your file.
On a Mac, you'll click the "Where" drop-down box and then click the folder you want to use there.
If you clicked Export Audio..., you'll also need to click the "Save as type" (Windows) or "File type" (Mac) drop-down box and select the WAV (16-bit or 32-bit are both fine) option.
10.Click Save. It's in the bottom-right corner of the window.
11.Click OK when prompted. This will save the music file in your selected WAV format to your specified folder.
| Disadvantages of WAV 1. Large File Sizes The high quality of WAV files comes at a cost—larger file sizes. These large files can affect your podcast budget and limit how listeners access your show. A WAV file can be ten to eleven times larger than an MP3 file. You might need to spend more money on your show to host and store larger WAV files. That means budgeting more for your podcast hosting app. You’ll have to skip the free version. Plus, you'll have to pay closer attention to the size limits your hosting company sets on file uploads and downloads. 2. Incompatibility With Some Services and Devices Larger WAV files make them impractical to use with some streaming services and portable devices. This can limit how your audience can listen to and download your show on iTunes, social media, and other subscription platforms. Some listeners prefer to download podcasts and listen to them on their devices at their leisure when offline. Larger file sizes can make downloading and storing your show a hassle, which could turn off listeners and make them tune out. |
Convert MP3 to WAV On iTunes
 |
| Photo video converter |
1.Open iTunes. Click or double-click the iTunes icon, which resembles a white icon with a multicolored musical note on it. The iTunes window will open.
2.Make sure iTunes is up to date. Some older versions of iTunes may not allow you to convert an MP3 file into a WAV file, but modern versions of iTunes do. iTunes should automatically check for updates when it starts up, but you can manually check by clicking Help and then clicking Check for Updates.
If prompted to update, click Download iTunes and follow any instructions. You may have to restart your computer before proceeding.
3.Enable WAV encoding. By default, iTunes won't convert files into the WAV format on request. You can change this by doing the following:
Click Edit (Windows) or iTunes (Mac) in the upper-left corner.
Click Preferences... in the drop-down menu, then click the General tab if it doesn't open.
Click Import Settings....
Click the "Import Using" drop-down box, then click WAV Encoder in the menu.
Click OK at the bottom of the Import Settings window, then click OK at the bottom of the Preferences window.
4.Click Songs. This tab is below the "Library" heading in the upper-left side of the iTunes window. Your iTunes songs will be displayed.
5.Select songs to convert. Click a single song to select it. You can also hold down Ctrl (Windows) or ⌘ Command (Mac) and click individual songs to select them independently.
To select a block of songs, click a song at the top of the list to select it, then hold ⇧ Shift and click the bottom song in the list. The whole list will be selected.
6.Click File. It's in the upper-left corner of the iTunes window (Windows) or in the top-left side of your Mac's screen (Mac). A drop-down menu will appear.
7.Select Convert. This option is near the bottom of the drop-down menu. You'll see a pop-out menu emerge with a few file conversion options.
8.Click Create WAV Version. It's in the pop-out menu. Doing so will create WAV copies of your selected songs.
Once the WAV copies are created, you can delete the original songs from your library.
To go to the location of a converted WAV file, right-click the WAV version of the song, then click Show in Windows Explorer (Windows) or Show in Finder (Mac).
Convert WAV to MP3 with VLC
What is VLC?
VLC is a free and open source media player that opens almost any file format, and it has an option for converting your audio files.
How to Convert
 |
| Photo howtogeek |
 |
| Photo howtogeek |
Open up VLC and click “Media” then on “Convert/Save.”
If you already had a file loaded into VLC, the tool doesn’t automatically load it into the converter. You will have to load the file again from this window. Click the “Add” button, located on the right side.
Now, navigate to the file and click “Open.” Click “Convert/Save” to open up the next window.
 |
| Photo howtogeek |
 How To Convert Youtube Videos To MP3: Simple and Easy Steps How To Convert Youtube Videos To MP3: Simple and Easy Steps Sometimes you want to save a favourite Youtube video as a MP3 file in your phone, but dont know how and if it's legal to ... |
 How to Convert and Download Audible Audiobooks How to Convert and Download Audible Audiobooks Audible Audiobooks can be convenient for busy people and book lovers, who want to both listen to a book, podcasts and do their works at ... |
 How to Convert CDA to MP3 and MP3 to CDA: Best Ways to Change How to Convert CDA to MP3 and MP3 to CDA: Best Ways to Change You have a CD and want to convert it into MP3? Follow our simple steps to convert successfully. |