How To Draw Eyes For Kids & Beginners with Simple Steps
 |
| How to draw eyes for kids and beginners |
It is not easy to draw eyes in the first place, especially if you are a beginner. Eyes are an important body part, and can be difficult to capture at times. Eyes are organs of the visual system. They provide living organisms with vision, the ability to receive and process visual detail, as well as enabling several photo response functions that are independent of vision.
Eyes detect light and convert it into electro-chemical impulses in neurons. In higher organisms, the eye is a complex optical system which collects light from the surrounding environment, regulates its intensity through a diaphragm, focuses it through an adjustable assembly of lenses to form an image, converts this image into a set of electrical signals, and transmits these signals to the brain through complex neural pathways that connect the eye via the optic nerve to the visual cortex and other areas of the brain.
Take a look at these step-by-step guides on how to draw eyes for kids and beginners in the article below.
What are Eyes?
 |
| Photo: WebMD |
Eyes are organs of the visual system. They provide living organisms with vision, the ability to receive and process visual detail, as well as enabling several photo response functions that are independent of vision. Eyes detect light and convert it into electro-chemical impulses in neurons. In higher organisms, the eye is a complex optical system which collects light from the surrounding environment, regulates its intensity through a diaphragm, focuses it through an adjustable assembly of lenses to form an image, converts this image into a set of electrical signals, and transmits these signals to the brain through complex neural pathways that connect the eye via the optic nerve to the visual cortex and other areas of the brain. Eyes with resolving power have come in ten fundamentally different forms, and 96% of animal species possess a complex optical system. Image-resolving eyes are present in molluscs, chordates and arthropods.
The most simple eyes, pit eyes, are eye-spots which may be set into a pit to reduce the angles of light that enters and affects the eye-spot, to allow the organism to deduce the angle of incoming light. From more complex eyes, retinal photosensitive ganglion cells send signals along the retinohypothalamic tract to the suprachiasmatic nuclei to effect circadian adjustment and to the pretectal area to control the pupillary light reflex.
Anatomy of the Eye
 |
| Photo: All About Vision |
Choroid
Layer containing blood vessels that lines the back of the eye and is located between the retina (the inner light-sensitive layer) and the sclera (the outer white eye wall).
Ciliary Body
Structure containing muscle and is located behind the iris, which focuses the lens.
Cornea
The clear front window of the eye which transmits and focuses (i.e., sharpness or clarity) light into the eye. Corrective laser surgery reshapes the cornea, changing the focus.
Fovea
The center of the macula which provides the sharp vision.
Iris
The colored part of the eye which helps regulate the amount of light entering the eye. When there is bright light, the iris closes the pupil to let in less light. And when there is low light, the iris opens up the pupil to let in more light.
Lens
Focuses light rays onto the retina. The lens is transparent, and can be replaced if necessary. Our lens deteriorates as we age, resulting in the need for reading glasses. Intraocular lenses are used to replace lenses clouded by cataracts.
Macula
The area in the retina that contains special light-sensitive cells. In the macula these light-sensitive cells allow us to see fine details clearly in the center of our visual field. The deterioration of the macula is a common condition as we get older (age related macular degeneration or ARMD).
Optic Nerve
A bundle of more than a million nerve fibers carrying visual messages from the retina to the brain. (In order to see, we must have light and our eyes must be connected to the brain.) Your brain actually controls what you see, since it combines images. The retina sees images upside down but the brain turns images right side up. This reversal of the images that we see is much like a mirror in a camera. Glaucoma is one of the most common eye conditions related to optic nerve damage.
Pupil
The dark center opening in the middle of the iris. The pupil changes size to adjust for the amount of light available (smaller for bright light and larger for low light). This opening and closing of light into the eye is much like the aperture in most 35 mm cameras which lets in more or less light depending upon the conditions.
Retina
The nerve layer lining the back of the eye. The retina senses light and creates electrical impulses that are sent through the optic nerve to the brain.
Sclera
The white outer coat of the eye, surrounding the iris.
Vitreous Humor
The, clear, gelatinous substance filling the central cavity of the eye.
How the Eye Works
The five senses include sight, sound, taste, hearing and touch. Sight, like the other senses is closely related to other parts of our anatomy. The eye is connected to the brain and dependent upon the brain to interpret what we see.
How we see depends upon the transfer of light. Light passes through the front of the eye (cornea) to the lens. The cornea and the lens help to focus the light rays onto the back of the eye (retina). The cells in the retina absorb and convert the light to electrochemical impulses which are transferred along the optic nerve and then to the brain.
The eye works much the same as a camera. The shutter of a camera can close or open depending upon the amount of light needed to expose the film in the back of the camera. The eye, like the camera shutter, operates in the same way. The iris and the pupil control how much light to let into the back of the eye. When it is very dark, our pupils are very large, letting in more light. The lens of a camera is able to focus on objects far away and up close with the help of mirrors and other mechanical devices. The lens of the eye helps us to focus but sometimes needs some additional help in order to focus clearly. Glasses, contact lenses, and artificial lenses all help us to see more clearly.
Understanding the eye shape
 |
| Photo: theoriginated |
There are six main eye shapes — round, monolid, hooded, downturned, upturned and almond — and they're all fabulous in their own way. You may have also heard the following descriptions for your eyes: wide set, asymmetrical, big, small, close set and deep set. While they're certainly worth mentioning, these descriptions aren't all inclusive.
Round eye shape
Wondering if your eyes are round? Here's a quick cheat sheet:
Round eyes are usually large, prominent and look more circular.
The cornea of round eyes is surrounded by white all the way around.
The inner and outer corners of round eyes are rounded and not pulled inward or outward.
Monolid eye shape
Think you have a monolid eye shape? Consider this:
Common in Asian women, monolid eyes feature a less apparent crease.
Often called a shallow or smooth eyelid, monolids don't reveal as much if any of the eyelid.
Hooded eye shape
Think your eyes are hooded? You may be right if the following rings true:
Hooded eyes feature a heavy brow bone with a deep-set crease.
When hooded eyes are open, the eyelid isn't generally visible and retracts into the crease.
As you've aged, your eyelid space has diminished, taking on a hooded appearance.
Downturned eye shape
Curious whether or not you have downturned eyes? Here's how to tell:
The outer corners of downturned eyes are lower than the inner corner.
Also known as a "descending eyelid," downturned eyes feature an upper lid that dips to meet the lower lash line.
Upturned eye shape
Think your eyes are upturned? Consider the following:
Basically the opposite of downturned eyes, upturned eyes have outer corners that turn upward and are higher than the inner corner.
Also known as "cat eyes," upturned eyes tilt upward, giving the eye an exotic appearance. Ask yourself if you look like you've had an eye lift!
The bottom lash line of upturned eyes curves upward to meet the top lashes at the outer corner of the eye.
Almond eye shape
You might have an almond eye shape if these traits sound familiar:
Almond-shaped eyes have a smaller eyelid and are longer in width than they are round — just like an almond!
This eye shape tapers to a point by the tear duct and the outer eye.
The outer part of the cornea is generally hidden under the top and bottom lids. There is also an apparent crease.
How To Draw Eyes For Kids Tutorials with 9 Simple Steps
The eyes are one of the most attractive parts of a person. It is often said that you can learn a lot about the interlocutor and his character from the eyes. There are different eye colors that are striking in their beauty. Drawing eyes beautifully is great art.
There are no particularly difficult elements in the whole design that will complicate your sketching process. However, you need to follow some drawing rules in order to draw the eyes correctly and very beautifully.
1. Guiding lines
 |
| Photo: Howtodraweasy |
Draw horizontal guidelines on the paper with which you will sketch the eyes.
2. Upper eyelid
 |
| Photo: Howtodraweasy |
Using curved lines sketch out the upper eyelids.
3. Lower eyelids
 |
| Photo: Howtodraweasy |
Draw the lower eye lines in the same way.
4. Erase the lines
 |
| Photo: Howtodraweasy |
Erase the horizontal guidelines, and correct any mistakes in the sketch, if any in your drawing. The resulting sketch of the eyes should look like the example.
5. Draw the eyelashes
 |
| Photo: Howtodraweasy |
On top of each drawn eye, draw a few short lines to shape the eyelashes.
6. Shape of the pupils
 |
| Photo: Howtodraweasy |
Draw circles inside each eye to shape the pupils.
7. The inner part of the pupils
 |
| Photo: Howtodraweasy |
Draw solid black circles in the middle of the eye contours.
8. Reflection of light
 |
| Photo: Howtodraweasy |
Draw a small circle near the black part of the pupil, which will later remain white in the drawing and will look like light reflected in the eyes.
9. Color the eyes
 |
| Photo: Howtodraweasy |
Eye color can be completely different. You can paint the eyes blue as we did. You can also choose other colors: green, brown, dark blue, or any other color that you want to do in your artwork. What color are your eyes? Write about it in the comments, and also try to draw your eyes using our step-by-step tutorial for example.
How to Draw Eyes, Step-By-Step for Beginners, By ArtBryo
Step 1 – Reference Photo
The very first thing you want to do is find yourself a good eye reference photo or real life reference to look at. We all want to be able to draw from memory without using a reference. But the reality is, very few artists are able to do this. Even the most successful artists use references for their work.
Step 2 – Draw the Upper Eyelid
Begin by drawing the upper eyelid. Pay close attention to the shape of the upper lid. Most of the time the lids will not be an even arch.
Step 3 – Draw the Lower Eyelid
Next, draw in the line for the lower eyelid. Again, pay attention to the shape of the lid.
Step 4- Draw the Iris and the Pupil
Add the iris and the pupil to your drawing. Both should be drawn as circles. However, the iris will be partially covered by one or both of the eyelids. If you look at the reference photo I posted here, both the upper and lower eyelids slightly cover the iris. Another thing to keep in mind is that the iris isn’t always going to be in the exact center of the eye. The location of the iris will vary depending on where the subject is looking.
Step 5 – Add the Overlap of the Upper Lid
Draw the overlap for the upper eyelid, if one exists on the eye you are drawing. This will add a little more character to your drawing.
Step 6 – Add Extra Details to Your Eye Drawing
Add in the tear duct, shape of the eyebrow, highlights, and any wrinkle lines you want to include in your drawing. You can also rough in where you want to add some shading around the eye.
Shading an Eye
Step 7 – Shade the Iris
Shade in the iris using a pencil. Avoid the area where you roughed in the highlights. How dark you shade should depend on the color of the iris. Darker brown eyes should be shaded a bit darker than blue eyes. Be careful not to go too dark though.
Step 8 – Shade in the Eyebrow and Add More Detail to the Iris
Add some base tone to the eyebrow. In the next step you will add in the lines for the hairs of the eyebrow. You also want to add in some darker lines for the detail in the iris. When you add in the darker lines, you want to be sure your lines are radiating out from the pupil.
Step 9 – Shade and Add Final Details
In the final step you want to add in some detail to the eyebrow. Draw some individual lines for the eyebrow hairs. Add some shading around the eye, making some areas darker than other. Use your reference to guide you. I used a blending stump to soften my lines on the skin. For the upper eyelid I made the line a little darker and thicker. You should add a little bit of a shadow on the upper part of the eyeball where the upper lid casts a shadow. Here’s my finished eye drawing.
Basic Art SuppliesPENCILS A lot of people like to overlook pencils because, for them, pencils are literally the most basic art tool in the world. And while that is technically true, it doesn’t mean that pencils are completely useless. In fact, it’s actually the opposite. Pencils are the most versatile out of all the art supplies. Not only are they useful in sketching, but they can also be helpful in other art forms such as painting, interior design, and dressmaking. Plus, pencils come in a lot of types — from the traditional wooden to mechanical, to coloured pencils, to charcoal, and many more. Long story short, pencils are an all-around art supply, so they’re incredibly handy to have. ERASERS This one is a no-brainer. If you’re going to keep pencils in your workspace, then it just makes sense that you’re also going to have erasers. After all, erasers are the ones that will get rid of the mistake that you’ve made while using a pencil. So, if you’re going to be primarily using pencils — or even if you’re not — it’s a good idea to have erasers nearby. PENS Pencils may be the most versatile art tool, but that still doesn’t change the fact that not everyone prefers them. Some artists would actually prefer using pens in their artistic endeavours. If that’s the case, then you better have pens in your art space. There are literally quite a lot of brands to choose from, so you will be able to find the ones that work the best for you. SKETCHBOOKS Another highly essential art supply that every artist should have is a sketchbook. After all, you’d need something to sketch or draw your art on, and though typical papers work, they’re not really the most ideal for artistic purposes. For one, they’re easy to lose, and for another, sometimes their quality is not suited for art. That is why, as an artist, you would need a sketchbook. With a sketchbook, all your papers are in one place, so you won’t lose your prized artworks. Plus, the papers in a sketchbook are designed primarily for artistic purposes. Long story short, as an artist, you need to have a sketchbook ready all the time. WATERCOLOUR PAPER This is something that is not needed for every artist out there, but if you’re someone who enjoys watercolour painting, a stack of watercolour paper is a must-have. People have this wrong notion that you can use watercolour on any kind of paper, but that is not true. Watercolour is a medium that has different properties from the other kinds of paints, and that is why you would need a special kind of paper for it. The watercolour paper actually comes with various types and pressures — the most common ones are the hot-pressed watercolour papers, cold-pressed, and rough. So, you have to figure out which kind of watercolour paper works the best for you. CANVAS When anyone thinks of painting, the first thing that will probably pop up in their mind is the canvas. After all, it is the canvas where painters stroke their brushes to create the next masterpiece. So, if you specialize in painting, then you definitely need to have at least one canvas in your art space. You shouldn’t have a hard time finding canvases since they can be found and bought anywhere and they also come with a variety of sizes. All you have to do is find the right canvas that suits you. PAINTS: ACRYLICS, OILS, WATERCOLOUR, OR INKS The canvas may be an iconic art tool for painting, but painting is literally pointless without the paints themselves. So, if you’re an aspiring painter, then you should always have a supply of paints ready at your workspace. Luckily for you, the art of painting actually comes with a variety of mediums to choose from. There are acrylic paints, oil paints, watercolour, inks, and many more, and all these types of paints have their own properties and characteristics that make them different from each other. Sometimes, there are paints that would become your personal preference, and sometimes, there are paints that suit a project better than the others. As a result, when you have to stock up on your paints, it’s always a good idea to keep a variety of them. Sure, over time, you’ll definitely develop a preference, but sometimes, you’ll get the urge to try out a different medium. And for that, you need to be ready. EASEL Just like the canvas and paints, the easel is another staple in the art of painting. This art tool is the stand or frame that supports an artist’s canvas, and though it can be definitely helpful, some artists choose not to have one. This is because, for them, they think that the easel would just take up unnecessary space. It also doesn’t help that the easel can be expensive. But if your art space has enough room and you can afford it, it’s ideal to have an easel around. PAINTBRUSHES Brushes are to painters what pencils are to sketch artists. Your painting will never come out as masterful and beautiful if you don’t have the brushes that you need. But luckily, paintbrushes are easy to be found, and they also come in a variety of sizes and shapes that fulfill different painting styles and techniques. As a result, you’ll definitely need more than one paintbrush for your art space. So, do your research on the various kinds of paintbrushes, and stock up on the ones that you think suit your style. PALETTES When you’re painting, you will discover that you need to have something where you can squeeze your paints in one place. This is because that way, you’ll have an easier time reaching for these paints or mixing them to get that desired shade. If that’s the case, then you definitely need to have a palette, which is a rigid, flat surface on which a painter arranges or mixes their paints. Palettes are incredibly handy when you’re painting, so never miss out on them. |
 How To Get Rid Of Cellulite With Diet And Exercises How To Get Rid Of Cellulite With Diet And Exercises Besides natural ingredients, cellulite can be removed by balanced diets and physical exercises. Check out how diet and exercises can help! |
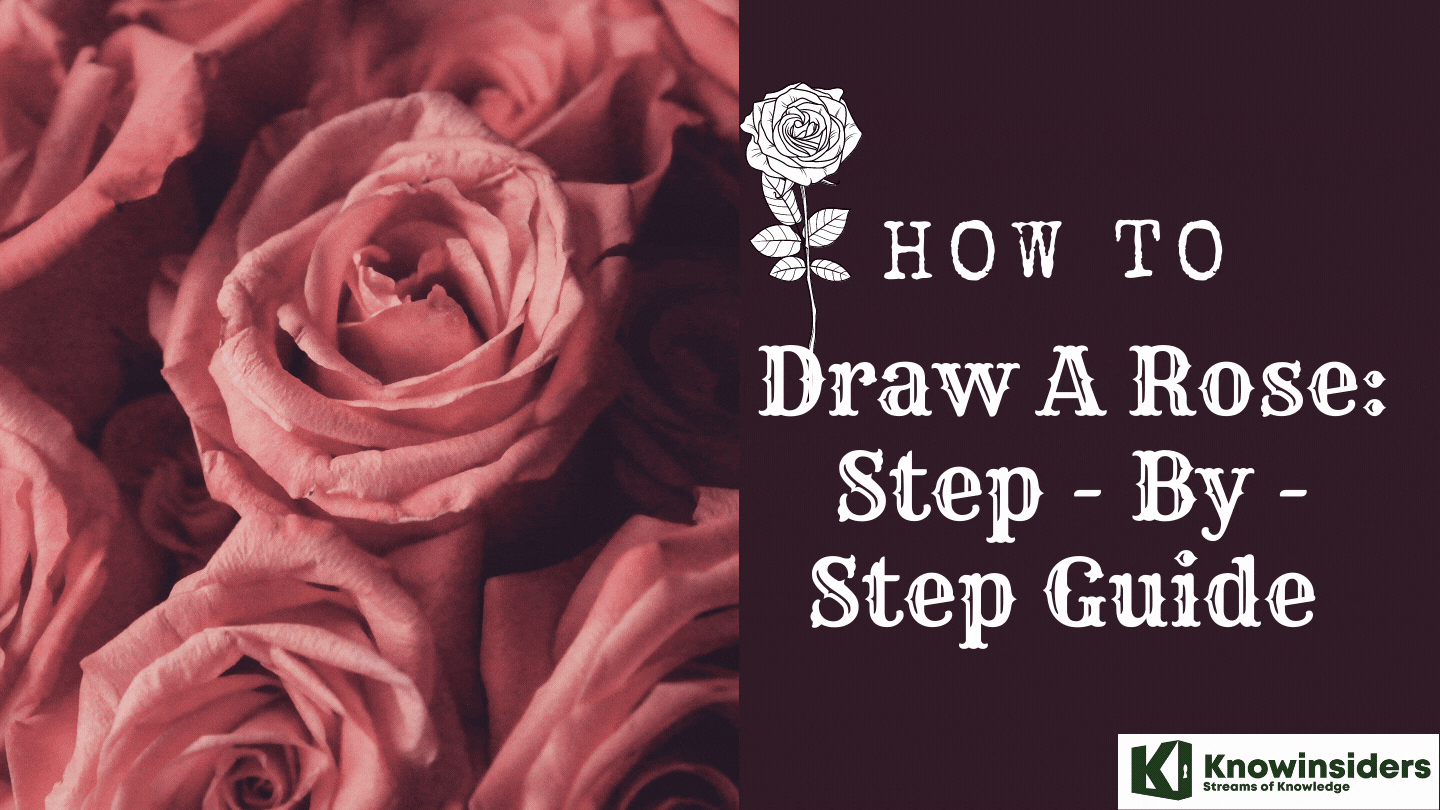 How To Draw A Rose: Step By Step Guides How To Draw A Rose: Step By Step Guides Rose drawing can be difficult for many people who are beginners, and in the article below, we will guide you through how to draw a ... |
 How To Draw Anime For Beginners: Step-by-Step Guide How To Draw Anime For Beginners: Step-by-Step Guide How to draw anime if you are only a beginner? Read on our article and follow these simple steps. |
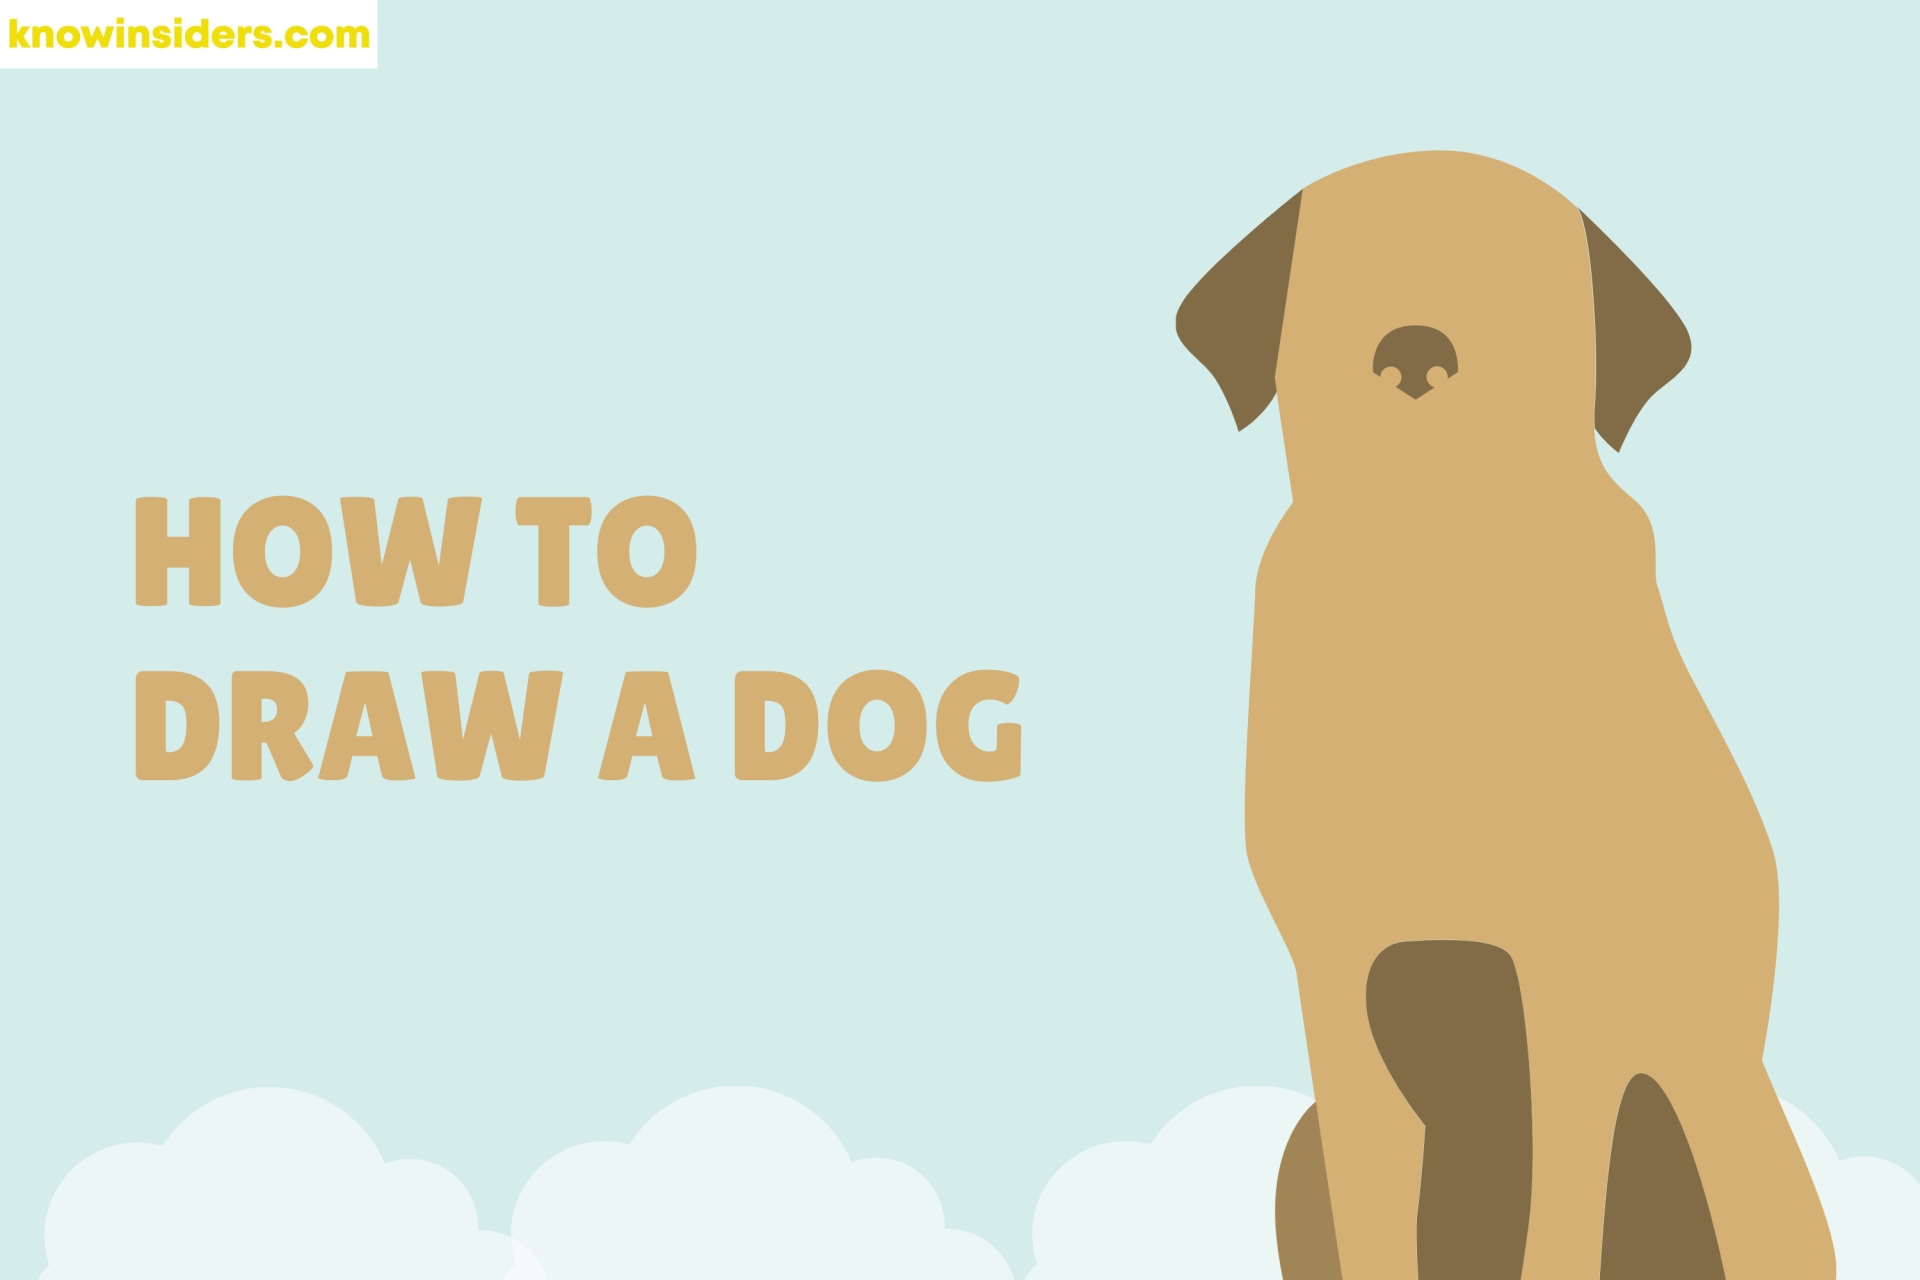 How To Draw A Dog With Easy Steps How To Draw A Dog With Easy Steps Dogs are famously known as "man's best friend." Follow these easy steps to draw a dog. Have fun with your drawing! |