How To Draw A Realistic Female Eyes Step By Step
 |
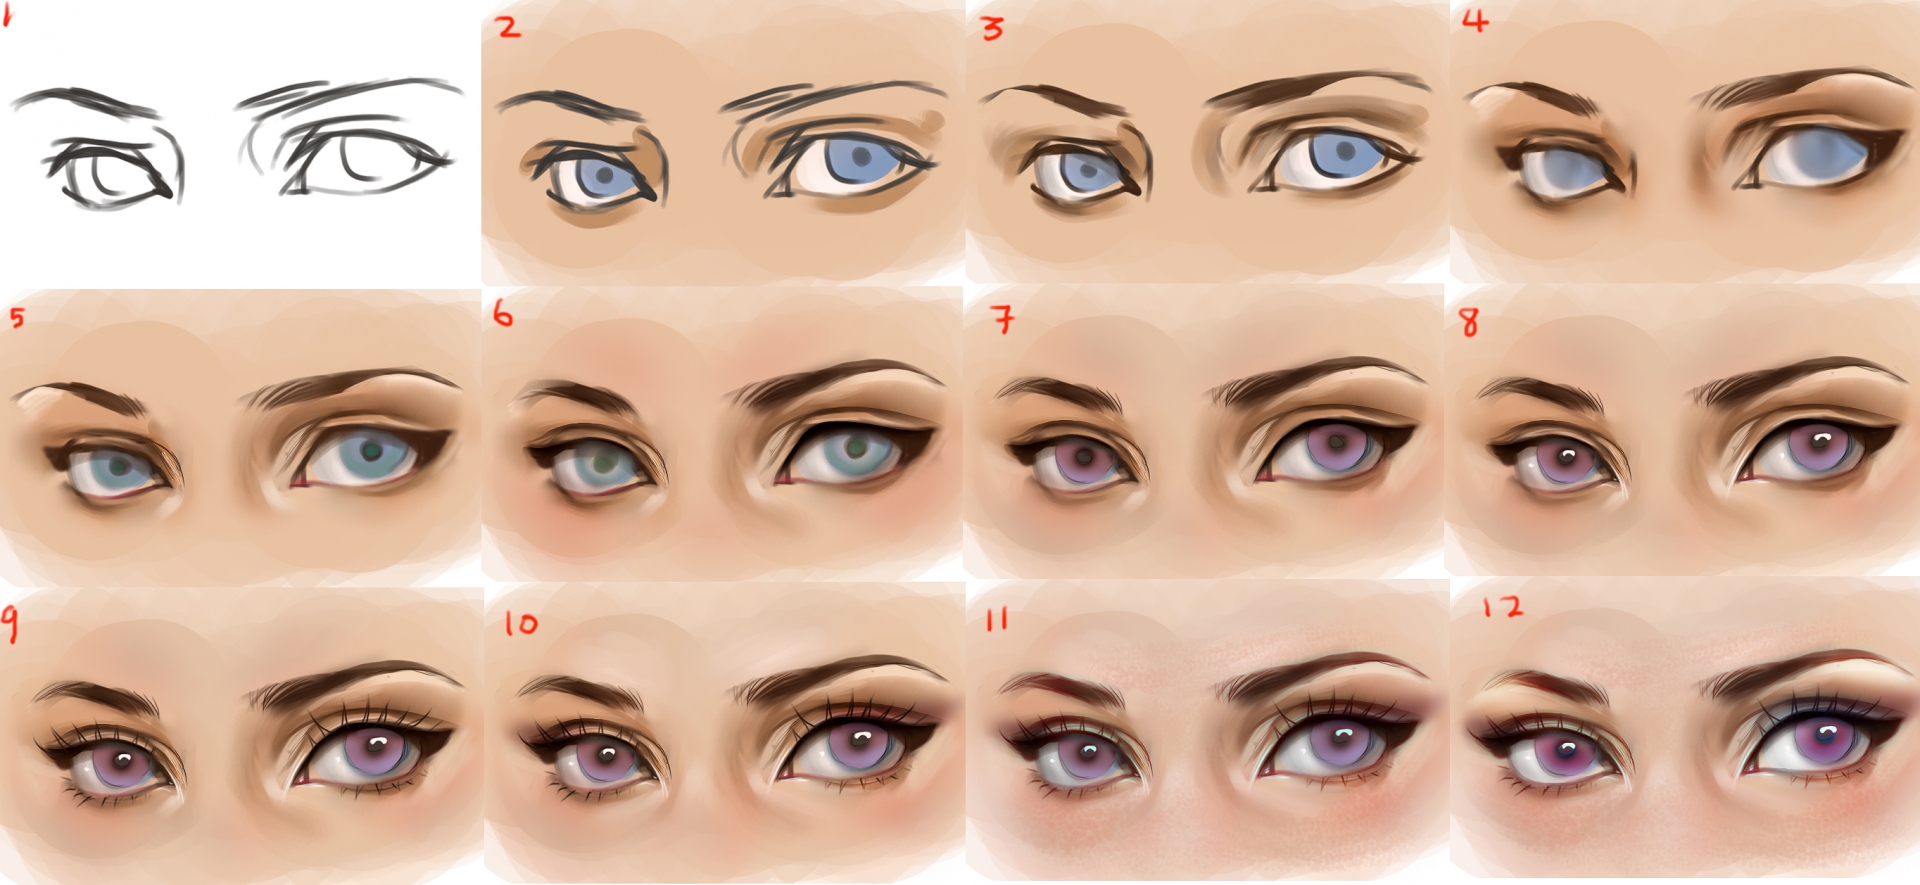
| How To Draw A Realistic Male Eyes Step By Step |
To draw realistically, you must first learn to see realistically. Be aware of what is really there. "What you see when you look" is visual reality. Being real, everything has three dimensions: height, width, and depth. Visual reality is anything that exists that you see. Examples are trees, rocks, clouds, air effects, and light. Your mind becomes so accustomed to daily surroundings that you overlook what is actually there. When you draw these subjects, you suddenly realize you are not sure of what is there or how to draw the subject accurately. Motivation, time, and observation skills will help to overcome this "visual pacifism." Once overcome, you will be on the road to visual accuracy.
Drawing realistic female eyes is not an easy task, but everything starts from the simpliest steps in this guide.
What is Realistic Drawing?
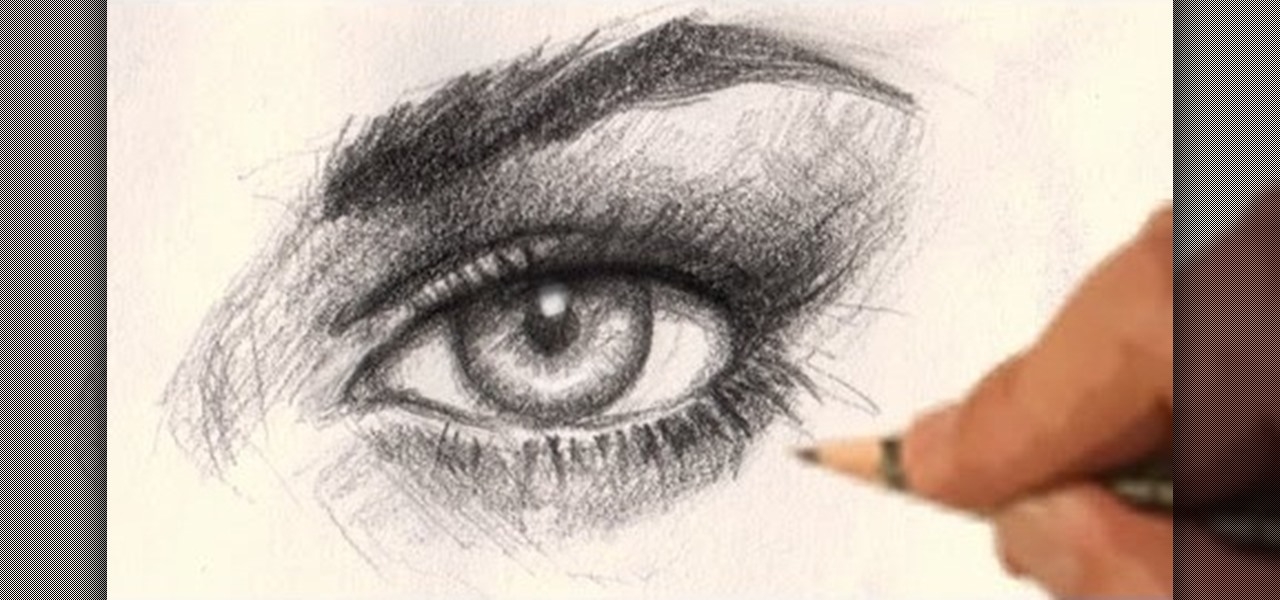 |
| Photo: Drawing & Illustration - WonderHowTo |
Realism is an art style that focuses on making pieces look as realistic and true-to-life as possible.
Think of realistic portraits, landscapes, and still life paintings. These are all forms of realism which aim to capture the subject in a realistic style, and possibly to portray the subject in a way that captures the realities of life.
While the subjects may sometimes appear somewhat stylized, realism seeks to present subjects as they look in real life.
For some great examples of realism check out artists like Gustave Courbet, Winslow Homer, Édouard Manet, and Rembrandt.
All stylized art is at least somewhat based on reality. Fantasy landscapes and buildings have a lot in common with real landscapes and buildings, while stylized humanoid characters are usually based on the human figure.
Most fantasy creatures share some similarities with real life creatures.
And no matter what kind of made-up characters or settings you create, you’re going to need to know how some basic stuff. How perspective works, how to render light and textures like wood and water, how clothing folds over somebody’s arm.
These can all be studied from life and realism practice helps a lot with nailing believable work.
The good news is that if you really love art, learning the basics can be fun! It’s fun to get better and watch your progress over time. Yes, learning is hard work and practicing the same stuff can get boring.
But hard work is right at the edge of “comfort” and “discomfort”. Push yourself a little past that point and that’s where you learn. All the best stuff happens when you get just outside your comfort zone and really try to improve.
And you might be surprised how quickly you improve once you make realism part of your regular practice.
Tips for Drawing Realistic Eyes
When it comes to drawing facial features, the eyes can be challenging because, well, realistically capturing “the windows to the soul” is no easy task. And while you probably learned a simple formula when you were a child — draw a football with two circles inside for the iris and pupil — no eye actually looks like that.
Which is why the most important thing to remember is to draw what you see, not what you know. Every person’s eye is different and no visual formula can replace the real thing. That said, there are a few tips you can follow no matter whose eye you’re drawing.
1. An Eye Is Asymmetrical
Rather than tapering smoothly to a point on either end, an eye has subtle differences in the shapes of the top and bottom eyelids.
Take note of the photo above. The top eyelid is flatter along much of its length than the bottom, except where it curves downward to meet the tear duct on the left. The bottom lid is curved along most of its length, with the most pronounced part being where it sweeps up to meet the top eyelid on the right.
2. The Human Eye Is Three-Dimensional
 |
| Photo: DeviantArt |
Your eyeball is a sphere, but most of it is concealed by your eyelid. When drawing, the eyelid should look as though it’s wrapping around that spherical shape. This is most obvious in a profile view.
3. The Iris Is Almost Never Completely Visible
Unless the person you’re drawing is very surprised, most of the time the iris will be partially covered by the top eyelid. In some cases, both the top and bottom eyelids will cover the iris, like if your subject is sleepy or squinting.
4. The Top Eyelid Casts a Shadow
Because the top lid projects out a little further than the eyeball itself — and because it has the thicker set of eyelashes — the lid casts a shadow along the top of the eyeball in most lighting situations. This can be easily depicted by making the line of the top eyelid thicker than the bottom.
5. The Top Eyelid Receives More Light
The best way to draw a realistic eye is to use value to suggest volume.
Assuming an overhead light source, the underside of the brow overhangs the eye and is therefore in shadow. The upper eyelid faces upward, so it receives light and also casts a shadow on the uppermost portion of the eyeball. The eyeball itself is curved, so the bottom receives less light. And because the bottom eyelid faces down and receives little light, it also casts a shadow on the portion of the face directly beneath it.
It’s important to remember that every eye is different. Thinking about how value suggests three-dimensionality can help you go a long way in drawing realistic eyes.
Mistakes involving eyes
Once you get the overall proportions of the face right, let's look at some common mistakes made when drawing eyes. It is natural to overemphasizes the eyes, since they are usually the first feature we focus on when we look at a face.
All edges around the eyes too hard, eyelashes too dark, too many eye lashes...
To avoid these problems, remember that “less is more”:
Keep the edges of the eyelids soft, saving crisp touches for accents.
Use restraint when indicating eyelashes. Keep some of them in perspective as they come toward you.
Lighten up the eyelashes so you don't age a child or make the person looking like they are wearing mascara.
Making the highlights in the eyes too white or too big
Adding highlights to the eyes is an exciting part of painting, as it brings the face to life. However, restrain yourself or you can easily diminish the quality of your work. Note that sometimes only one eye has a highlight while the other has none.
Draw the whites of the eyes too white
The term 'eye white' is a misnomer since the local tone of the eye is darker than pure white. It is never stark white, it is more of a bluish or cream white. It is affected much by the lighting.
How To Draw Realistic Female Eyes Tutorials
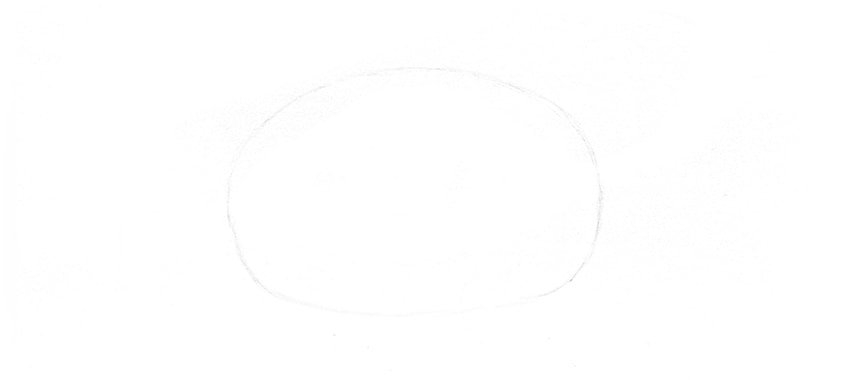
Step 1
 |
| Photo: Envanto Tuts+ |
Take the HB pencil and sketch a rough oval very lightly. The line should be barely visible.
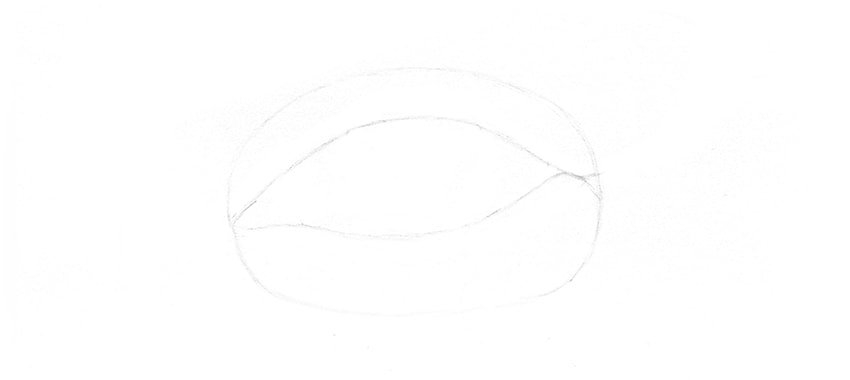
Step 2
 |
| Photo: Envanto Tuts+ |
Cross the oval with two curves that will make the eyelids.
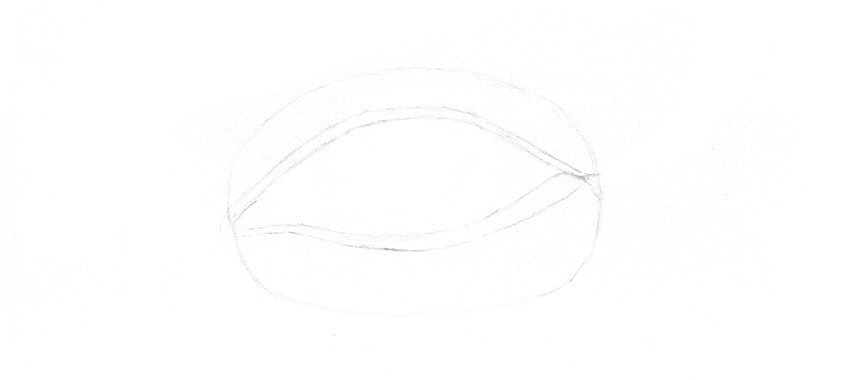
Step 3
 |
| Photo: Envanto Tuts+ |
The eyelids have a certain thickness, so add rims to them.
Step 4
 |
| Photo: Envanto Tuts+ |
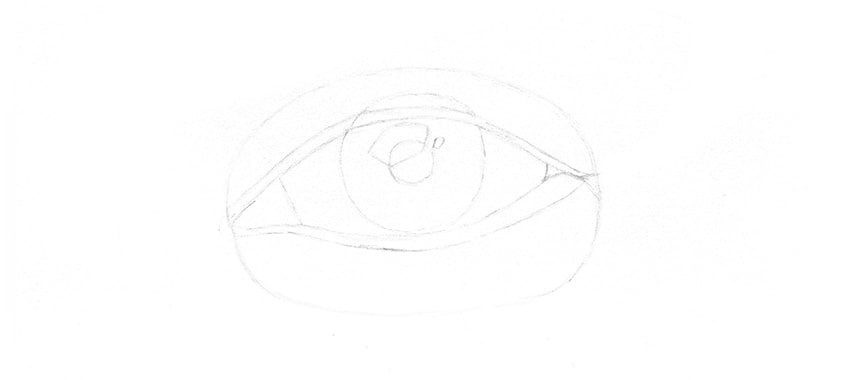
Draw the round iris, the pupil in the middle, a shape of the reflection, and the corners of the eye.
Step 5
 |
| Photo: Envanto Tuts+ |
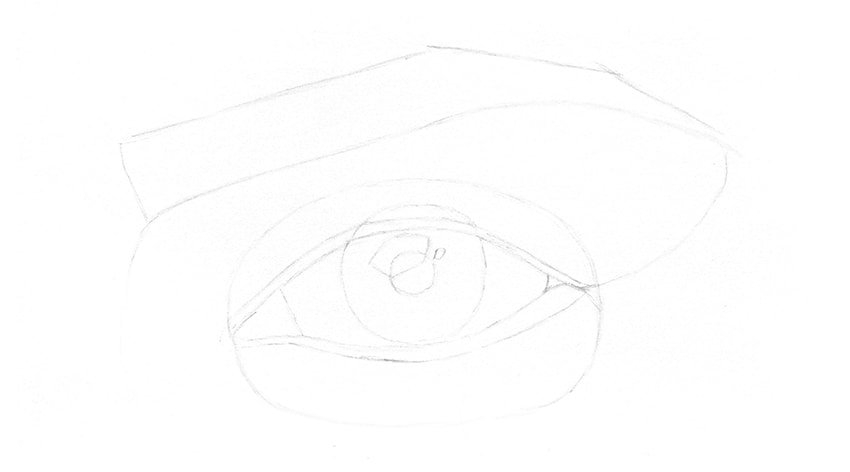
The eyebrow is a frame for the eye, so don't forget about it! Draw it with straight lines to achieve a natural shape.
Step 6
 |
| Photo: Envanto Tuts+ |
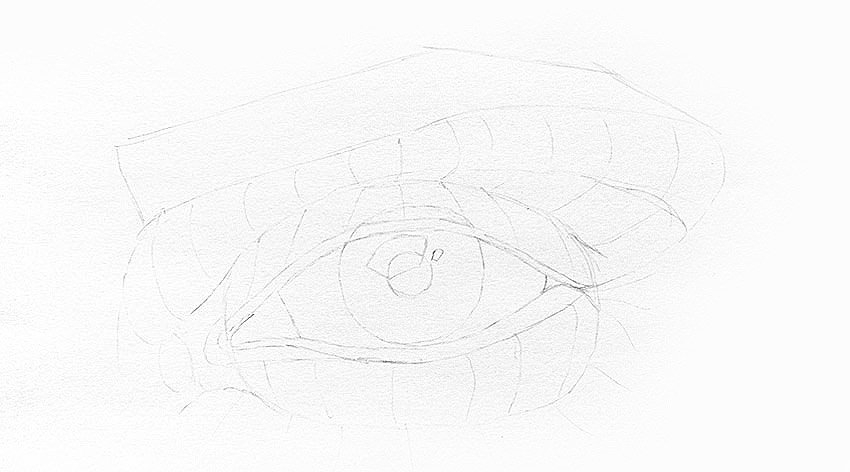
Before we shade the eye, we must understand the 3D form of it. You can work it out by drawing directing lines.
2. How to Draw a Realistic Iris
Step 1
 |
| Photo: Envanto Tuts+ |
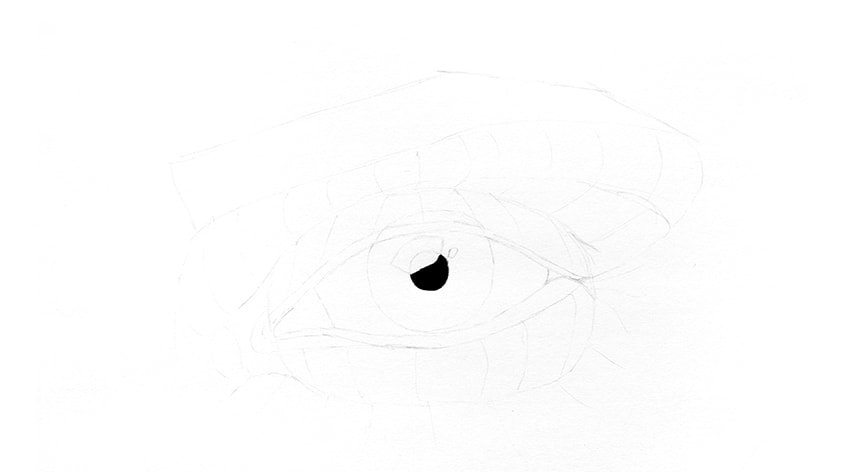
Take your softest pencil (7B or 8B will work the best) and fill the pupil with it avoiding the area of reflection. The darkness of the pupil will define the contrast for the rest of the drawing.
Step 2
 |
| Photo: Envanto Tuts+ |
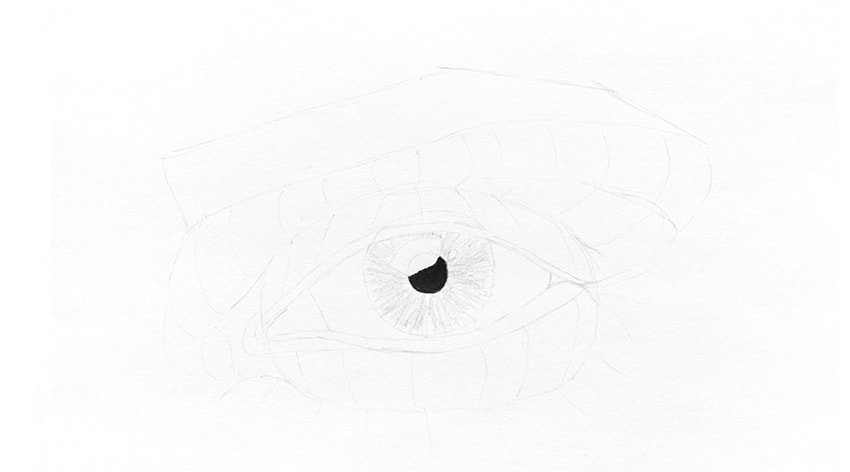
Take the 2B pencil and draw fibers coming from the center of the iris. Go around the reflection. Keep the pencil slightly tilted to make the lines soft.
Step 3
 |
| Photo: Envanto Tuts+ |
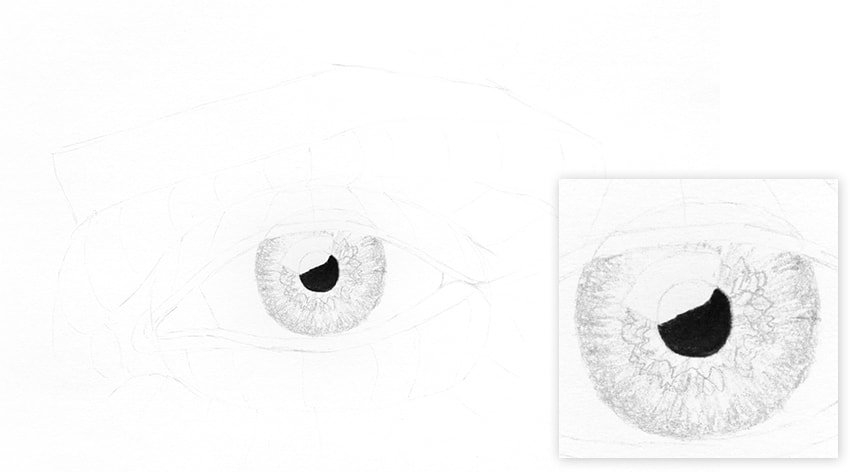
Darken the edge of the iris and draw a "ring" around the pupil.
Step 4
 |
| Photo: Envanto Tuts+ |
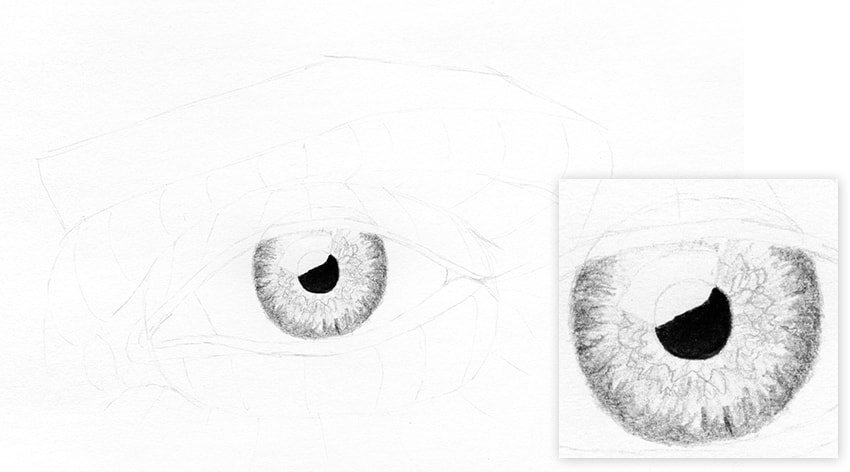
Take the 2B pencil and darken the edge even more. Shade it, drawing more fibers, some darker than others.
Step 5
 |
| Photo: Envanto Tuts+ |
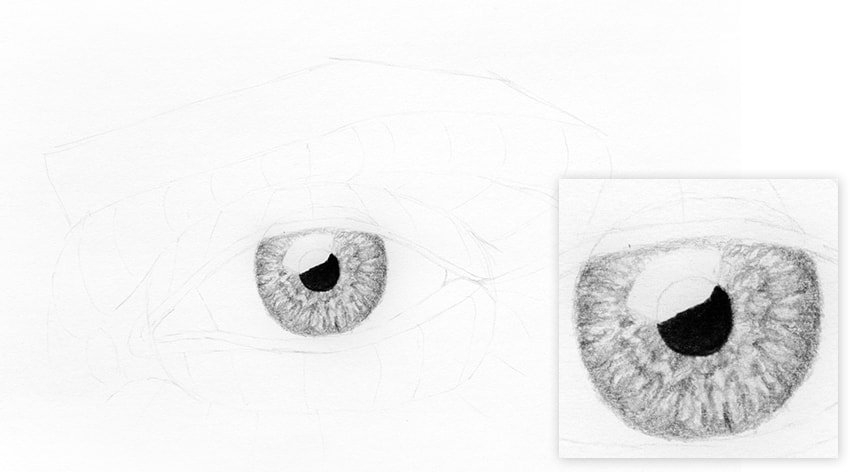
Use the same pencil to shade all the iris. Draw a semi-shadow around the ring, and little shadows between the fibers.
Step 6
 |
| Photo: Envanto Tuts+ |
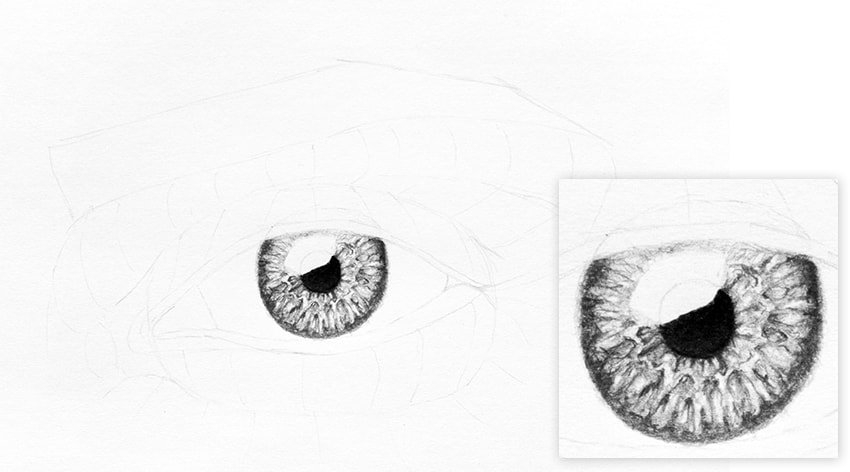
Take the 4B pencil and make sure it's properly sharpened. Use it to accentuate the shadows you've drawn before.
Step 7
 |
| Photo: Envanto Tuts+ |
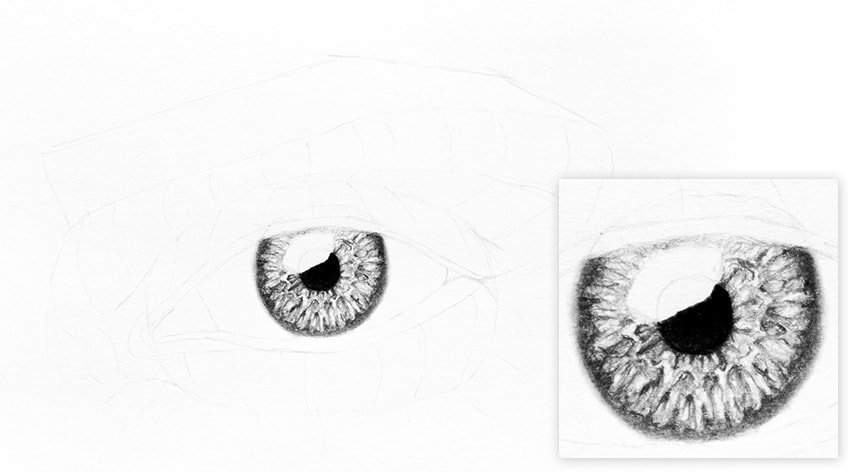
Take the blending stump and subtly blend the outline of the iris. It's a part of the eyeball, so it shouldn't have a completely sharp edge.
Step 8
 |
| Photo: Envanto Tuts+ |
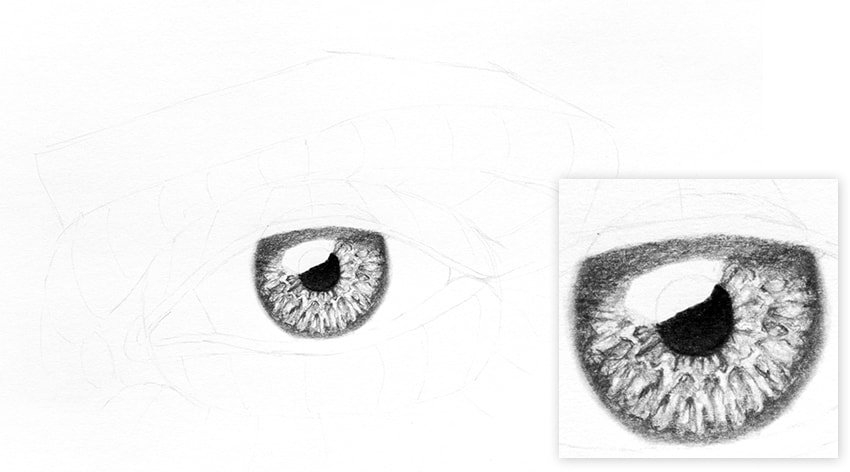
Use the 4B pencil to draw a shadow of the upper eyelid over the iris. Keep in mind that eye isn't flat, and therefore the shadows must be curved.
Step 9
 |
| Photo: Envanto Tuts+ |
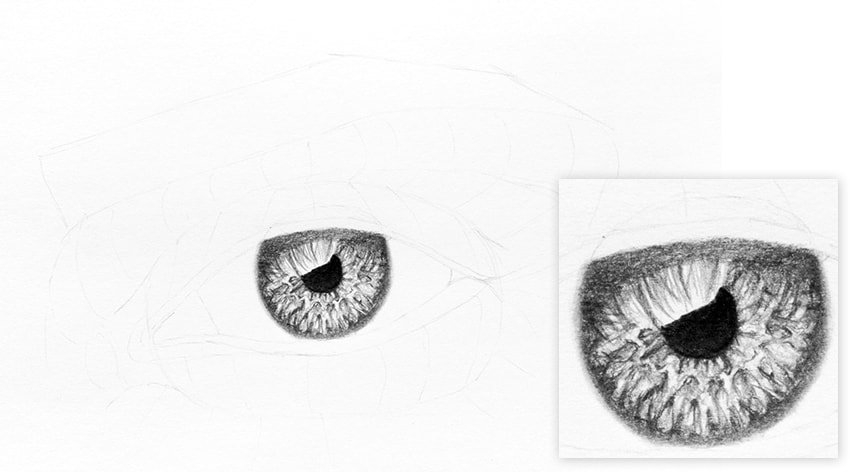
Use the same pencil to draw the shadow of the eyelashes. It will be the most visible over the reflection area.
Step 10
 |
| Photo: Envanto Tuts+ |
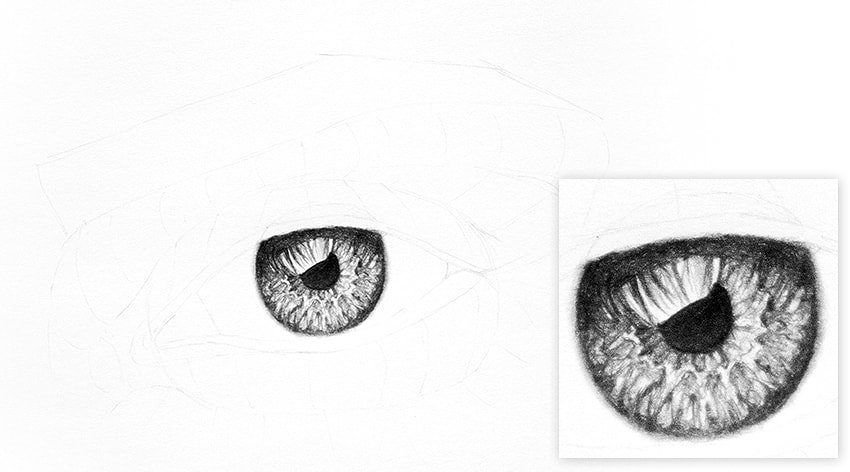
Take the 5B pencil and adjust the contrast of the eye. Darken the shadows to make the light parts pop.
3. How to Shade an Eye
Step 1
 |
| Photo: Envanto Tuts+ |
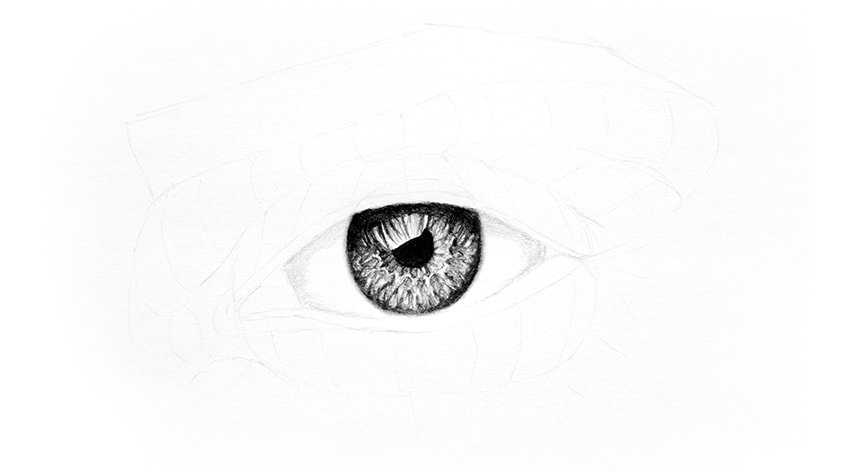
Take the HB pencil and draw a subtle shade around the white of the eye. While shading, keep in mind that the eyeball is roughly a sphere, so don't make the shadows flat.
Step 2
 |
| Photo: Envanto Tuts+ |
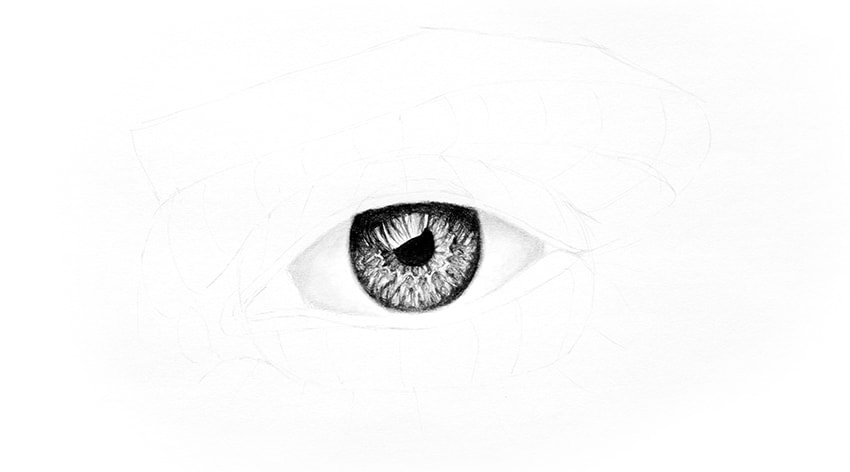
Use the blending stump to soften the shadows. Feel free to blend them even farther into the center.
Step 3
 |
| Photo: Envanto Tuts+ |
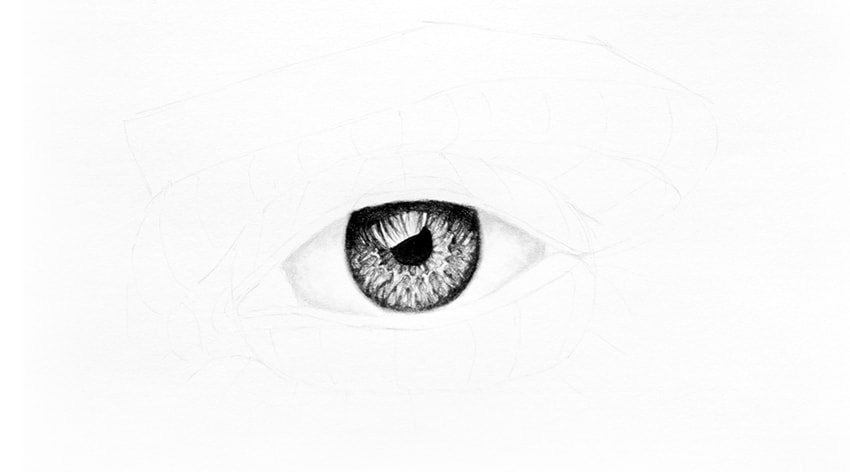
Take the eraser and clean the illuminated area with it. The eye isn't completely smooth, so it will look even better if you break the soft shadows with sharp edges of the eraser strokes.
Step 4
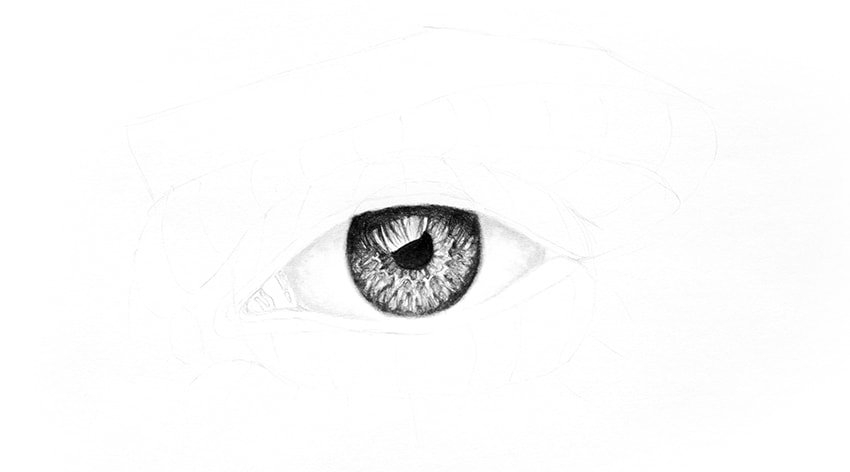 |
| Photo: Envanto Tuts+ |
Take the HB pencil and draw the details of the lacrimal caruncle. This area is wet and shiny, so draw the outline of little highlights.
Step 5
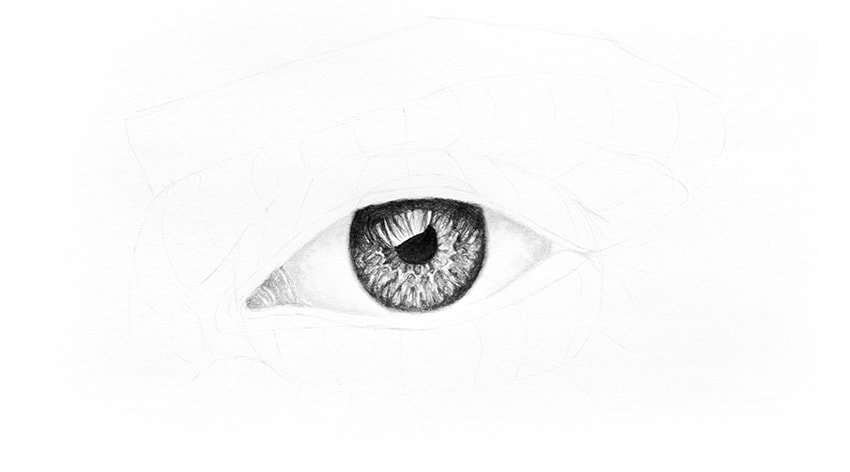 |
| Photo: Envanto Tuts+ |
Shade the area subtly.
Step 6
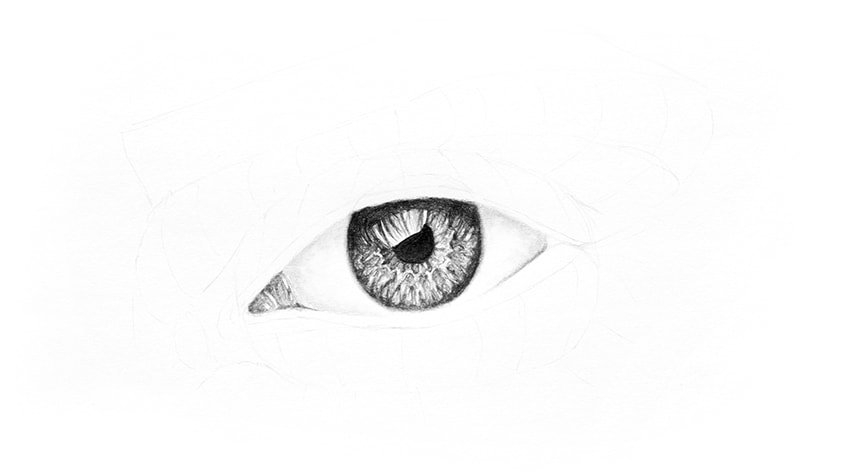 |
| Photo: Envanto Tuts+ |
Take the 2B pencil and shade the area stronger. Use the same pencil to draw a subtle shadow under the lower eyelid. This will separate the eye from the eyelids.
Step 7
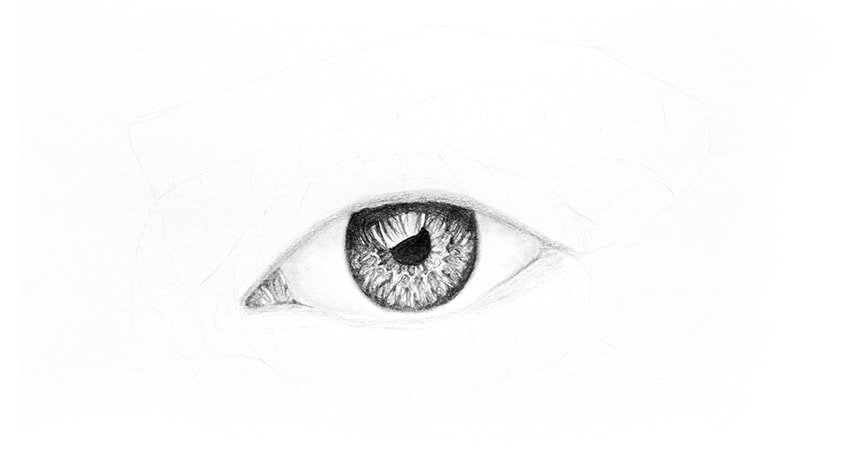 |
| Photo: Envanto Tuts+ |
Take the HB pencil and shade the rims of the eyelids. Keep in mind the location of the light source!
Step 8
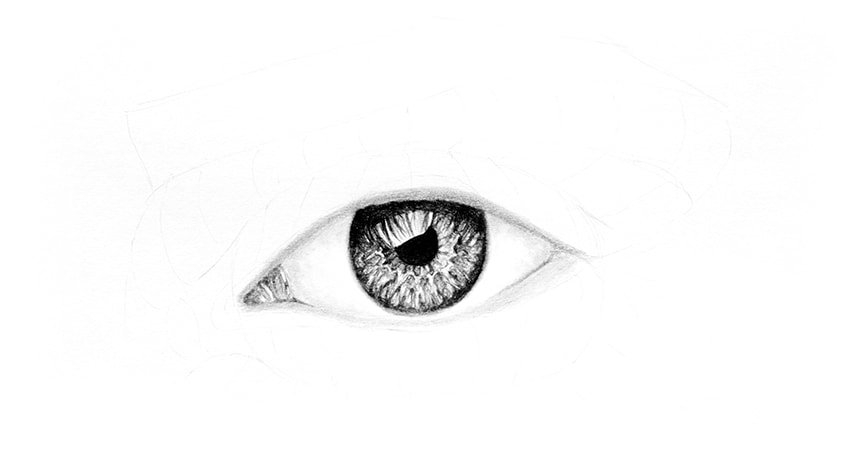 |
| Photo: Envanto Tuts+ |
Blend the shaded area with the blending stump.
Step 9
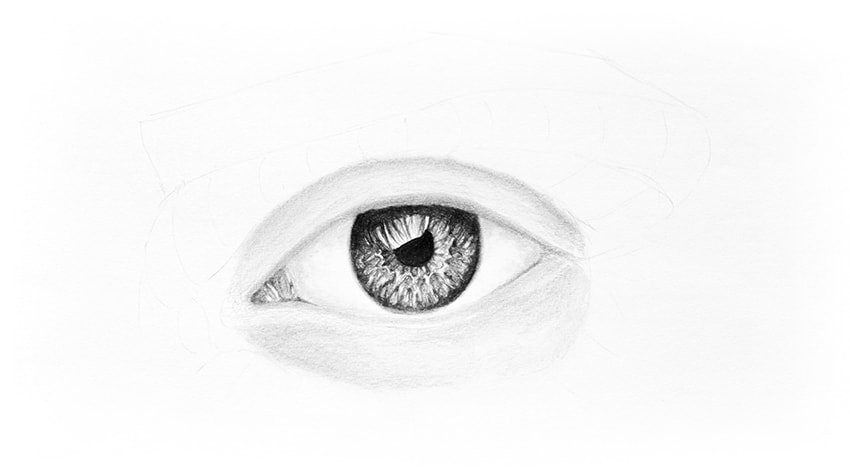 |
| Photo: Envanto Tuts+ |
Use the same technique to shade the rest of the skin around the eye. Draw with a tilted pencil to capture a big area at once and to avoid sharp lines.
Step 10
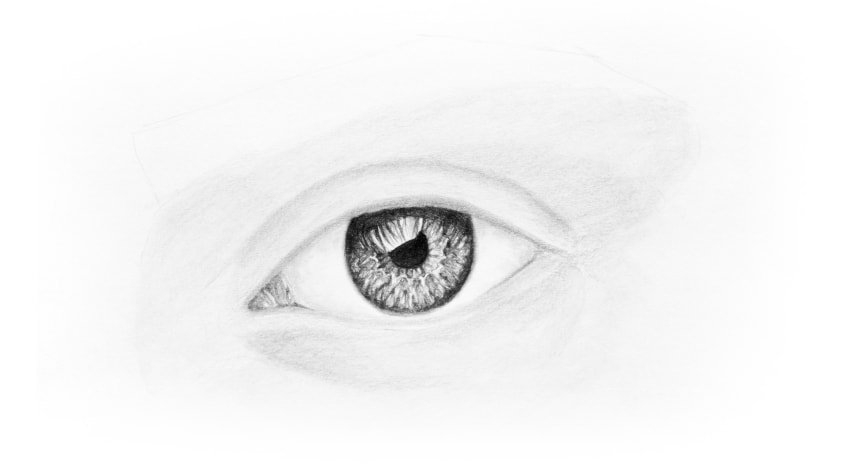 |
| Photo: Envanto Tuts+ |
Take the 2B pencil and add more shadows where needed.
Step 11
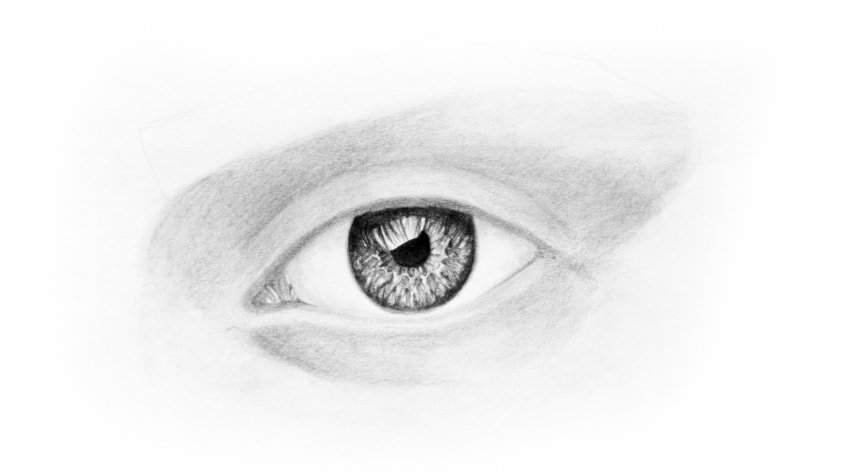 |
| Photo: Envanto Tuts+ |
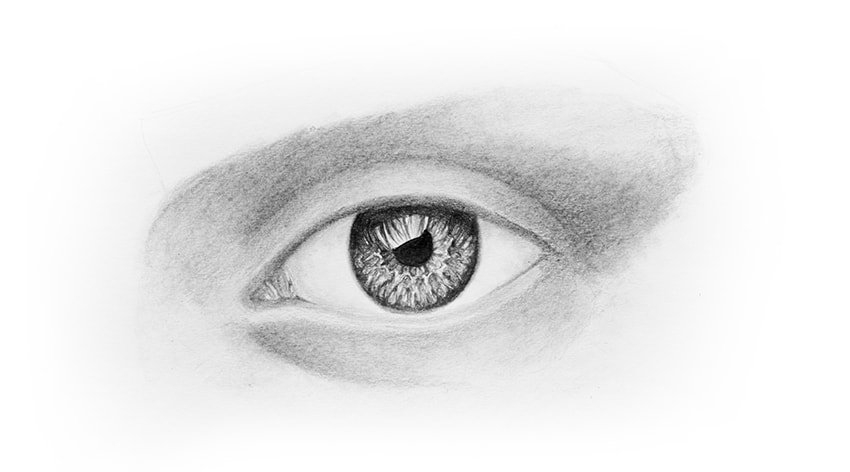
Take the 4B pencil and add even darker shadows.
Step 12
 |
| Photo: Envanto Tuts+ |
Finally, take the 5B pencil and strongly darken the crease of the upper eyelid.
4. How to Draw Eyebrows and Eyelashes
Step 1
 |
| Photo: Envanto Tuts+ |
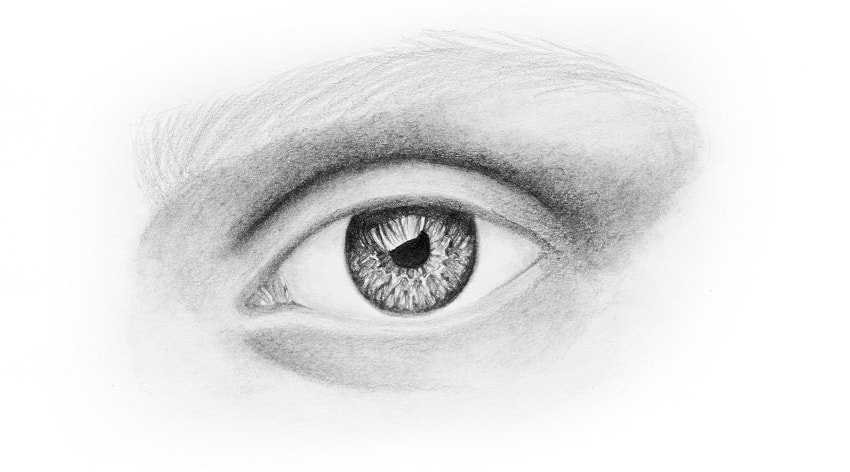
Take the HB pencil and draw the direction of the hairs in the eyebrow.
Step 2
 |
| Photo: Envanto Tuts+ |
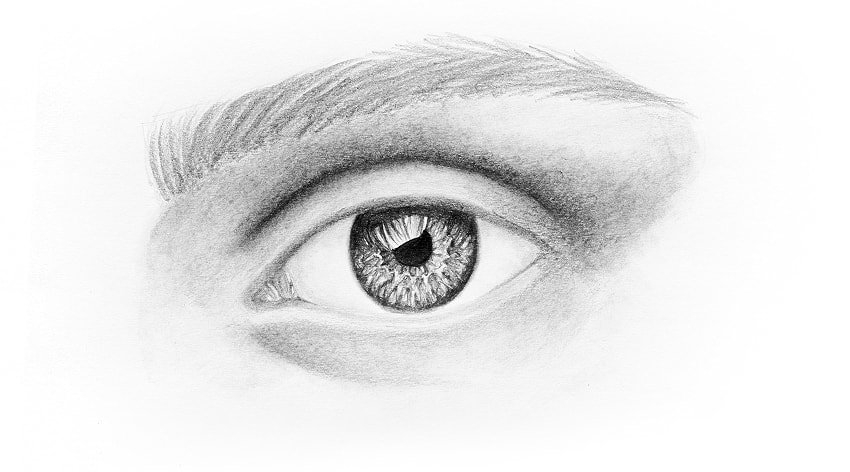
Take the 2B pencil and draw the hairs one by one. Don't draw them sharply—their width will depend on the scale of your picture. Tilt your pencil if necessary to achieve thick strokes.
Step 3
 |
| Photo: Envanto Tuts+ |
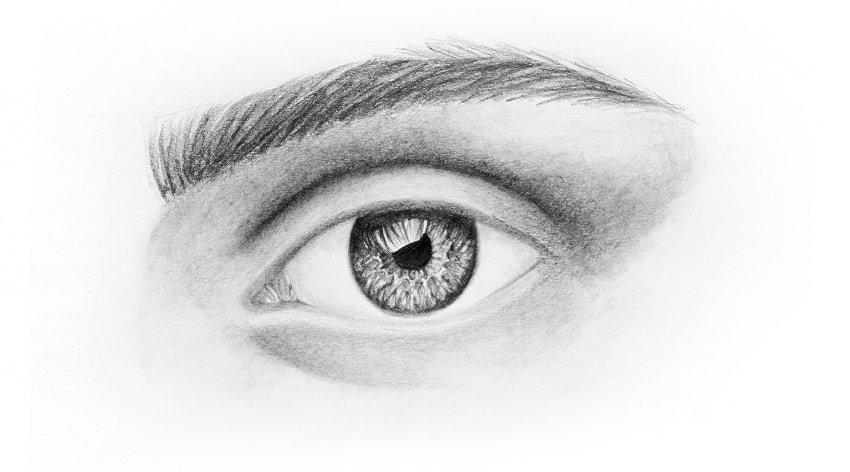
Take the 4B pencil and thicken the front lower part of the eyebrow.
Step 4
 |
| Photo: Envanto Tuts+ |
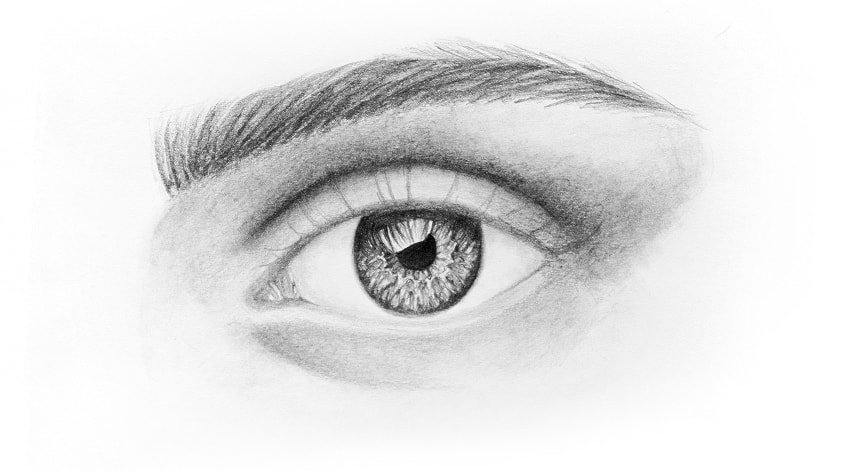
Take the 2B pencil and sketch the direction and shape of the eyelashes. Before you start, however, look in the mirror and try to understand what you see. The eyelashes are curvy, and their shape will be affected by perspective. They go slightly down, right from the rim of the upper eyelid, and then they curve up.
Step 5
 |
| Photo: Envanto Tuts+ |
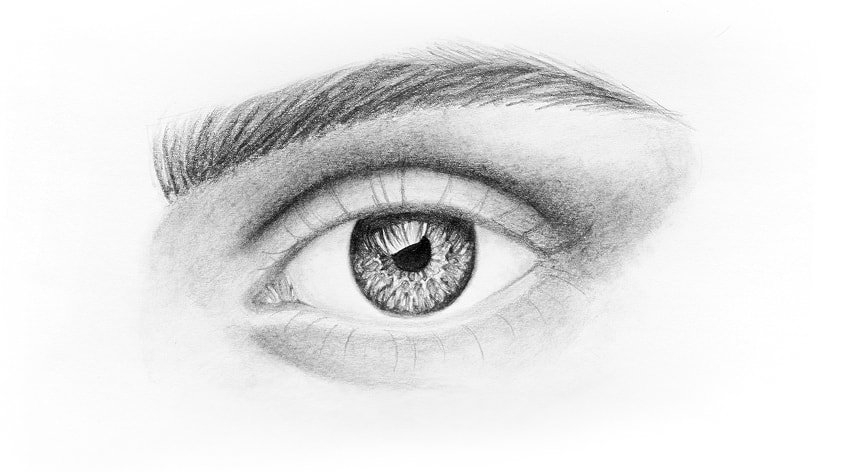
Create the lower eyelashes the same way.
Step 6
 |
| Photo: Envanto Tuts+ |
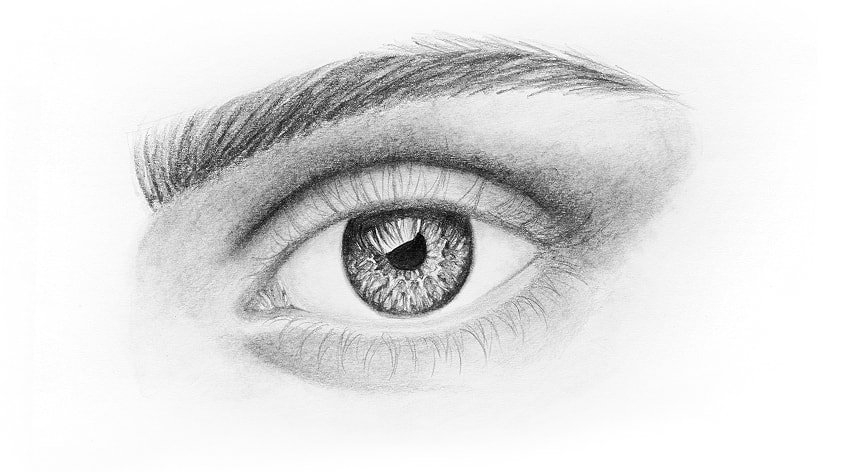
Eyelashes tend to stick to each other, creating sharp clumps.
Step 7
 |
| Photo: Envanto Tuts+ |
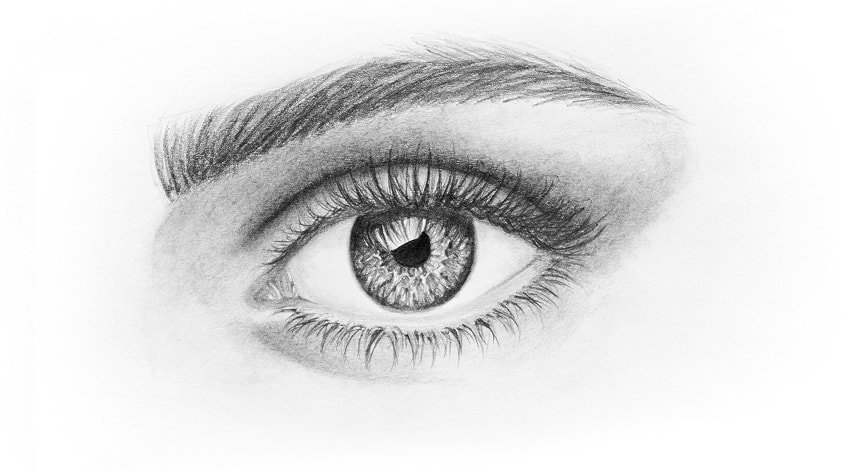
Take the 4B pencil and thicken the eyelashes, adding more hairs in between. The eyelashes don't grow in one thin row! Also, adjust the width of the eyelashes to the scale of your picture.
Step 8
Take the softest pencil, make sure it's sharp, and accentuate certain parts of the eyelashes.
Step 9
 |
| Photo: Envanto Tuts+ |
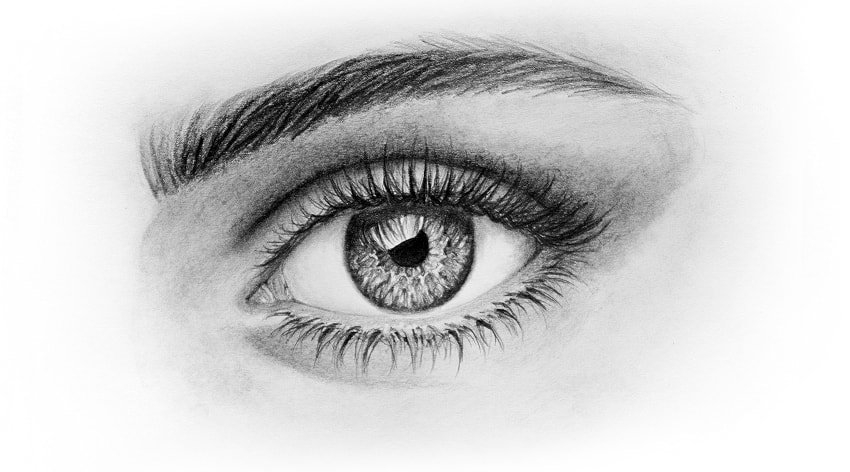
The picture is almost finished. Look at it at a distance and try to see how the shading can be improved. Use all the pencils for this task.
 How To Draw A Nose For Kids & Beginners With Simple Steps How To Draw A Nose For Kids & Beginners With Simple Steps The nose is one of the most important parts of the human body, and it is not easy to perfectly capture the drawing of the ... |
 How To Draw A Cute Girl Eyes - Step By Step in New Trends How To Draw A Cute Girl Eyes - Step By Step in New Trends If you are looking for a step-by-step guide on how to draw a cute girl's eyes, you have come to the right place. Keep reading ... |
 How To Draw A Nose From The Side With Easy Steps How To Draw A Nose From The Side With Easy Steps If you are looking for a guide to draw nose from the side, keep reading the article below and learn a new thing today! |
 How To Draw Eyes For Kids & Beginners with Simple Steps How To Draw Eyes For Kids & Beginners with Simple Steps Drawing eyes is not easy for most beginners and kids, and if you are looking for a step-by-step guide, you have come to the right ... |


