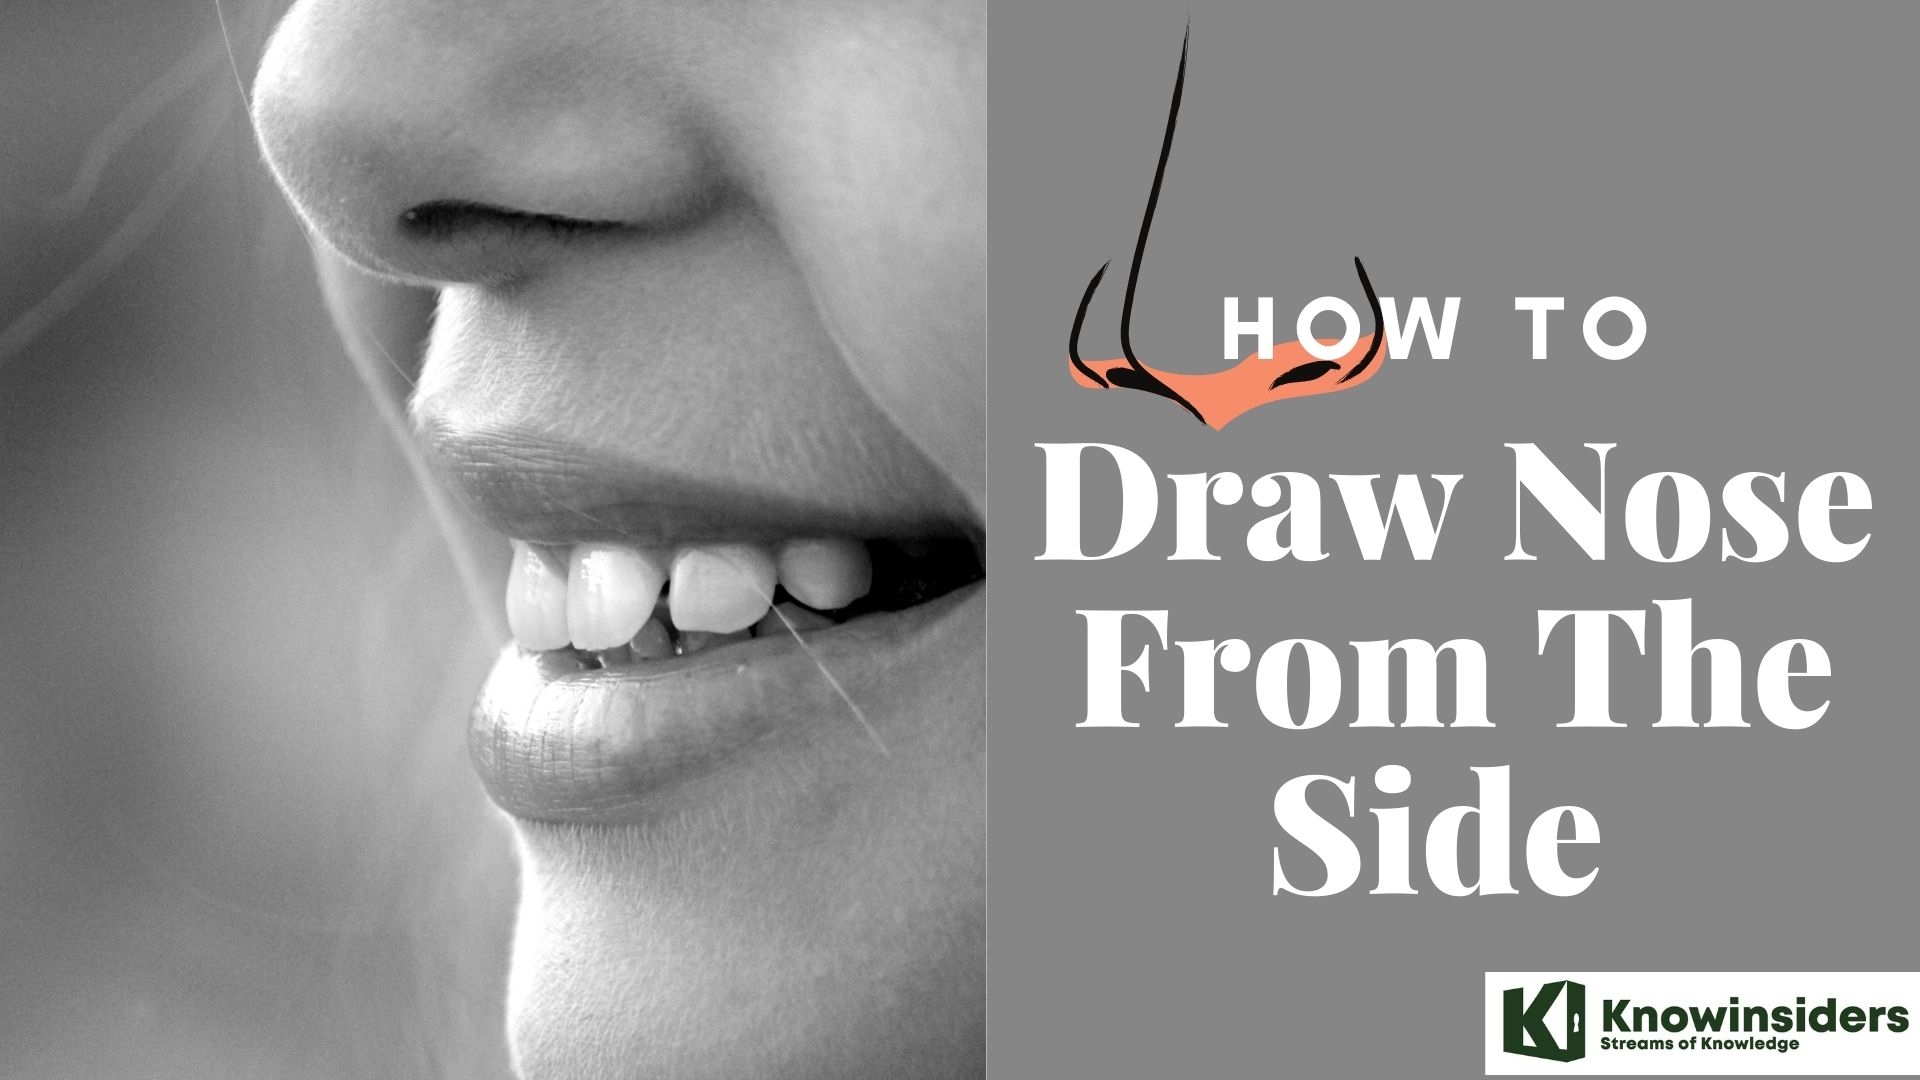
How To Draw A Nose From The Side With Easy Steps
 |
| How To Draw A Nose From The Side With Easy Steps |
For beginners, drawing a nose might not be an easy task at all, for its shape, line and structure can be difficult to grasp. The human nose is the most protruding part of the face. It bears the nostrils and is the first organ of the respiratory system. It is also the principal organ in the olfactory system. The shape of the nose is determined by the nasal bones and the nasal cartilages, including the nasal septum which separates the nostrils and divides the nasal cavity into two. On average the nose of a male is larger than that of a female.
Take a look at the article below on the anatomy of the human nose, its function, and how to draw it from the side and different angles with easy steps.
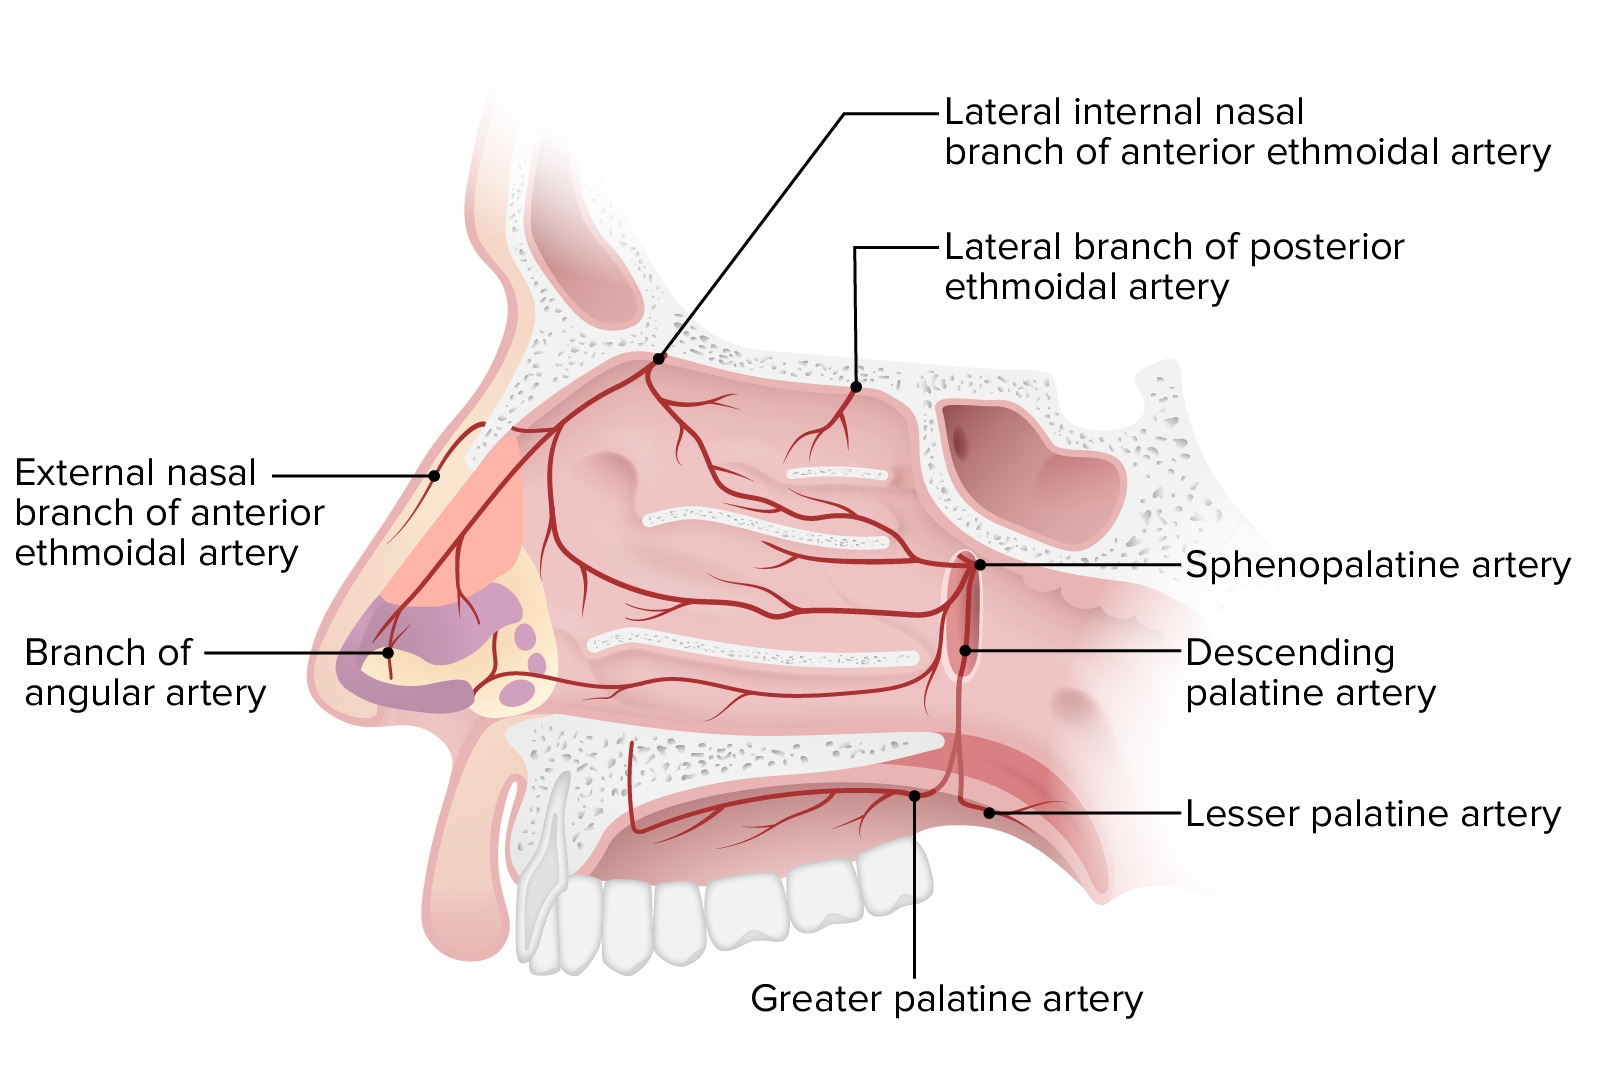
The Anatomy of The Nose
 |
| Photo: Lecturio.com |
The nose is the human body’s primary organ of smell and functions as part of the upper respiratory system. The nose may be best known for inhaling oxygen and exhaling carbon dioxide, but it also contributes to other important functions, such as tasting. The anatomy of the nose can be divided into the external nose and the nasal cavity. There are 12 cranial bones that contribute to the structure of the nose’s walls and nasal conchae.
Your nose anatomy includes:
Bone: The hard bridge at the top of your nose is made of bone.
Hair and cilia: Hair and cilia (tiny, hairlike structures) inside your nose trap dirt and particles. Then they move those particles toward your nostrils, where they can be sneezed out or wiped away.
Lateral walls (outer walls): The outer walls of your nose are made of cartilage and covered in skin. The walls form your nasal cavities and your nostrils.
Nasal cavities: Your nose has two nasal cavities, hollow spaces where air flows in and out. They are lined with mucous membranes.
Nerve cells: These cells communicate with your brain to provide a sense of smell.
Nostrils (nares): These are the openings to the nasal cavities that are on the face.
Septum: The septum is made of bone and firm cartilage. It runs down the center of your nose and separates the two nasal cavities.
Sinuses: You have four pairs of sinuses. These air-filled pockets are connected to your nasal cavities. They produce the mucus that keeps your nose moist.
Turbinates (conchae): There are three pairs of turbinates located along the sides of both nasal cavities. These folds inside your nose help warm and moisten air after you breathe it in and help with nasal drainage.
What Are The Functions Of The Nose?
 |
| Photo: learning junction |
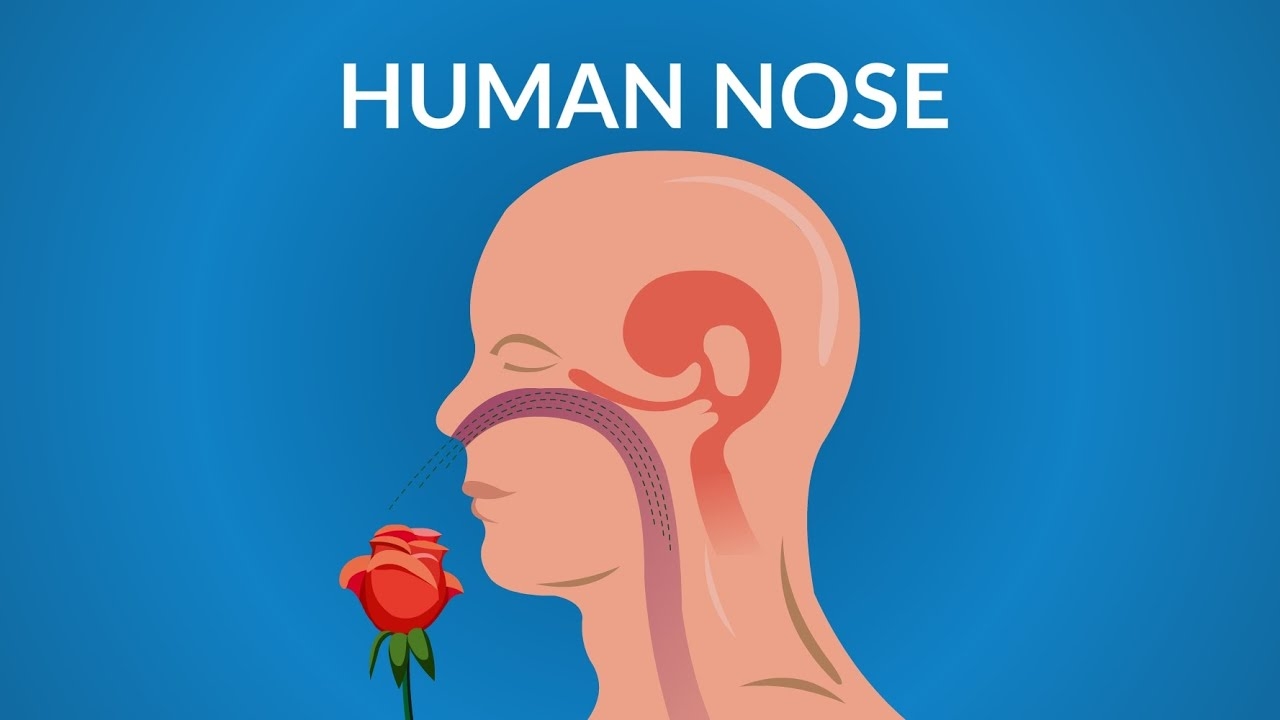
The nose has an important function in breathing. The nasal mucosa lining the nasal cavity and the paranasal sinuses carries out the necessary conditioning of inhaled air by warming and moistening it. Nasal conchae, shell-like bones in the walls of the cavities, play a major part in this process. Filtering of the air by nasal hair in the nostrils prevents large particles from entering the lungs. Sneezing is a reflex to expel unwanted particles from the nose that irritate the mucosal lining. Sneezing can transmit infections, because aerosols are created in which the droplets can harbour pathogens.
Another major function of the nose is olfaction, the sense of smell. The area of olfactory epithelium, in the upper nasal cavity, contains specialised olfactory cells responsible for this function.
The nose is also involved in the function of speech. Nasal vowels and nasal consonants are produced in the process of nasalisation. The hollow cavities of the paranasal sinuses act as sound chambers that modify and amplify speech and other vocal sounds.
There are many plastic surgery procedures on the nose, known as rhinoplasties available to correct various structural defects or to change the shape of the nose. Defects may be congenital, or result from nasal disorders or from trauma. These procedures are a type of reconstructive surgery. Elective procedures to change a nose shape are a type of cosmetic surgery.
The basics of drawing noses
The central, often ignored, feature of the face.
 |
| Photo: Adobe |
It’s easy to overlook noses. When most people look at a human face, they make eye contact. Or people’s eyes are drawn to the mouth to see if someone is smiling or not. A person’s haircut, hat, or earrings might all draw attention before a nose does. When an illustrator sits down to draw, they may have a good idea about these other features or have noticed a strong jawline or a tilt to the eyes. But they might find themselves stumped when it comes to even the basic shape of the nose. And, after a few missteps, perhaps they find themselves reaching for their eraser.
Noses are important, though. Without the right nose, a character can look distorted, incomplete, or simply not right. Here are a few things to keep in mind when drawing noses and some simple steps and tips to help you illustrate those middle-of-the-face features.
Placing the nose on the head.
Any step-by-step tutorial for noses begins with where the feature is placed on the head. “The head is roughly divided into the top half and the bottom half,” says comic book artist and illustrator Jonathan Case. “The top of the nose actually starts at the midpoint line.” According to Case, placing the nose properly on the face can be non-intuitive for new artists. “When they start drawing, a lot of people put the nose too high,” he says. Remember, the eyes sit in the middle of the face. The highest point of the bridge of the nose does as well. Making sure the nose sits in the lower half of the face, with the bridge of the nose reaching just past the face’s midpoint, is a key way to make sure the nose looks like a natural part of the face.
Exploring the basic nose shape
There are a variety of nose shapes, but most noses in drawings begin as a triangle. “Once you have that basic triangle in place, you can do all sorts of other things,” Case says. “You can give them a hooked nose or make it more rounded or bulbous — but you’re starting with the triangle shape.”
The guidance of the triangle shape is something artists can keep in mind with various perspectives. “Let’s say we’re looking up somebody’s nostrils,” Case says. “That triangle shape is going to become a pyramid. If we cut that into various sections, we’ll start understanding where the nostrils should be placed.” Shifting perspectives is much easier when you remember that the front view of the nose is basically a triangle, as well.
Nostrils also have a basic shape. “Nostrils are almost a comma shape, where the end just tapers off almost to nothing,” says Case. Nostrils can be more rounded or elongated, but they’re not perfect circles.
What the nose shows
 |
| Photo: DeviantArt |
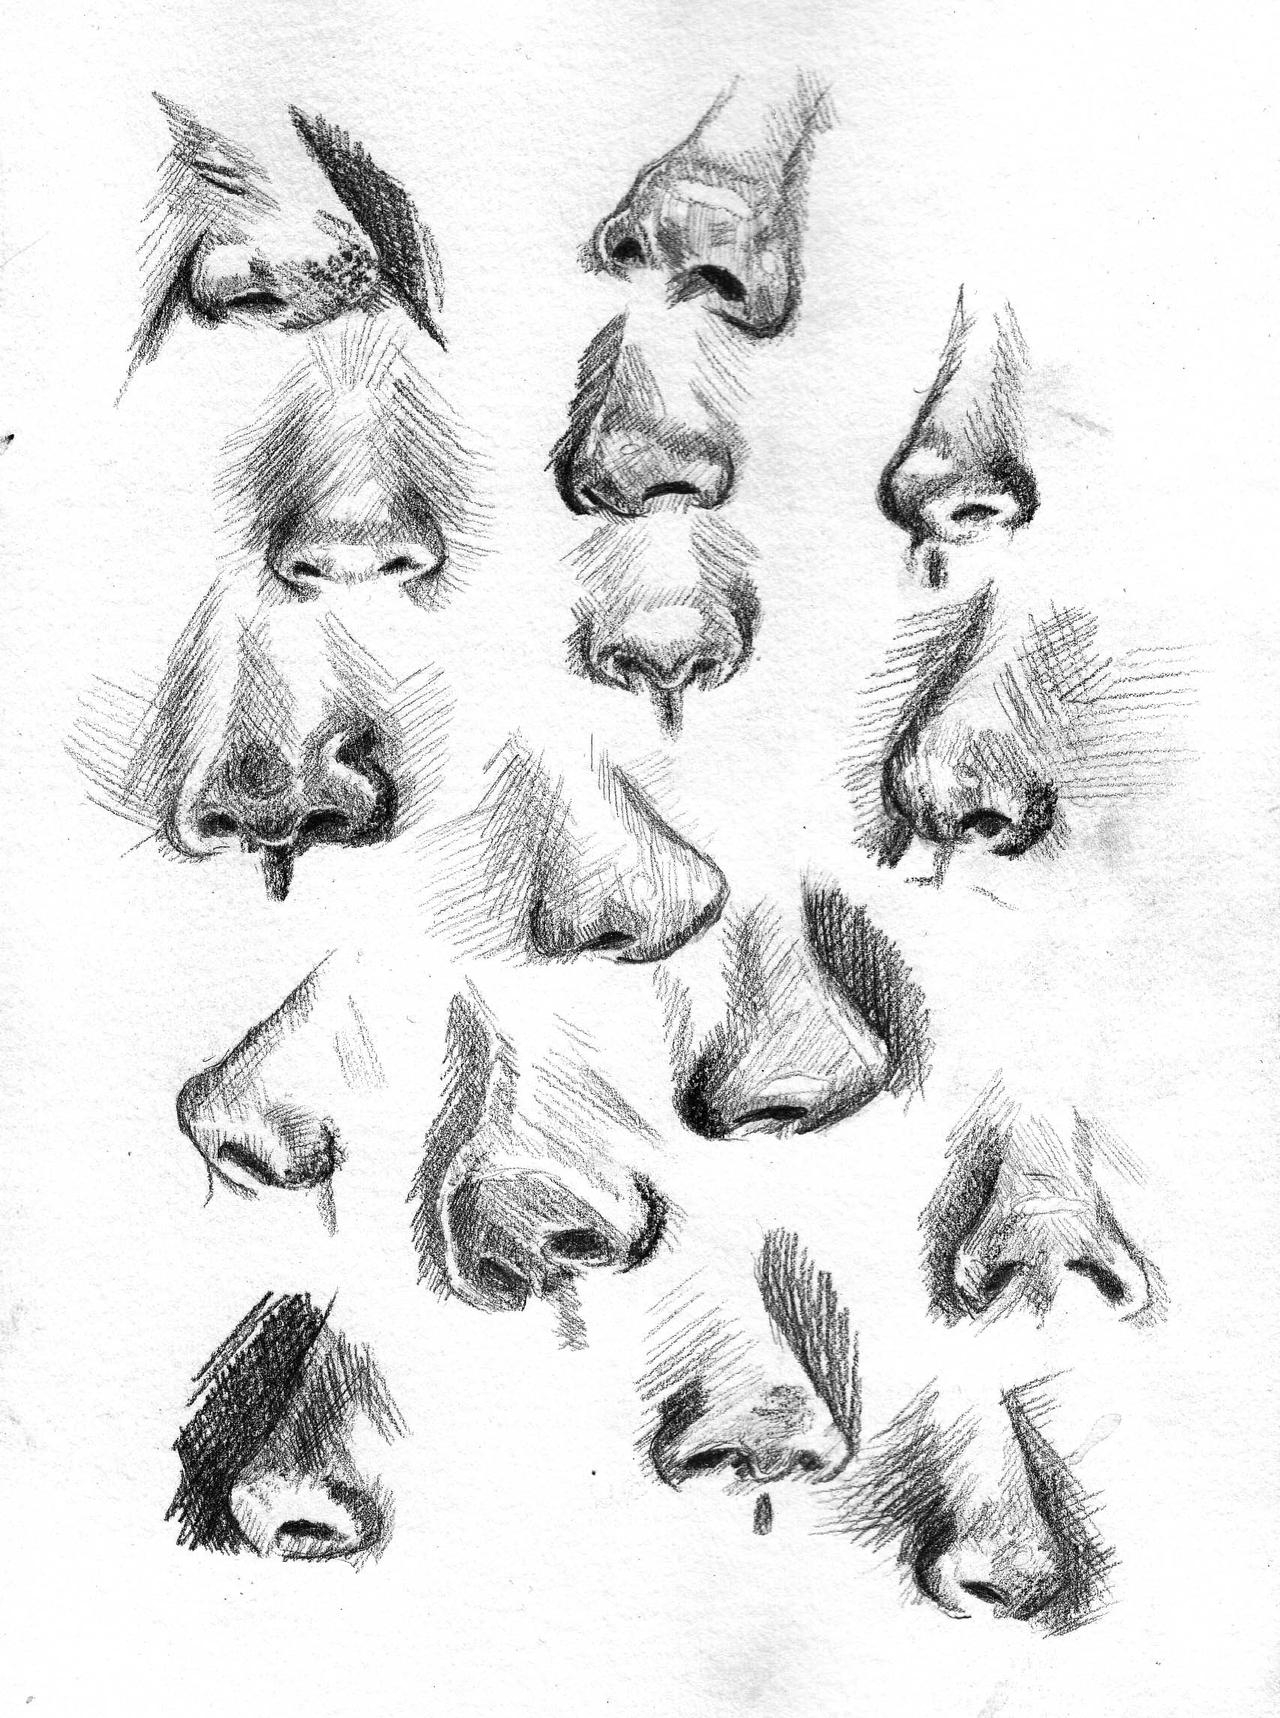
Other facial features are dynamic. Eyes widen with surprise and narrow with suspicion. Mouths open to shout or form smiles, frowns, or grins. Noses are relatively static, but they’re still important for conveying information about who a character is or what they’re doing.
Unlike eyes and mouths, noses cast shadows. They can suggest the presence of a light source (or lack thereof) in an illustration, even when an artist is focused tightly on a character’s face. If all you see are the basics of a face, the length of a nose’s shadow or the way you darken features around it can suggest either low light or the noonday sun — setting a mood and tone for the image.
Noses are also great for showing off, suggesting, or exaggerating the angle or direction of a character. “The nose can show the tilt of a character’s head, because it looks very different depending on what angle you’re at,” says illustrator Greg Bigoni. A slightly shifted nose can show a character looking up with curiosity or down with condescension.
Noses in different styles
Noses are one of the first features to change in various drawing styles. If an illustrator wants to signal what style they’re trying to use or reference, the nose is a great way to show how they’re stylizing the human face. In more cartoony styles like manga or comics, noses might just be a line or two. An artist that draws a realistic nose is deliberately setting themselves apart from stylization and signaling that they want their work viewed differently.
How to draw nose from the side tutorial, by Darlene Nguyen - Rapid Fire Art
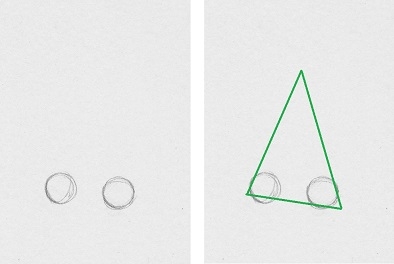
Step 1: Draw two small circles
 |
| Photo: Rapid Fire Art |
To draw the profile of a nose, you want to start out with 2 round circles which are spaced generously apart. (Imagine there is a third circle in between the 2).
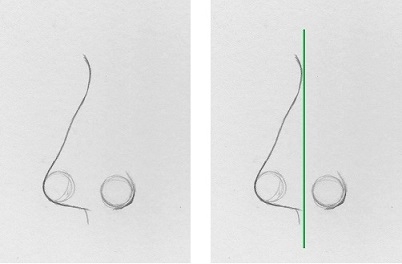
Step 2: Draw the bridge, nose tip and philtrum
 |
| Photo: Rapid Fire Art |
Draw a curved slope up and around the left circle to form the tip and bridge and a curve below it to form the philtrum or cupid’s bow. The cupid’s bow should not go too far to the left or right. Draw it somewhere in between the 2 circles.
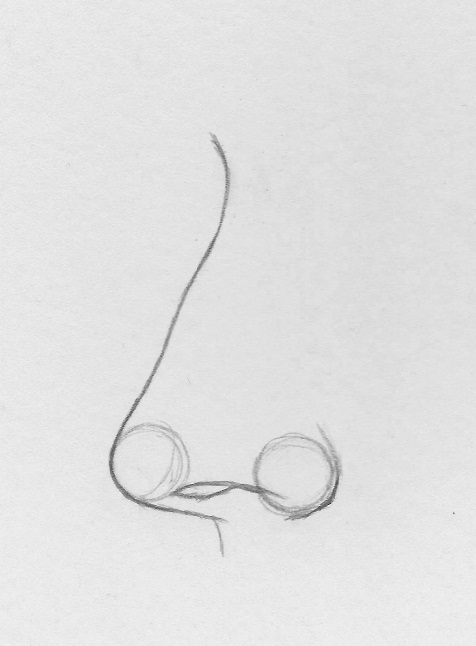
Step 3: Add the nostril
 |
| Photo: Rapid Fire Art |
Make a looped shape for the nostril. It should not be too long or too big. Again, try to draw between the 2 circles.
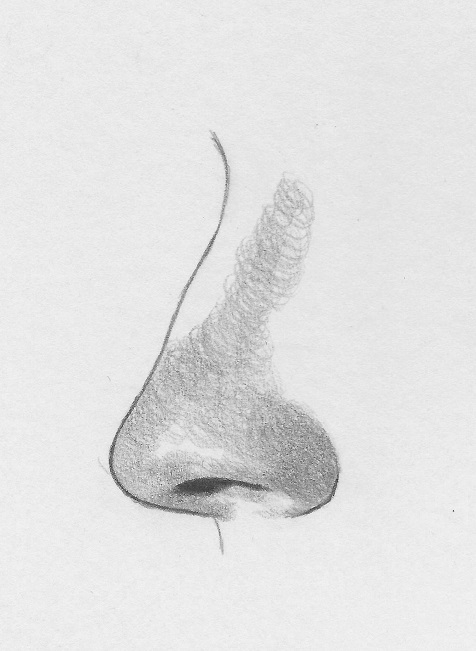
Step 4: Shade the nose
 |
| Photo: Rapid Fire Art |
You can erase the circles at this point and start shading. As you can see, the shading technique employed in this tutorial is circular. That will help achieve a more realistic skin texture.
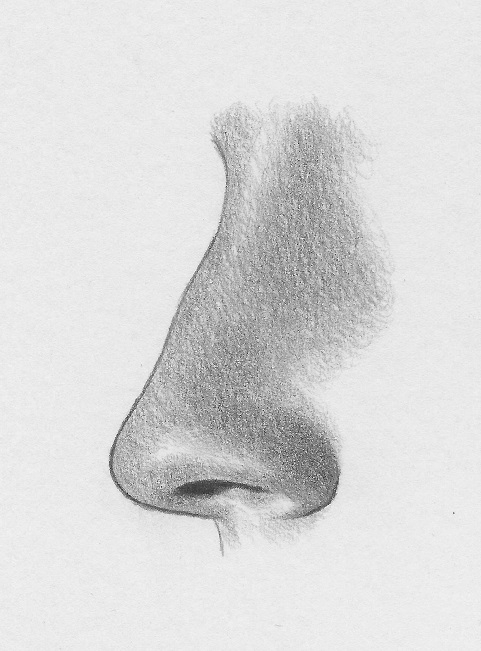
Step 5: Highlight prominent areas
 |
| Photo: Rapid Fire Art |
Make sure you leave some areas highlighted.
Shading the Nose
Understanding the planes of the nose helps us to draw the basic structure and position the "perceived lines", but the planes also perform another important task. We can use these planes to determine the locations of value.
In this example, the light source originates from the upper left corner. This produces lighter values on the left side of the nose, closer to the light source. This means that the plane that faces the light source will be lighter. Darker values are found on the opposite plane on the right side of the nose.
Since our light source is also coming from above, you'll notice that the planes underneath the nose are also darker. There is, however, a slight highlight in areas here.
The bridge of the nose protrudes outward. As a general rule, most objects that protrude receive more light and are usually lighter in tone. They also usually produce a shadow underneath. In this case, the bridge of the nose is receiving the strongest light. The values developed here should be slightly lighter than the values found on the left plane of the nose.
Now that we have a basic understanding of the locations of value and how dark or light they should be, we can begin the process of shading. However, the term "shading" is somewhat confusing. It suggests that we are only addressing the dark values, or shades. In reality, the process of "shading" is the process of developing a full range of value. This means we should consider both the tints (light values) and the shades (dark values) together.
If you're working on white paper, you may choose to leave the areas of highlight "open" or address them with a very light application of graphite. If you are working on toned paper, as we see with this drawing, you can add the highlights with a light drawing medium. In this case, a white charcoal pencil is used.
Prior to adding the highlights, we'll begin with a light application of graphite using an H graphite pencil. This gives us a starting point.
A blending stump is then applied to smooth the texture and work the graphite material into the tooth of the paper.
Once the locations of darker value are established with a light application, we can define the highlights with a white charcoal pencil. Again, this application is gently blended with a blending stump.
Then it's a matter of gradually darkening the shades to increase contrast. A softer and darker, graphite pencil is used the darken the areas within the nostrils and the shadows that exist on the right side and underneath the nose.
We can also continue to add highlights, if necessary, to extend the range of value and the contrast. As applications are made, they are gently blended with a blending stump. You'll notice that as the value is developed the texture of the nose is also developed.
 How To Draw Eyes For Kids & Beginners with Simple Steps How To Draw Eyes For Kids & Beginners with Simple Steps Drawing eyes is not easy for most beginners and kids, and if you are looking for a step-by-step guide, you have come to the right ... |
 How To Draw A Rose: Step By Step Guides How To Draw A Rose: Step By Step Guides Rose drawing can be difficult for many people who are beginners, and in the article below, we will guide you through how to draw a ... |
 How To Draw Anime For Beginners: Step-by-Step Guide How To Draw Anime For Beginners: Step-by-Step Guide How to draw anime if you are only a beginner? Read on our article and follow these simple steps. |
 How To Draw A Dog With Easy Steps How To Draw A Dog With Easy Steps Dogs are famously known as "man's best friend." Follow these easy steps to draw a dog. Have fun with your drawing! |


