How To Make Fake or Artificial Snow On Christmas?
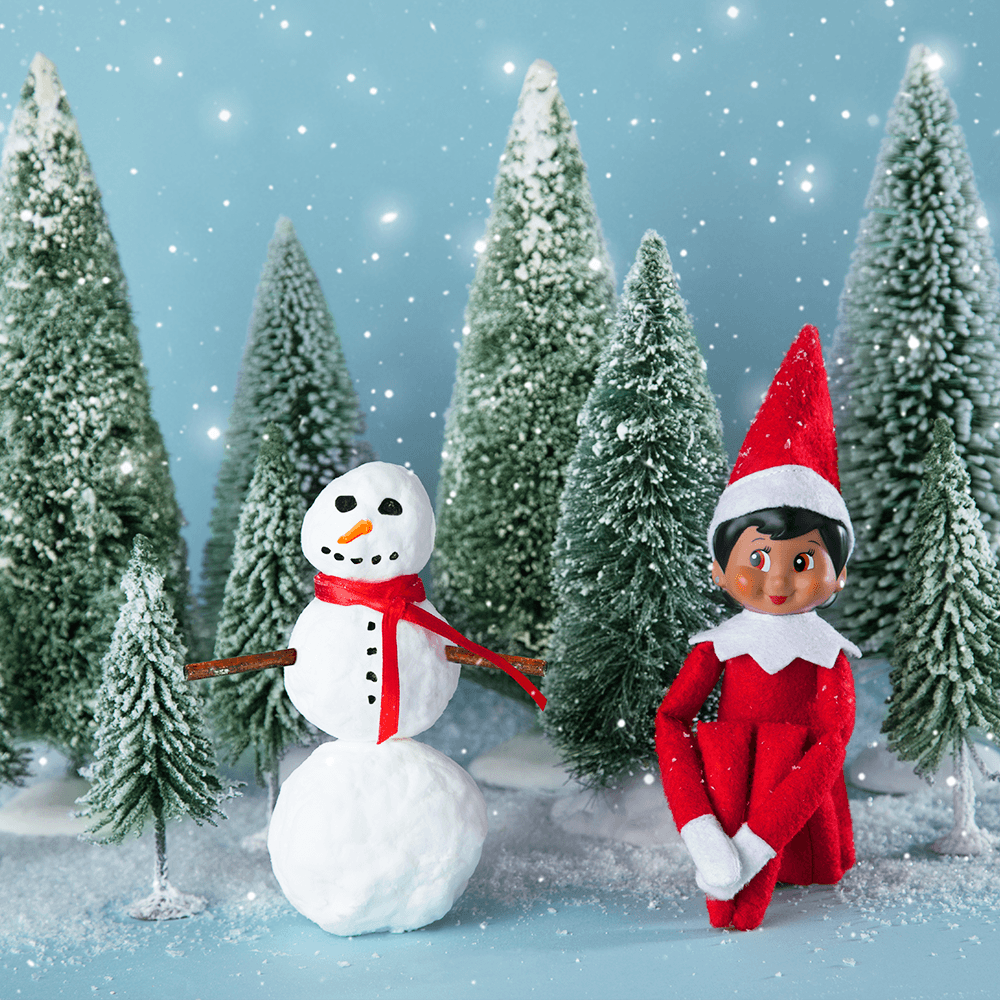 |
| Artificial snow. Photo: Elf on the self |
Save money by making your own paintable fake snow to apply to Christmas or winter decorations. Artificial snow products are available wherever craft supplies are sold, but they are packaged in small jars with hefty price tags. But you can mix your own snow for pennies.
For winter charm, apply the snow to ornaments for your Christmas tree or on any decorations that need a little extra character.
Tools and Materials for Fake Snow on Christmas
Almost any jar works for this project: Baby-food, pimiento, and olive jars are good choices. Look for plastic or ceramic figurines (metal ones are prone to rust) at flea markets and hobby or model-railroad shops. Bottlebrush trees are available at many floral-supply stores. You will also need oil-based enamel paint, sandpaper, epoxy, distilled water, glitter, and glycerin (available at drugstores).
-
2-inch foam ball
-
Kitchen cutting board
-
Serrated knife
-
Paper plate
-
Measuring cup
-
Resealable sandwich bag
-
Small mixing bowl
-
White craft glue
-
White acrylic craft paint
-
Measuring spoons
-
Mixing spoon
-
Wooden craft stick
-
Hard-bristled artist's paintbrush
-
Jar with lid
-
Acrylic or tempera paint
1.ARTIFICIAL SNOW FROM PAPER TOWELS
Ingredients: about 10 sheets of damp paper towel sheets
Directions: mix in a food processor until small little pieces form
Put the toilet paper in blender and turn it into tiny pieces. Now you can sprinkle it over your Christmas tree or over the shelves, the table and the library. Fun, simple and can be easily cleaned up.
2.ARTIFICIAL SNOW FROM SEA SALT
Ingredients: coarse sea salt
Directions: sprinkle anywhere you wish food safe and actually edible – great for tabletop displays where it touches food.
3.ARTIFICIAL SNOW FROM BAKING SODA (BAKING SODA SNOW)
Ingredients: 1 cup of baking soda
Directions: add to a bowl, and drop in 1 tablespoon of water at a time, mix well with a fork. Continue adding one tablespoon of water at a time, mixing in between until a ‘snow’ consistency forms, according to Pure Ella.
With baking soda the results will be even more impressive. Put the baking soda in a bowl and add slowly water with a spoon. Stir with a fork until the mixture turns into tiny white balls. You can mix it with the snow made from toilet paper and your snow will become even more realistic.
4.Tear up cotton
Take a cotton ball or cotton swab between your fingers and pull to stretch it out into wispy snow. Lay them out as a field of snow in craft projects, or reshape them into balls to make miniature snowmen.
5.Make a sparkly glaze for small craft projects
Mix ¼ cup (60mL) each of table salt and talcum powder. Spray the surface with spray-on craft glue or dab on white glue where you want the "snow" to stick. Sprinkle the sparkly mixture on the wet glue and allow to dry.Turn the project upside down to remove excess "snow."
6.Punch paper holes
Punch small holes from white paper and use the punched circles as snow. This works best when blown in front of a fan.
Let It Snow
A snow globe is inspiring for crafters both young and old. No matter which project you choose, it's perfectly charming and makes a lovely heirloom gift. Once complete, turn it and give it shake, then watch the snowflakes fall.
What should I do if the snow is too dry or runny?
This is a very forgiving recipe, so if your snow is too dry, simply add a few more drops of water. If it’s too runny, you can add in more cornflour and bicarbonate of soda (in equal quantities) to balance out the mixture.
WarningDo not rinse leftover snow mixture down the drain; the foam may create a clog. Use a paper towel to wipe the excess from the bowl and throw it in the trash. Then wash the bowl normally. |
How to make a Christmas Snow Globe?
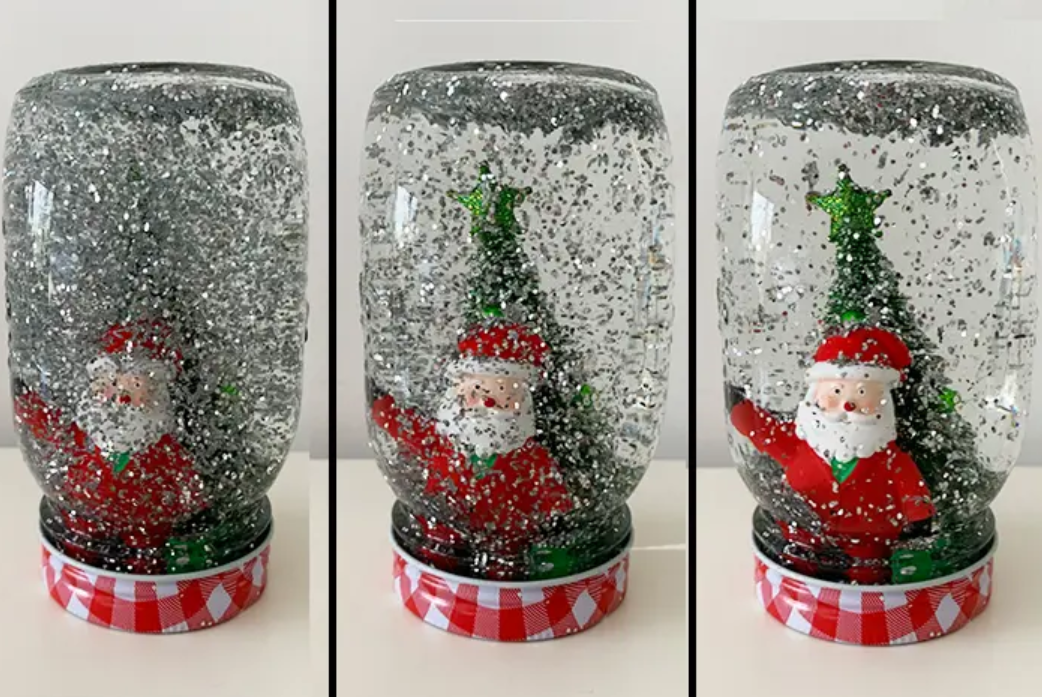 |
| Christmas Snow Globe |
They may only be a small globe filled with tiny figurines and glitter, but there is something indescribably magical about a snow globe. Whether they contain intricate cities or a simple word, the effect of watching those delicate pieces of glitter twinkle and sprinkle slowly down over their landscape below is somewhat peaceful and mesmerising.
This Christmas, why not get together with your Brisbane Kids and help them create their own snow globe? The process is surprisingly quick and the kids will be left with a personalised globe that is actually relatively cheap to create too! Below is a simple step-by-step guide on how to create your own Christmas Snow Globe.
What you will need
- An old mason jar, washed clean and any labels removed.
- Waterproof glue
- Glycerol (not necessary but this helps make the glitter fall slowly)
- Glitter or sequins
- Ornaments or laminated pictures – whatever you want to feature in the jar.
Step 1
Take the lids off the mason jars and turn them upside down. Carefully place the ornaments you want to be in the bottom of the snow globe on the inside of the lid and, when you are happy with the placement, glue them down.
Tips: Make sure your ornaments will fit back into the jar when you screw the lid on. Stray hands or parts sticking out may not actually go through the jar opening. A good way to avoid any issues is to place your items and then screw the jar over them to check this before then removing the jar and gluing them in place. Objects look bigger in the water too – so smaller ornaments will look good.
Step 2
While the ornaments on lids are drying, fill your mason jar up with water (to the top), add a couple of tablespoons of Glycerol and then a few teaspoons of your desired glitter, sparkles or sequins.
Step 4
Gently put the lid back onto the jar, carefully maneuvering the ornament through the top before screwing the lid on tightly.
Tip: It is a good idea to place the jar on a pan before doing this so that any overflow will not go on your table. It is better to fill the water to the top and have the excess spill out when you put the lid on then to have a space at the top of your snow globe because the jar is not completely filled with water.
Step 5
Turn the jar over and dry it off. It helps to maybe put a rim of glue around the jar lid, just to stop any leakage at all. Give it a good shake and watch the magic happen!
 Elegant & Artistic Christmas Tree: 10 Best Ideas for Decoration Elegant & Artistic Christmas Tree: 10 Best Ideas for Decoration If you are wondering which kind of decoration would be put on your Christmas tree, below are TOP 10 Christmas tree decoration ideas Knowinsider has ... |
 To Funniest and Exciting Christmas Jokes To Funniest and Exciting Christmas Jokes What is more interesting than sharing Christmas-themed jokes with friends, family members or your beloved one? Find out the funniest and exciting Christmas jokes in ... |
 Top 15 Weirdest Christmas Traditions around the World Top 15 Weirdest Christmas Traditions around the World The Christmas season is an exciting time all around the world and every culture celebrates a little bit differently. Read on for 15 of the ... |

