Easy Steps to Build a Gaming PC for Beginners
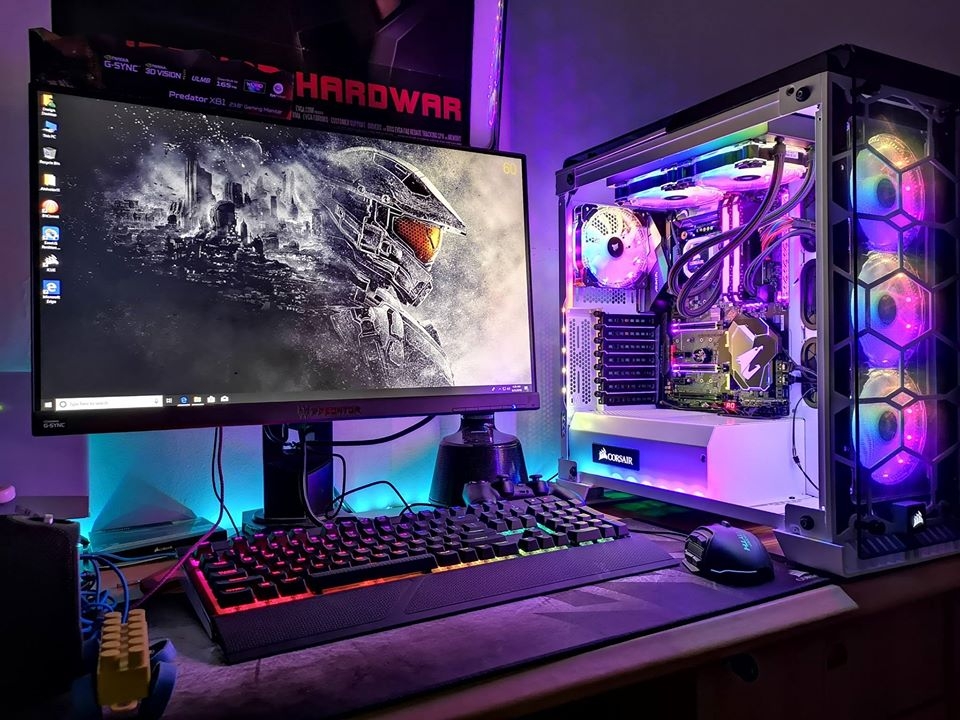 |
| Easy steps to build a gaming PC for beginners. Photo: Haiphong Computer |
Building a gaming PC from scratch is the only sure-fire way to ensure that your system is capable of satisfying all of your personal preferences. When you determine everything that goes into your PC from the power supply up, you know that you'll be able to play the games you want at the frame rates you want. In addition, a home-built PC keeps the door open for upgrades — as technology changes, as your gaming tastes and needs change, or as your budget allows.
Though building a PC can seem intimidating, you might find that it’s easier than you think, especially when broken into manageable steps. That's why we've put together this comprehensive step-by-step guide to building your first gaming PC, complete with tips and tricks from our veteran builders.
STEP 1: Choose Your Budget
Without getting too complicated to start, the first step here would be to actually choose a budget – what do you actually have to spend? If you’re wondering “hmm, but how much do I have to spend…” well that’s a loaded question and I will tell you why.
The performance brackets generally being a 60+FPS performance rating at the specific monitor and gaming resolutions of 1080p (1920×1080), 1440p (2560×1440), and 4K (3840 x 2160 pixels). So a $700 gaming pc right now should typically be able to blast through a 1080p no problem, a $1000 build at 1400P and a $1500 build should be able to play into 4K resolutions. I say play into because 4K is a lofty resolution to fully optimize for right now unless you’re loaded and can afford a $1000 graphics card, Newbcomputerbuild noted.
STEP 2: PC Build Tools
 |
| Photo: Arturth |
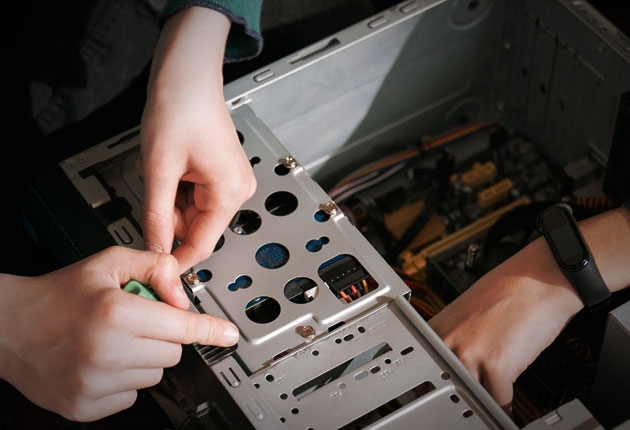
The first thing you need to do to prepare is gather the tools you need to complete the build. Preparing the materials below ahead of time goes a long way to ensure that the build process goes smoothly.
- Workspace. You will need a large surface to work on, such as a table. To prevent an accidental electrostatic discharge (which can damage sensitive components), make sure you stand on an uncarpeted surface.
- Screwdrivers. You will need a Phillips #2 screwdriver for just about everything.If you're installing an M.2 device, you'll also need a Phillips #0 screwdriver.
STEP 3: Gaming PC Cases
Before you start picking out components, you should have a case — or, at least, a case size — in mind.
The main thing to keep in mind when picking a case is where you're going to put the computer. Your PC's final location will dictate how big you can (or cannot) go, and it will also help determine whether various premium case features are worth splurging on. You probably don't want to pay for a tempered glass side panel if the computer will be hidden under your desk, for example.
Cases typically come in three sizes: Full-tower, mid-tower, and mini-tower. These are very general categories (case sizes are not standardized among manufacturers), but they're based on motherboard size, Intel listed.
STEP 4: Get everything started
Now it's time to get your components together. This step can be as hands-on or as hands-off as you like; you can thoroughly research each individual component on your own and create a custom build from scratch, or you can find a pre-made build online and adjust it to suit your specific budget and needs.
1. Get Windows ready
This is one of those steps that's easy to overlook, but which might be much harder to do later on. Make a Windows 10 bootable USB drive. I won't go into the process of getting a license and installing Windows, since there are a lot of variables involved there, but without some version of Windows, you'll be stuck staring at the BIOS. And there's not much to do there.
2. Install the CPU
Like a lot of PC-building steps, the process of installing a CPU can vary somewhat depending on your parts — what kind of motherboard you have, as well as whether you're using an AMD or an Intel chip. Generally speaking, though, you'll find a CPU socket on the upper part of your motherboard. Simply lift the latch, fit the CPU into place (it's designed to fit only one way; if it's not flush, something is wrong), then replace the latch.
3. Install the CPU cooler
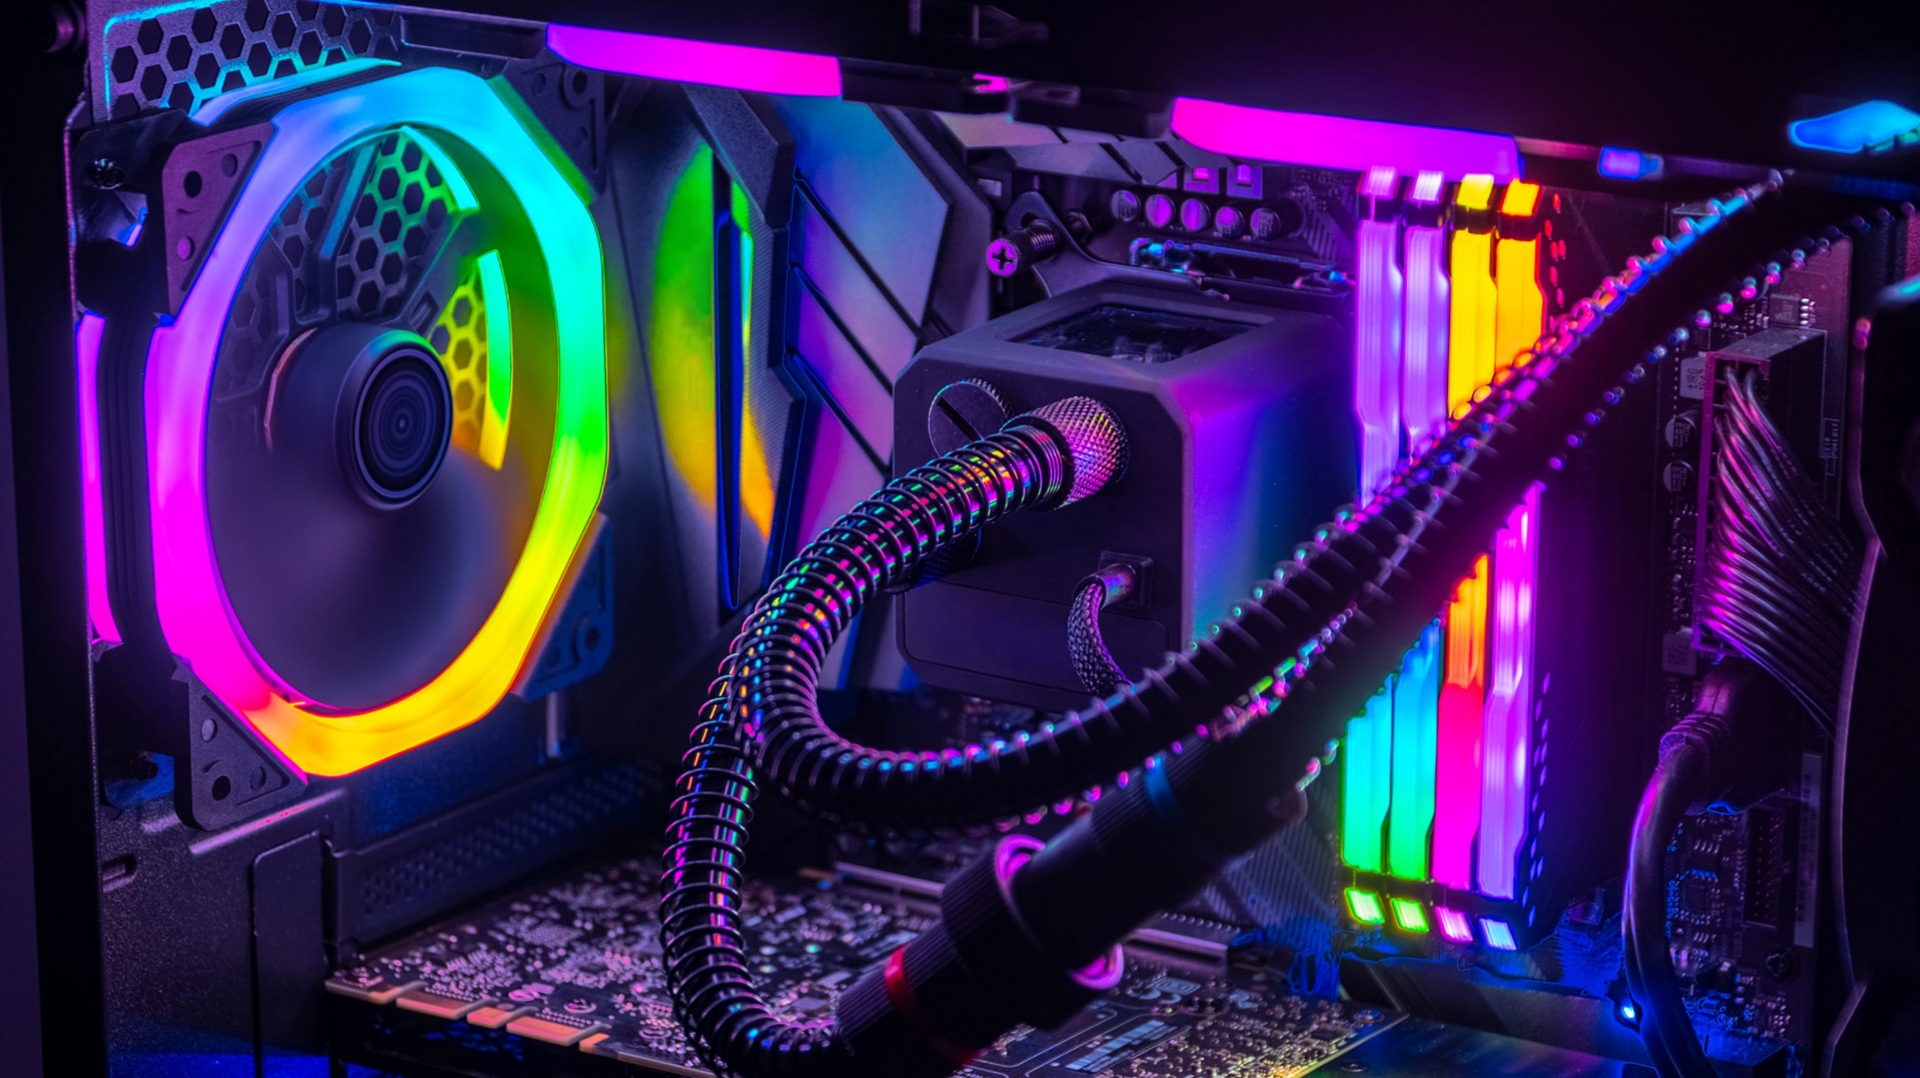
Most guides recommend installing the CPU cooler right after the CPU (understandably), but I decided to go with a liquid cooling system instead of a standard CPU fan. Suffice it to say that with a standard CPU fan, you can simply connect it and then move onto the next step.
If you have a fan, install it at this stage. If you have a liquid cooling system, install the backplate now and save the fan hookup for later. The specifics here will vary, so refer to your instruction manual.
 |
| Photo: Reviewgeek |
4. Insert the RAM
It is perhaps fitting that the most fraught part of PC construction is followed by the most foolproof. If you've never installed RAM before, it's one of the easiest ways to upgrade your PC.
Simply find the RAM slots (there are usually four, sometimes six), unlock the slot's clasp(s), figure out which way the RAM module is supposed to face (there is a small, asymmetrical hole in the bottom where it fits into the slot) and snap it into place. Most motherboards are optimized for RAM in the second and fourth slots; yours may vary. Just make sure that the RAM is fully snapped in on both sides and you can't go wrong.
5. Plug in your storage
Depending on what you bought, you may have to attach one tiny M.2 SSD directly to the motherboard, or you may have to maneuver a huge, blocky HDD into a specialized drive bay.
6. Attach the motherboard
You could technically attach the motherboard to your case at any time during this process, but generally, getting all the small pieces installed before you lock all of your hardware into a cramped frame is a smart idea.
7. Install the GPU
Yet another highly variable installation step, your GPU installation could vary considerably based on the device's design, size and power requirements. I was working with an Nvidia GeForce RTX 3070, for example, which works best in a motherboard's primary PCIe slot and takes a single 8-pin power cable.
For such a large, complex device, GPU installation is usually very simple. My only trouble here was getting the large card to align in the relatively narrow, dark PCIe slot on the motherboard. There' no special trick here — just make sure that the latch that holds the GPU in place is down, and that you've removed two slots from the back of your case to accommodate the hardware. When it aligns, click it into place with a little force.
8. Hook up the power supply
One of the least fun but most necessary parts of building a PC is connecting your power supply.
9. Connect (and prettify) your cables
If connecting all of your cables isn't the most difficult part of PC construction, it's at least the part that requires the most manual dexterity. Everything that's not directly connected to your motherboard needs to be plugged into your motherboard or your PSU at this step — GPU, storage, fans, front-facing USB and audio ports, etc.
The good news is that every cable has a clearly defined port on the motherboard or the PSU; the bad news is that the text is often tiny, and you may have to do some manual gymnastics to get everything to fit together neatly.
| Remember: Always connect cables to the closest possible power source, keep fan pathways as clear as possible, and don't cross wires if you can avoid it. Modern cases tend to have cable routing around the back, so even if one side of your PC winds up as a horrible rats' nest, the other will look clean and presentable. More importantly, clear space promotes better airflow, which means cooler hardware, which means better performance. |
10. Boot up and go
If all of your cables are connected correctly, you should now be able to boot up your PC by pressing the power button. Better still: If you followed my earlier advice, you should be able to install Windows and hit the ground running. From here on in, it's just normal computer operation, so get out there and enjoy those games, Tomsguide cited.
READ MORE: Top 8 Best Games for PS5
 |
| Photo: Gaming Space |
Some general starting tips before getting into the step-by-step process
You want to avoid static electricity, so build your PC on a table or some flat surface away from carpet. Dispel any built-up bodily charge by touching a grounded metal object before you touch sensitive PC components. If you're not rubbing your socked feet back and forth and building up a static charge, you're probably fine. You'll also want good lighting, and maybe even a flashlight (your smartphone can probably suffice).
Open your motherboard manual to the diagram page that shows a layout of the motherboard. If you ever get confused about what goes where, the labels on this page should help you sort it out. PC Gamer readers have also given us some great tips, which we've compiled here, Pcgamer noted.
* Click the links below for more related information:
 Full List of Upcoming Games on Xbox Series X Full List of Upcoming Games on Xbox Series X All the upcoming Xbox Series X games are confirmed for 2021 and gathered by KnowInsiders below. Let's explore now! |
 Tips to download Horizon Forbidden West for PC Tips to download Horizon Forbidden West for PC Horizon Forbidden West, the new famous game by Guerrilla Games, would be released in the near future: second half of 2021. If you are planning ... |
 Halo Infinite: Tips to Download to PC for FREE Halo Infinite: Tips to Download to PC for FREE The most anticipated game Halo Infinitive that features Master Chief is said to be launched this year; however, what is the exact date for the ... |
 Gotham Knights for PC: Tips to download, System Requirement Gotham Knights for PC: Tips to download, System Requirement Gotham Knights is the ultimate role-playing game packed with all of your favorite DC Super Heroes and Super-Villains. The upcoming game that stars Batgirl, Red ... |


